Shellac creates a gorgeous matte finish like oil, but is way more durable. Best of all, it's super forgiving and simple to work with.. Our curated woodworking blog dedicated to giving you useful tips and tricks you can incorporate on your next project. The KMWDF. Learn more about the KMWDF's mission and how you can help woodworkers in need. STEP 4: Buff with sandpaper to smooth. Sand any raised wood grain or uneven globs of shellac with 400-grit sandpaper. Alternately, use a piece of superfine (#0000) steel wool to buff between.

Shellac manicure French tips with accent nail & glitter Shellac nail designs, Nails, Shellac
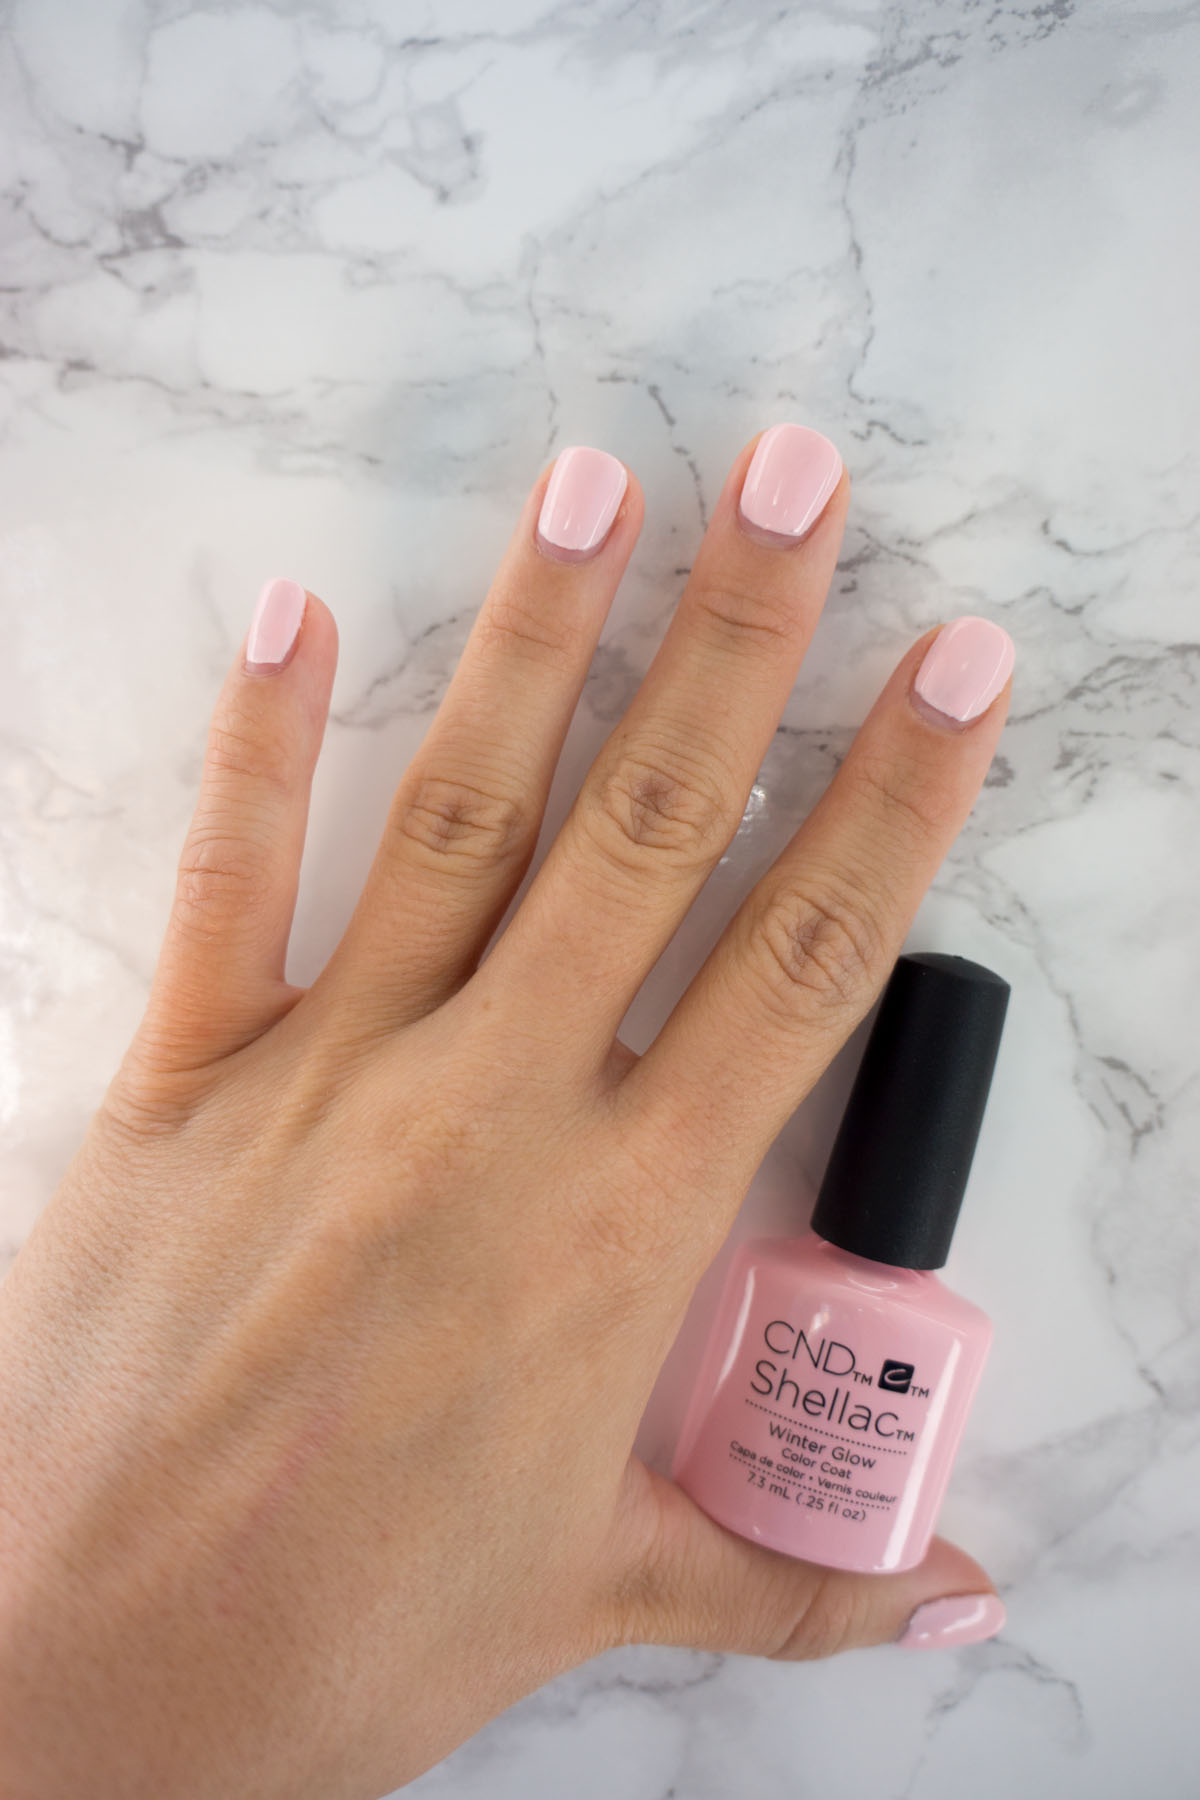
Squeeze a liberal amount of shellac into a sock, which acts as a reservoir. Wrap the piece of muslin around the sock, holding the edges of the fabric behind the sock. Begin applying by lightly squeezing the pad to allow a small amount of shellac to seep through the muslin. Add a small amount of lubricant, such as mineral oil, on the pad before. I use a small food scale (available at grocery stores) to weigh out the flakes. To mix one pint of 1-lb.-cut shellac, dissolve 2 oz. of shellac flakes in 16 oz. of alcohol. For a 2-lb. cut, double the flakes. After the shellac is fully dissolved, strain it through fine mesh cheesecloth or filter to remove impurities. Let the wood dry for at least one hour for re-coating. Ideally, the room should be around 70°F, always remaining between 50ºF and 90ºF. Maintain a humidity level of around 50 percent. Never let the humidity level exceed 85 percent. While the shellac will dry to the touch in about 30 minutes, wait the full hour or more before applying the. Shake your base coat to mix the ingredients, and apply a thin layer of base coat to each nail, working on one hand at a time. Cure the base coat under the lamp for 60 seconds, ensuring each finger is touched by the lamp's light, especially the thumb. "Sometimes, the thumb tends to hide from the light, so it doesn't get cured properly," Nguyen.
Ultimate StepbyStep Guide to Home Manicures with CND Shellac Petite Style Script
4. Load the brush with shellac. Dip the brush into the bucket of shellac and press it gently against the side of the bucket to remove the excess. 5. Apply the shellac to the wood. Shellac should be applied in long, smooth strokes, following the grain of the wood to ensure an even application. Sand lightly between coats. For thinner coats - in the 1-2 lb. range - you can use a brush or a rag to apply the shellac. Pre-mixed shellac (maybe except for Zinsser Seal Coat) is inferior to the stuff you make yourself in two important ways: First, it has wax in it, which can interfere with adhesion of your top coat; second, it begins to. Shellac is readily available from B&Q and The Home Depot in the USA. You can make your own shellac finish by simply buying Shellac flakes and and alcohol and mixing your own cut. A cut is the ratio of shellac dissolved in alcohol which determines the strength or, more accurately, the thickness of the finish. Start a few inches in from the end, brush toward the closer edge, and then finish the rest of the panel. Work quickly to maintain a wet edge. After two hours, lightly scuff-sand the first coat with 320-grit stearated sandpaper to remove any dust or wood grain and smooth the surface. Remove any sanding residue.

Shellac Nails Bath Ladies Stuff
Adding cuticle oil into your regimen can also do the trick for promoting long-lasting Shellac nails. But hydration from within matters too. Drinking enough water daily will keep your body hydrated, translating to nail health and an ultra-durable Shellac manicure. Keep your nails protected. Here are the steps to apply Shellac on your project: -Wipe the area clean with a lint-free cloth and denatured alcohol. -Mix one part Shellac flakes to four parts denatured alcohol in a clean container. -Stir the mixture until the Shellac is dissolved. -Pour the mixture into a new, clean container.
Apply the first layer of varnish. Put a new, clean cotton cover on your polishing pad. Add shellac to the core. Apply several coats at a time, allowing a few minutes for dry time between each coat. Use a circular motion and medium pressure to apply the shellac. Reload the pad with shellac as necessary. Paul usually applies 3-4 coats of shellac. Leave the project for a minimum of an hour once coated before you apply the next coat. Sand with 250 grit after the first coat as shellac causes the grain to rise and air pockets in the wood will also cause the surface to become textured. Sanding will remove any surface nibbing to give your project a.

Purple French shellac tips Purple nail designs, Purple tips, French tip nails
Tips to get the perfect French manicure. The perfect French manicure is all about the perfect color. Choose a white nail polish that suits your skin tone and has a glossy finish. For the nails themselves, you'll need to apply a base coat and two coats of varnish. The first coat should be applied in one direction, while the second should be. To keep your Shellac nails looking flawless, consider these tips: 1. Protect nails by wearing gloves. If you're going to be doing any manual labor or will need to use hands a lot, such as when washing dishes, scrubbing floors or spending time gardening, wear gloves to protect your Shellac nails.
