STEP 2: Smooth the surface. Knockdown texture can be applied to either bare or painted drywall as long as the surface is blemish-free. To prepare the surface, don protective gloves and goggles and. Recipe for orange peel coat or orange peel ceiling texture: Half a bucket (30 lbs.) of all-purpose joint compound. 5 pints of water. Spray gun orifice—second or third smallest. Compressor setting—high (25 to 30 psi) Trigger—half open. Mix consistency—thin pancake batter.
knockdown ceiling texture Texture King Calgary Alberta ceiling
Knock down texture is a popular wall and ceiling treatment designed to hide flaws in imperfect drywall or to add more visual interest. Check out the options below for getting this look without the prep and mess. The premise of knock down texture is simple: Cover up imperfections in drywall with a technique that looks like custom plaster. If you want to help support Shannon to produce more videos like this, visit https://www.house-improvements.com/donateAmazon affiliate link to the texture spr. Here's a crucial step for this how to texture drywall project: Set the mix aside for about 15 minutes to allow for complete water absorption. Otherwise, the mix will thicken in the hopper. It won't spray and you'll have to clean it out and start over. After this "slaking" period, add a bit more water and remix. In this video we show you how to apply knockdown texture to ceilings. This is the same technique that we use when building new homes or doing remodels, and h.

Knockdown Texture Wallpaper Textured Ceiling Paint, Painted Ceiling
Knock-Down Knife. Step 1. PREP. Move or cover all the furniture in the rooms you will be working in. Use a large piece of plastic to cover the entire floor, taping the sides to the walls or trim. Then apply the sheeting to all walls, overlapping the sheet from the floor to ensure complete coverage. Step 2. Wait 10-15 minutes, or until the sprayed texture dries only slightly. Don't go straight from spraying on the texture to smoothing down its peaks with the knockdown knife. Instead, watch and wait for the wet shine on the sprayed texture to dissipate. As soon as this happens, grab your knockdown knife to finish the job. Knock It Down. After your texture is sprayed on, it needs to set up for about 15 to 30 minutes. It should be tacky but not dry. Drag the knockdown blade lightly across the texture to flatten the tops of the globs of spray. Don't press down too hard—you don't want to actually remove the texture or smear it around. In this video I'm going to show you how to match knockdown texture on a drywall ceiling repair. I'll give the you tips, tricks and all of the tools needed to.

How To Do a Perfect Knock Down Ceiling Texture Ceiling texture types
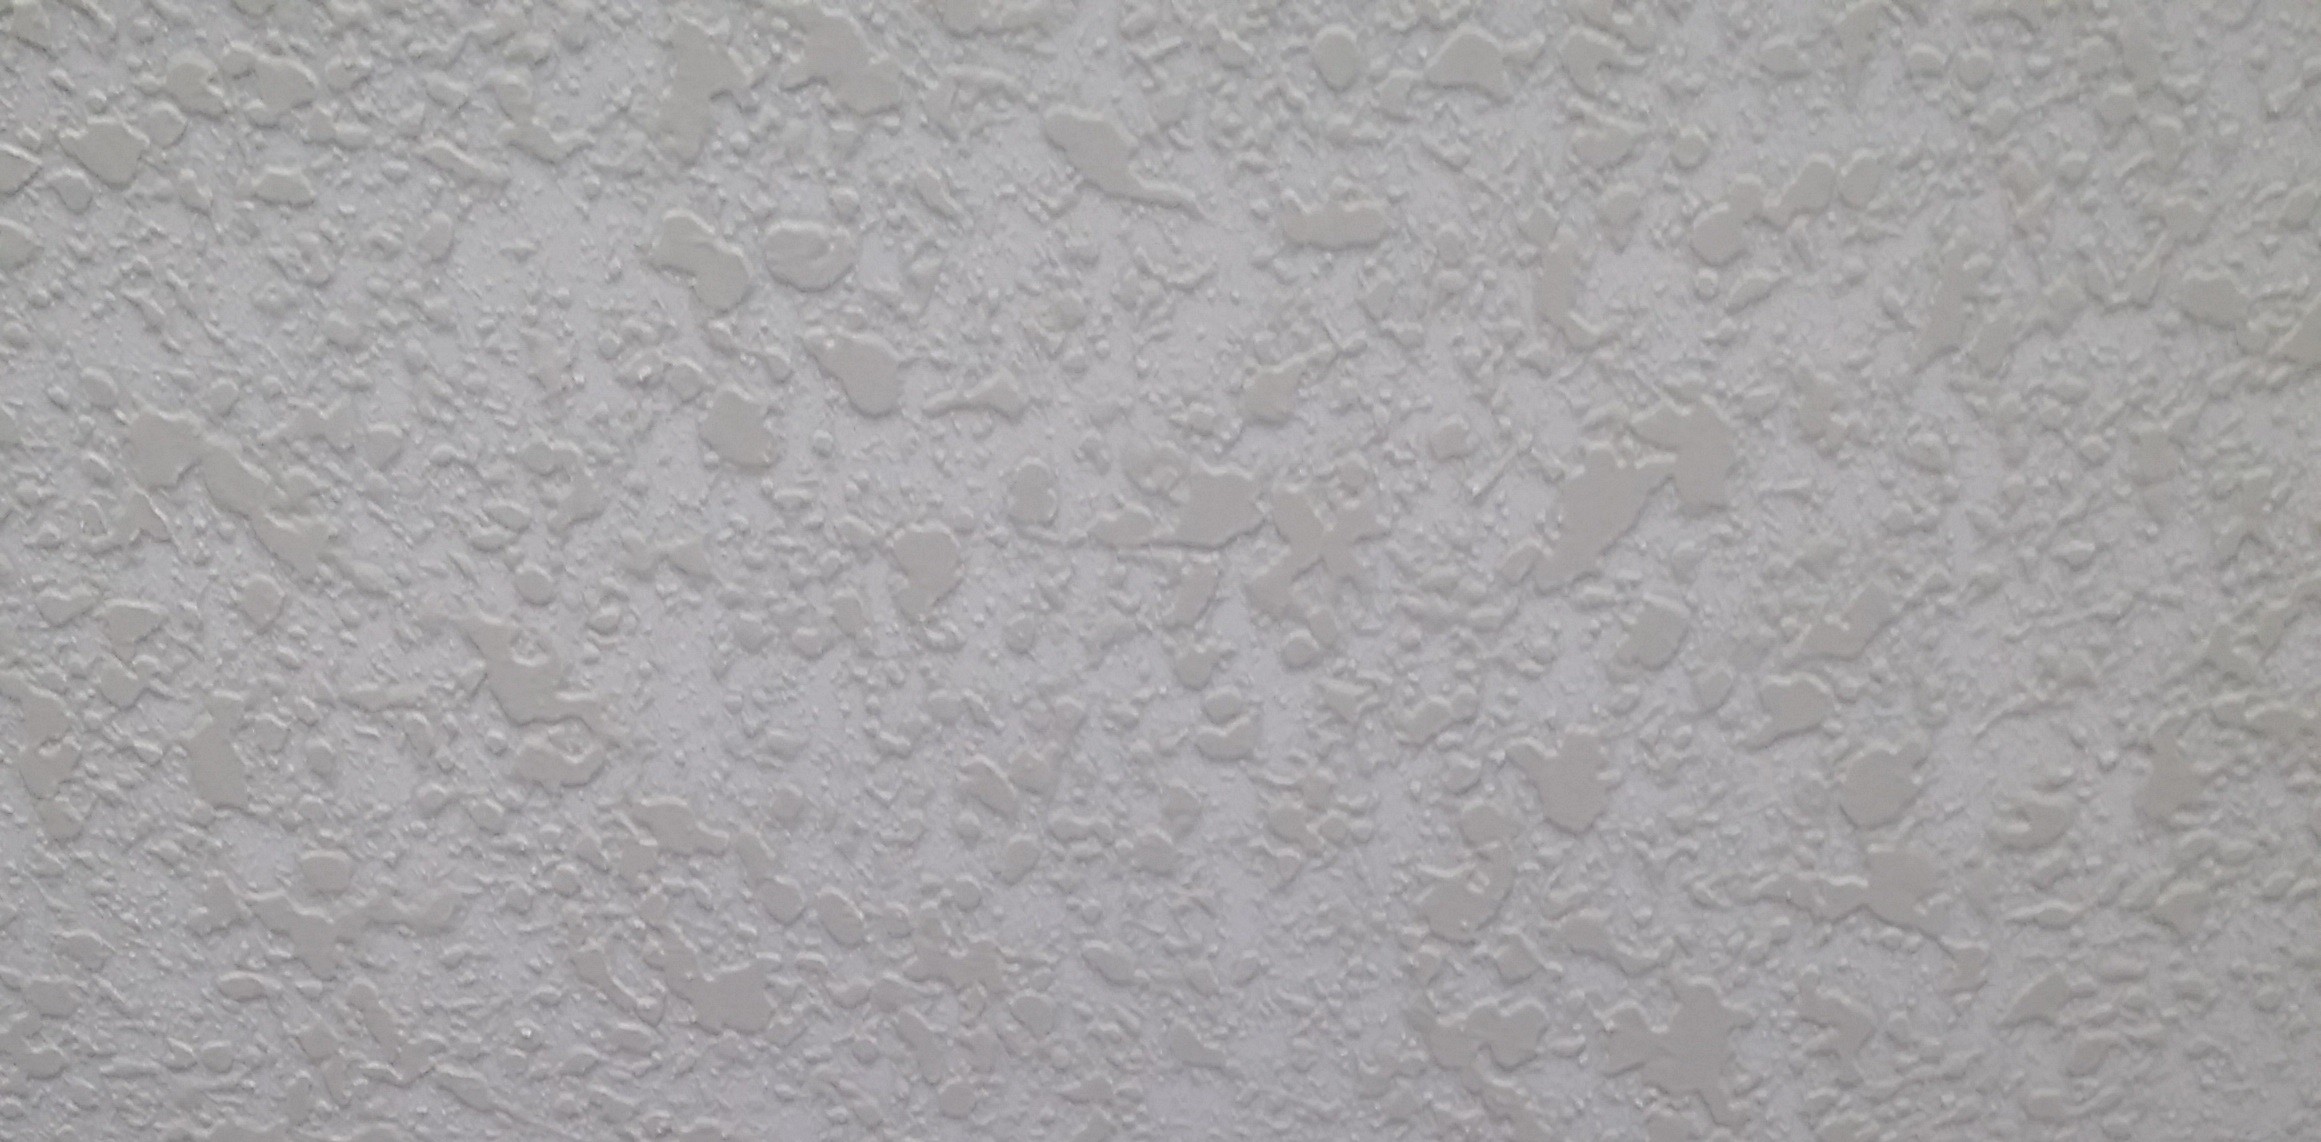
Knockdown and splatter texture finish is characterized by a consistent round-droplet pattern on the surface. The droplets can range in size from that of a dime, to as large as silver dollars. Knockdown is typically applied in a medium density look, allowing the original surface to still show around the droplets. In today's video on Paul Peck Drywall TV, I'm going to show you an amazing trick to match knockdown texture on a ceiling repair with the knockdown texture s.
I'll be showing how to locate the rafters to know where to cut the sheet rock then after the pluming repair is done. I'll be showing how to securely how to u. Leah demonstrates how to create a knockdown texture for your walls or ceiling in 3 simple steps.Support See Jane Drill by shopping on Amazon through our link.
Knockdown Texture On Ceiling 12 Different Types of Ceiling Textures
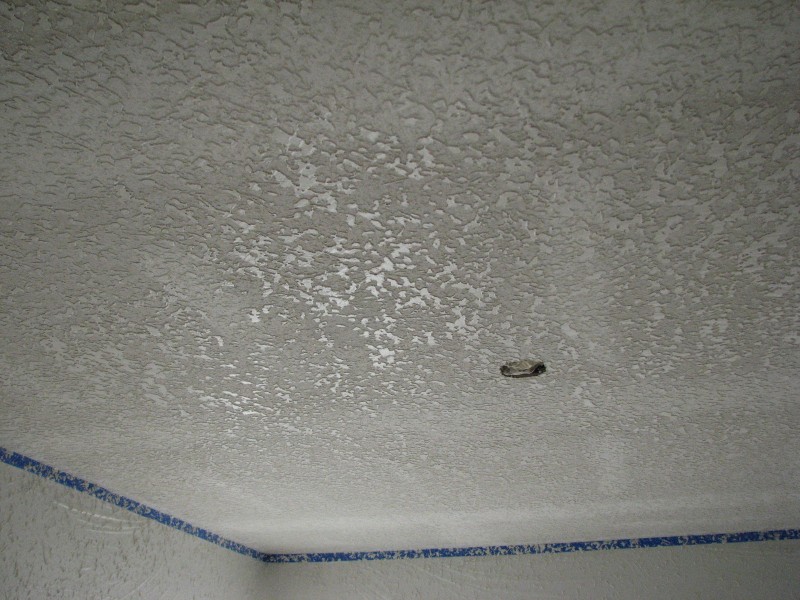
Creating the knock down ceiling texture without fancy equipment is easier than you think. Yes, it takes a little bit of time and effort, but the results are. Allow your first section to dry for at least 10-15 minutes, just long enough to lose its wet shine. Attach the knockdown knife to an extension pole and then slowly glide the edge in a single.
