Learn to draw a moth. This step-by-step tutorial makes it easy. Beginner artists can now draw a great looking moth.There are about 160,000 species of moths -. How to Draw a Moth Easy for Beginners Mister Brush 204K subscribers Subscribe Subscribed 269 Share 49K views 3 years ago #moth #insect #ArtTutorial Draw with me a moth and learn how to.
Luna Moth Drawing at GetDrawings Free download
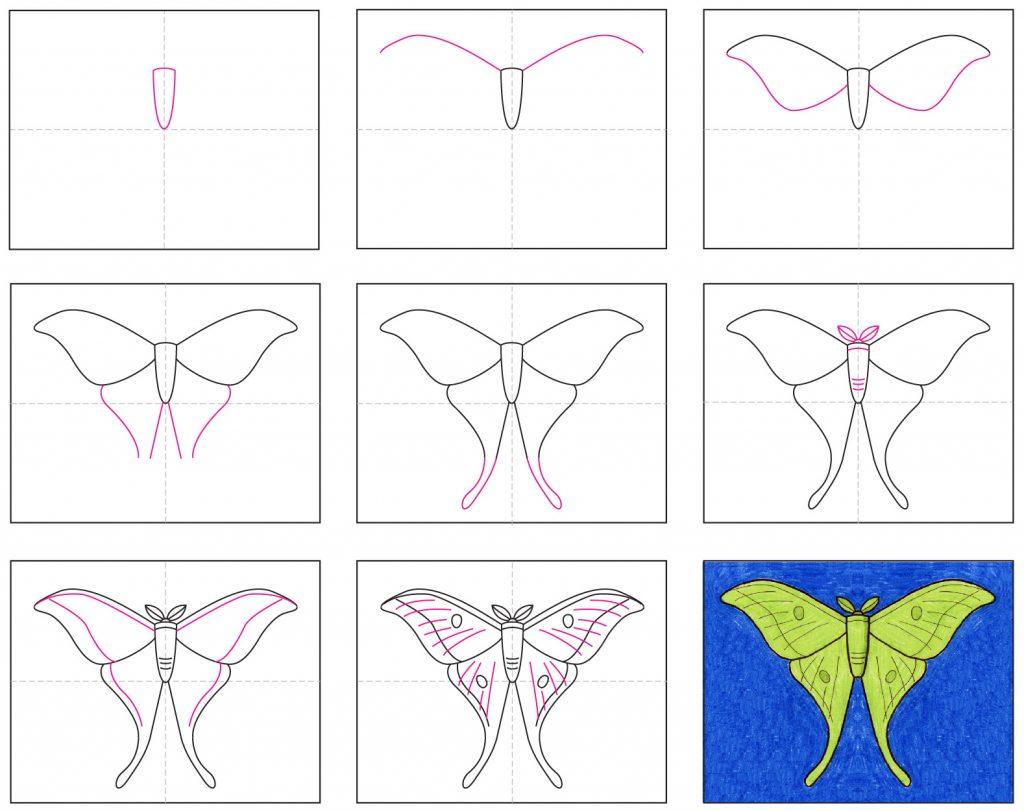
How to Draw a Moth (Emperor Moth) How2DrawAnimals 327K subscribers 29K views 4 years ago Wild Cats (Tigers, Cheetahs, Servals, etc.) Visit http://www.How2DrawAnimals.com where every step is. How to Draw a Great Looking Moth for Kids, Beginners, and Adults - Step 1 1. Begin by drawing a circle. This will form the moth's thorax, or midsection. From the thorax, extend a long curved line. Double it back upon itself to outline the abdomen. Easy Moth Drawing - Step 2 2. Open Moth Tracing Page Materials to draw a Moth Drawing Paper. This is the good stuff you can buy in bulk for a good price. Pencils. I like how this brand always makes nice dark lines. Black Marker. A permanent marker will give you a dark black color. Crayons. The larger packs are nice for more color choices. Step 1: Reference Image Select a reference image of a moth you wish to draw. You can find one online or use a photograph. Step 2: Draw Basic Shapes Begin by sketching the moth's basic shapes using light lines. Draw a large oval shape for the body. Sketch the head by drawing a smaller oval shape connected to the body.
Easy How to Draw a Moth Tutorial and Moth Coloring Page
How To Draw A Moth - A Step by Step Guide Moth drawing in just 6 Easy Steps! by Caroline 2 months ago When it comes to having to name the most beautiful insect, you may find butterflies as the first choice of many. This may be because they are seen during the day more often, yet their nocturnal cousin, the moth, can be equally stunning to behold! How to Draw a Moth Begin your moth drawing by sketching a small oval for its head. Draw a larger oval for the moth's body, connecting it to the head. Add two thin, curved antenna on top of the head. For the wings, draw two large, rounded shapes extending from either side of the body, making them slightly more pointed than a butterfly's wings. Spider. In this drawing lesson, we'll show How to draw a Moth step by step total 7phase, and it will be easy tutorial. Step 1: Observe the Moth Before you begin drawing, it's important to observe the moth you want to depict. Take a close look at its shape, wingspan, and pattern. Notice any unique characteristics that will help you capture its essence on paper. Step 2: Start with Basic Shapes
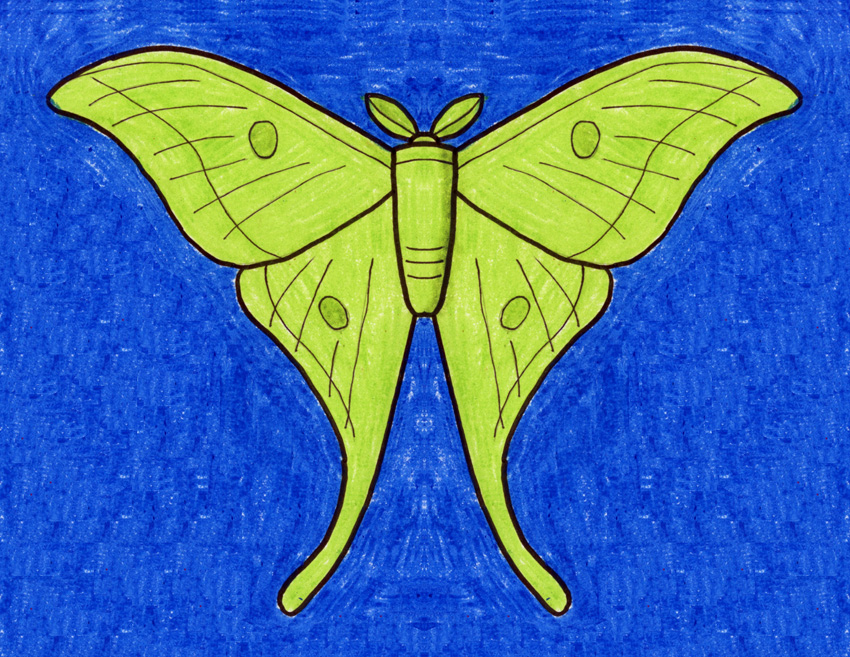
How to Draw a Moth · Art Projects for Kids
Step One: Sketching the Moth's Basic Shape Begin by sketching a basic outline of the moth's body. Start with a oval shape for the head, and then add the round shape of the thorax. From there, sketch out the long, thin shape of the abdomen. Finally, add the moth's four wings. Natasha Miller Creates 1.4K subscribers Subscribe Subscribed 94 views 2 months ago Sharing a video on how to draw moths and some great tricks for using Acrylographs. After showing you 3 easy.
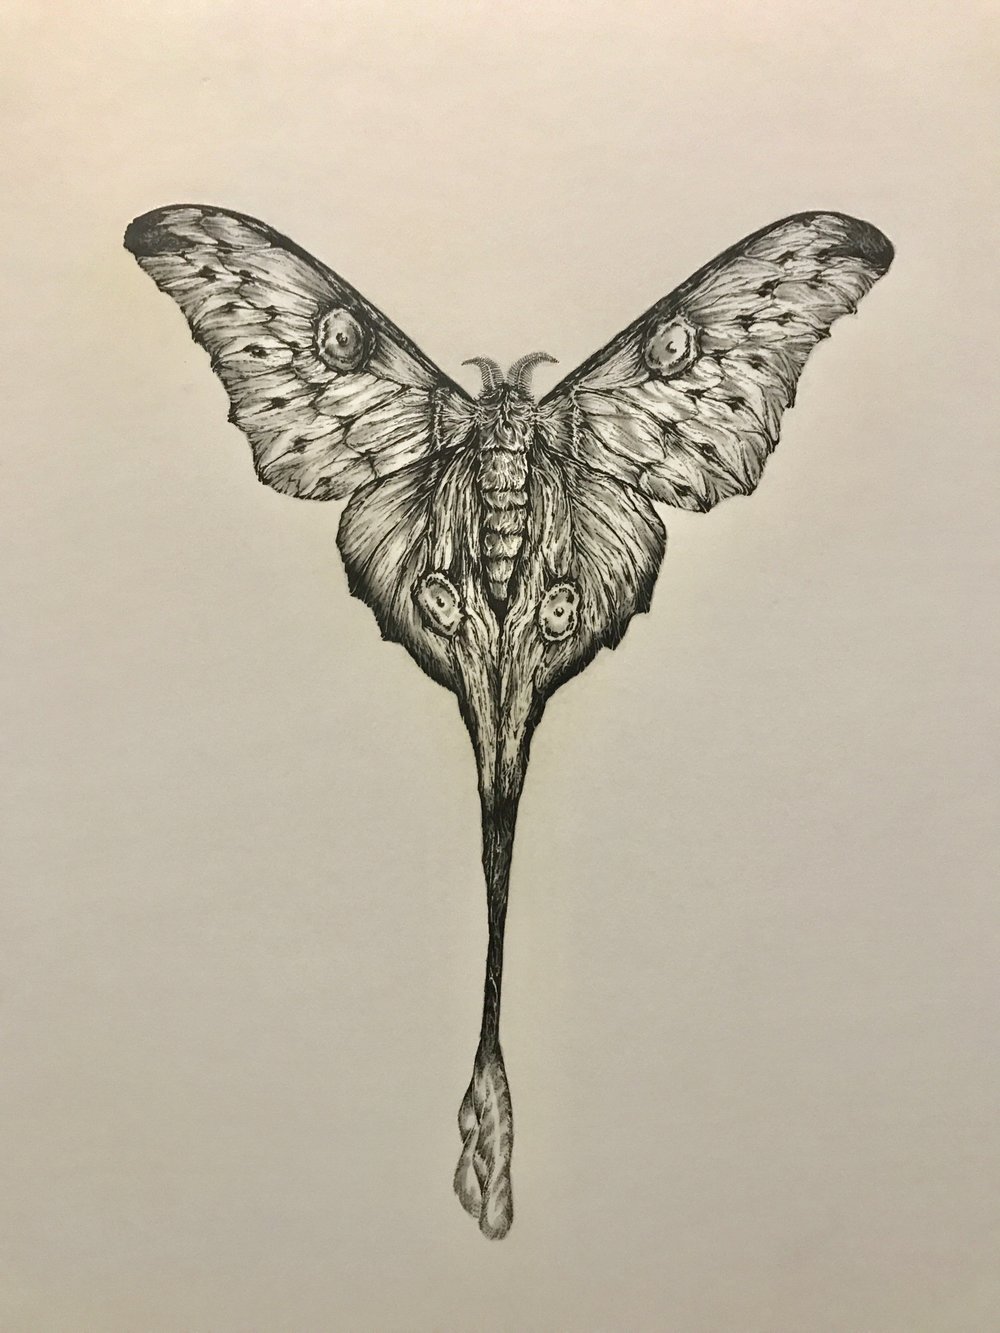
Step 1 Like any moth, there is a lot of intricate detail and structure to be found with this particular insect. For that reason, we have broken the drawing down into smaller steps in this guide on how to draw a luna moth. This should make it easier to conquer any of those tricky elements and details that you may encounter! 42,345 moth drawings stock photos, 3D objects, vectors, and illustrations are available royalty-free. See moth drawings stock video clips Filters All images Photos Vectors Illustrations 3D Objects Sort by Popular Butterfly in One continuous line drawing.

Moth graphic, falena, ink drawing, moth Moth drawing, Moth, Drawings
To draw a mouth, start by drawing a horizontal line with the ends tilted upwards. Next, sketch an arch above and below the horizontal line, making sure the arches stretch the length of the horizontal line. Make the top arch slightly smaller than the bottom arch and dip it at the top. Step 2: Draw the Center Line. Draw the bottom line of the upper lip as before, but this time, make sure to lift the corners of the line into a slight smile. Then, add two small marks or shading to the corners of the lips to signify the nodes. They will immediately add life to your smile drawing.
