There are two ways to use a laptop as a Raspberry Pi monitor: Install software on both devices to take control of the Raspberry Pi from a computer on the same network. Use hardware to really connect the Raspberry Pi to the laptop. 1. First off, to use a Windows laptop as a monitor for Raspberry Pi, you need an ethernet cable. You can then connect the Raspberry Pi to your Windows 10 laptop directly or to your router. I would recommend connecting to the laptop directly for a faster connection. 2. Next, you need a microSD card of a minimum of 16GB in size. Downloads 1.

How to Connect a Raspberry Pi to a Laptop Display Raspberry Pi Maker Pro
How to Use Windows Laptop As Monitor for Raspberry Pi: If you are watching this tutorial, then you must know about Raspberry Pi and its use. So without making more delay let's start this Instructable. But before that, we want to clarify something: We have used Raspbian OS in this case. It is one… Meanwhile, if you're using a Mac device, these are the steps to follow: 1. Open your terminal. 2. Type "ssh-keygen -R raspberrypi.local" (without quotes) to generate an SSH key for your Raspberry. How Does It Work? To connect a Raspberry Pi to a laptop display, we can simply make use of WiFi. The Raspberry Pi's desktop GUI (Graphical User Interface) can be viewed through the laptop display using a wireless connection between the two. 19th Apr 2013 Liz Upton 24 comments Meltwater has come up with a nice little trick which allows you to use your laptop or desktop's display and keyboard as the display and keyboard for your Pi. You won't need to do any soldering or to buy any special equipment: all you need is a network cable.
How to Connect a Raspberry Pi to a Laptop Display Headless Setup Raspberry Pi Maker Pro
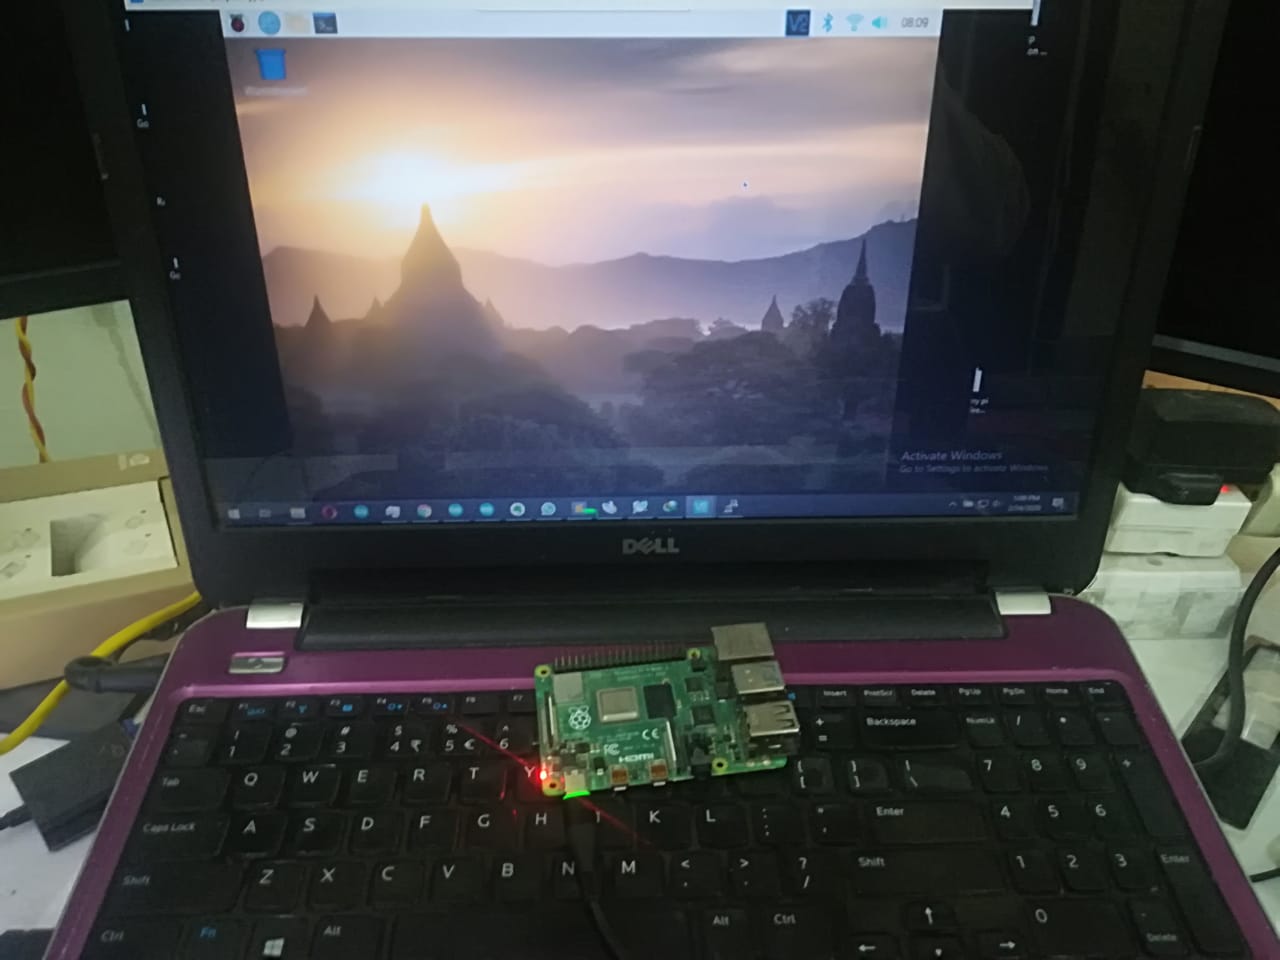
How Does it Work? To connect a Raspberry Pi to a laptop display, you can simply use an Ethernet cable. The Raspberry Pi's desktop GUI (Graphical User Interface) can be viewed through the laptop display using a 100 Mbps Ethernet connection between the two. Hi, this video will show you how to use a old laptop as a display for your Raspberry Pi. No you wont be using a vnc server but you would be using a HDMI Capt. 5 Share 392 views 1 year ago #RaspberryPi Ever want to use your Raspberry Pi on the go? You should definitely check this out! You can use your laptop instead of needing a monitor for your. An active internet connection. Reliable power supply. Step 1. Enable SSH on the Raspberry Pi. The first step to using your laptop as a Raspberry Pi monitor is establishing an SSH connection. Unfortunately, enabling SSH on a headless Raspberry Pi (without a monitor) is a bit technical. Follow the steps below.

Connect Your Raspberry Pi by Laptop Display Using VNCServer 5 Steps Instructables
Quick steps to setup your PC/laptop in order to fully use your Raspberry Pi 3 without any keyboard or monitor; simply use your PC, a network cable and a power supply for the Pi. Starting from the FIRST CONNECTION, you don't need any external devices to make this instruction neither for the first time. How to connect Raspberry Pi to laptop? Now, I will provide a step-by-step instruction guide for connecting your Raspberry Pi to a laptop display. Keep the essentials on your table and start tinkering with me. Step-1: Set up the Pi First of all, you need to make initial setup on your Raspberry Pi.
Connect Pi to an old laptop screen Ask Question Asked 11 years, 6 months ago Modified 1 year, 8 months ago Viewed 165k times 66 I recently received my Pi in the post and I'm now trying to think what to use it for. I have had a look around and I quite like the idea of attaching a screen to it and using it as an RSS Reader/News updates etc. From your raspberry pi, try to install VNC Server, you can use these commands : $ sudo apt-get update. $ sudo apt-get install tightvncserver. Then activate your VNC Server with this command.
Raspberry Pi Use Laptop As Monitor Raspberry
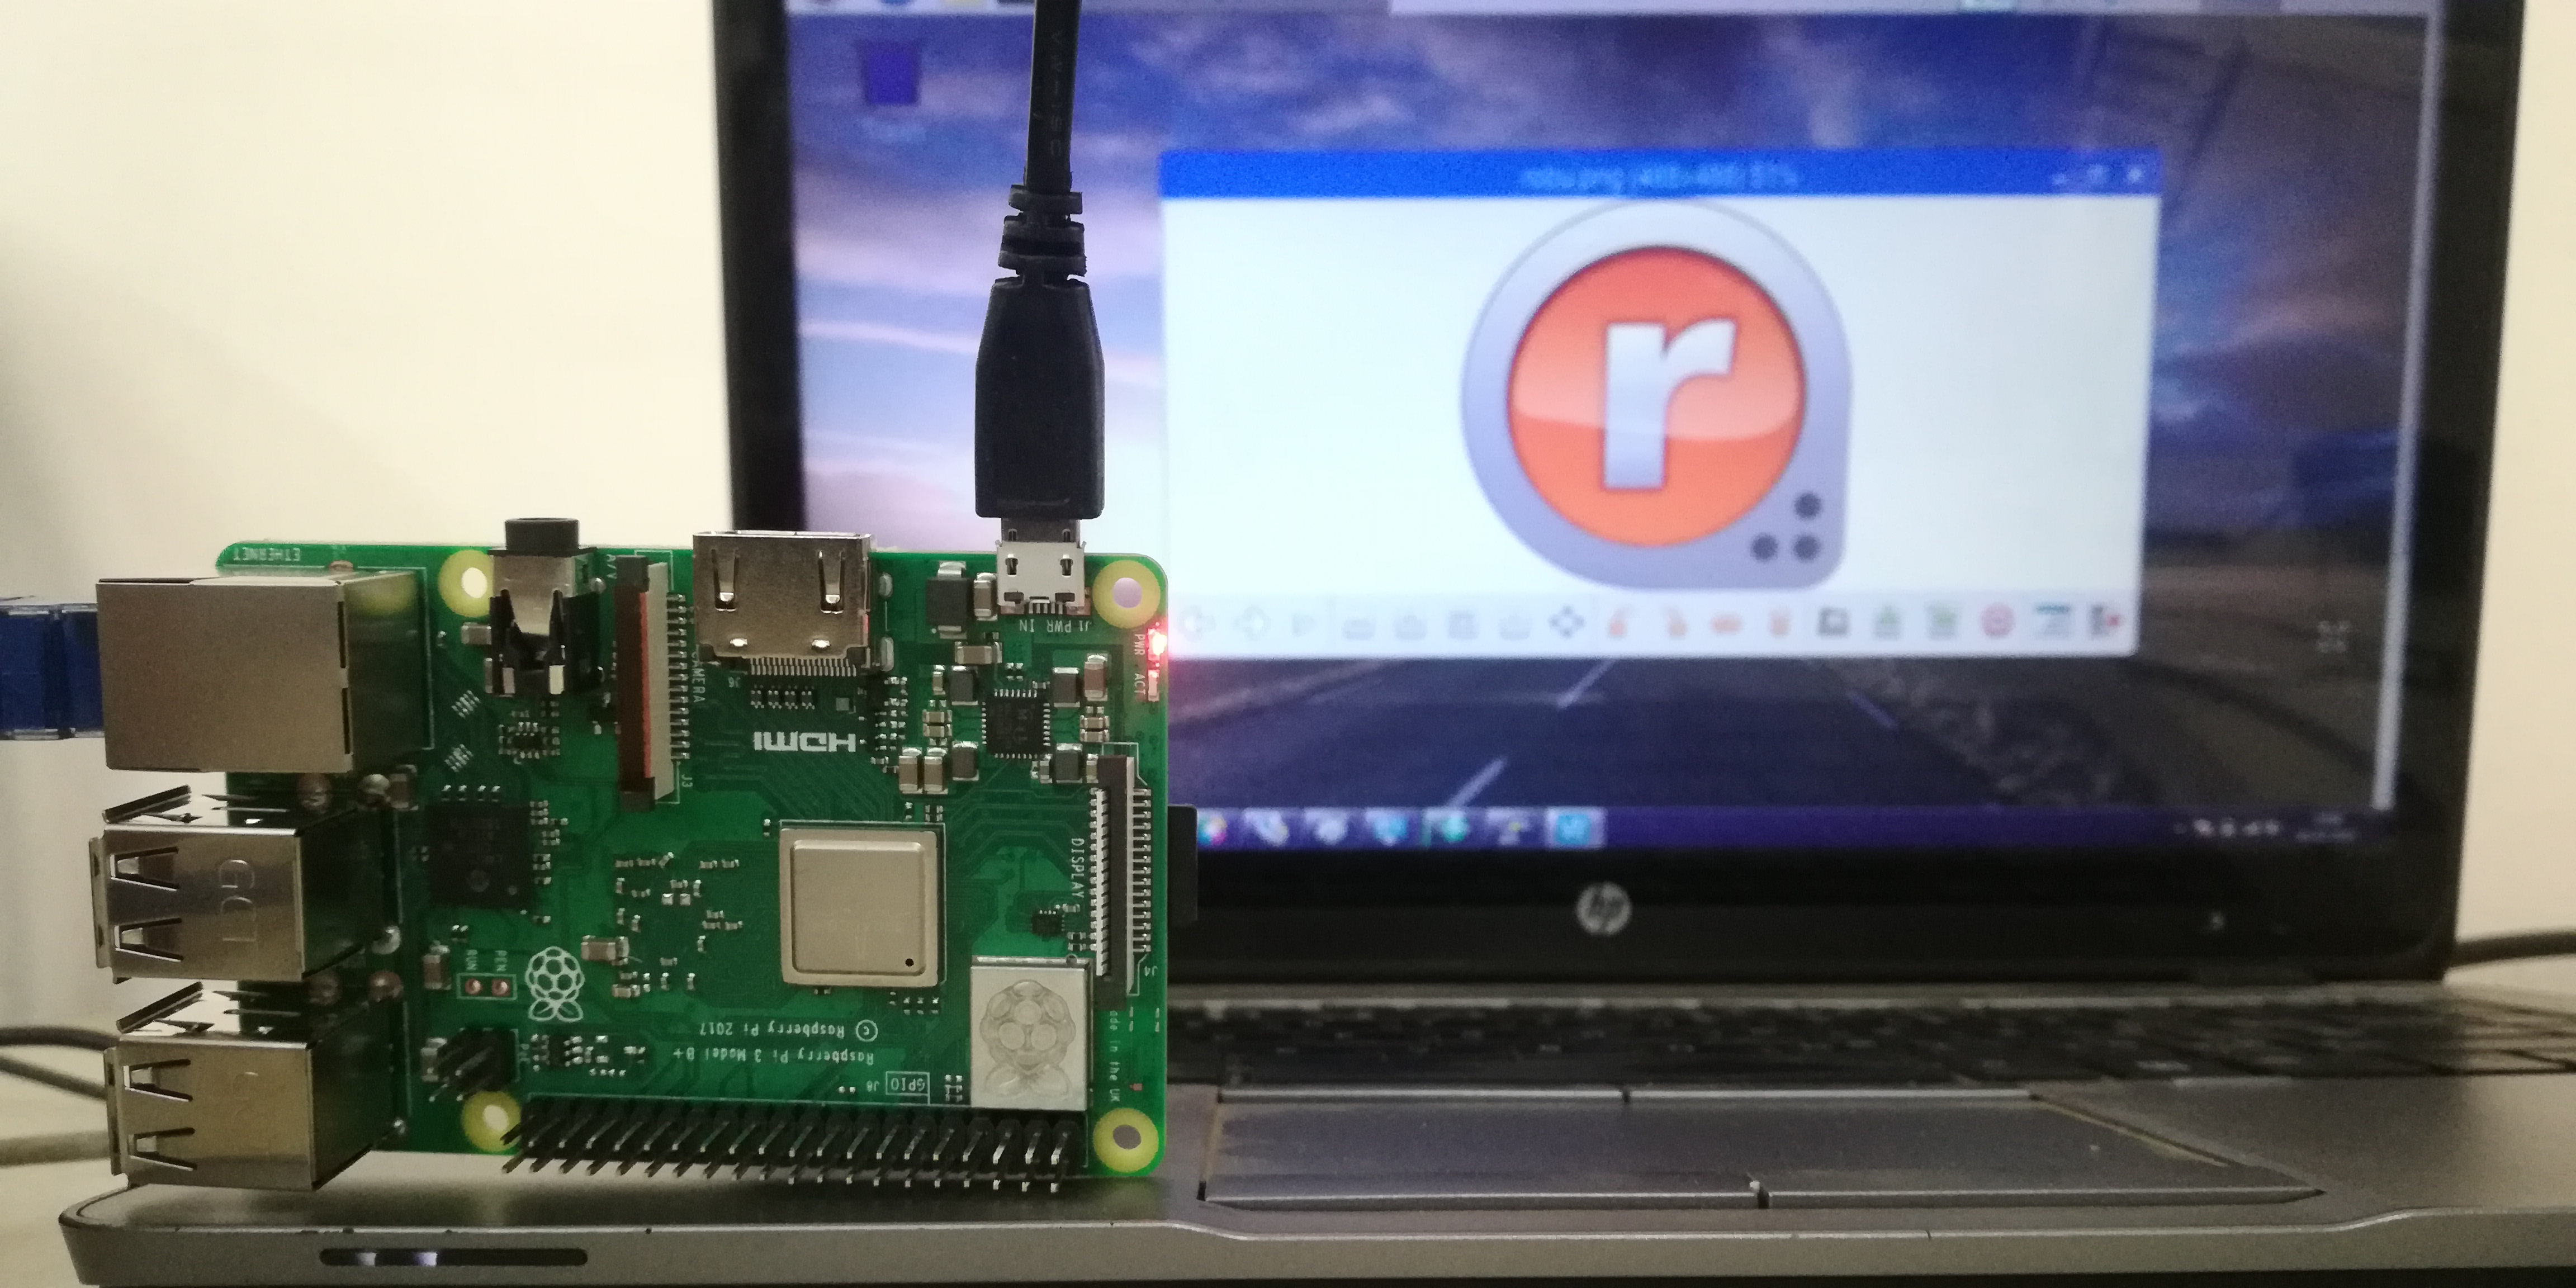
In order we can use laptop monitor as Raspberry Pi display, we have to enable the first interfacing option, i.e. SSH. To enable SSH interfacing option, on the Raspberry Pi Software Configuration Tool, select number "5 Interfacing Options (Configure connection to peripheral)," then select P2 SSH and press enter key. Go to Preferences --> Raspberry Pi Configuration (picture 4). A dialog box will open. Go to Interfaces (picture 5). Enable SSH and VNC (You can check out other options too but for this project we require only these 2) From the Raspberry Pi terminal. Go to Terminal from the toolbar (Icon with "<_" symbol).
