The following ways to decorate a notebook cover are fun, creative, and easy DIY projects that anyone can do. 01 of 26 DIY Fabric Covered Notebook Caylin Harris This simple DIY dresses up an ordinary notebook with a fabric of your choice. Customize with a bold pattern or use something a little more subtle that still reflects your personality. 1 Write your name or a notebook heading on the cover, if you want. Use a pen, marker, or paint to title your notebook with your name or subject. You can write your name and your class subject, or any other relevant information. [1] You can glue on a notecard or paper scrap before you write on your cover, if you wish. 2
/DIY-NOTEBOOKS-FEATURE-1-593ee9ec5f9b58d58a8318cd.jpg)
26 Ways to Decorate a Notebook
Have fun! Notebook Decoration Ideas Learn how to decorate a notebook with one of these unique DIYs! You'll love this collection of over 35 notebook design ideas for beginners. DIY Notebook in a Matter of Minutes This adventure themed notebook is the perfect gift idea for everyone from hostesses to teachers to kids! You can decorate the first page of a notebook to use as your cover page or draw directly onto the outside of the notebook. If you decide to decorate the first page, it may be helpful to color-coordinate your notebooks so that you know which subject goes with each color. Hi, I'm #CraftyNica and today I show you how to decorate your notebook pages with easy decoration ideas for project file: dividers, title title design for notes, heading decoration ideas. HOW TO DECORATE YOUR NOTEBOOKThere are so many great decoration ideas for your books and notebooks!You can take simple paper file and turn it into liquid cov.

15 Easy DIY Ideas to Decorate Your Notebook Covers
Hi, I'm #CraftyNica and today I show you how to decorate your notebook pages with easy decoration ideas for project file: journal date ideas, heading decorat. 6 Easy notebook decoration ideas using die cuts and doodles Filed in Back To School Crafts Notebook Cover Ideas Smitha Katti Apr 30, 2023 30 Comments I have a video tutorial today showing 6 fun and easy notebook decoration ideas. There'll be cutting, pasting and doodling involved for sure. Hello! 1 Make a collage of images that inspire you. Download Article Turn the cover of your notebook into your own mood board. Use magazine or newspaper clippings, pages from old books, copies of personal photos, and other printed images. On this notebook, I used an amazing piece of Judy Robertson's hand-dyed fabric. Start by free hand cutting with a rotary cutter a wavy edge on the fabric. Then, cut again with your rotary cutter to make another wavy edge, making the cuts into leaf/petal shapes.
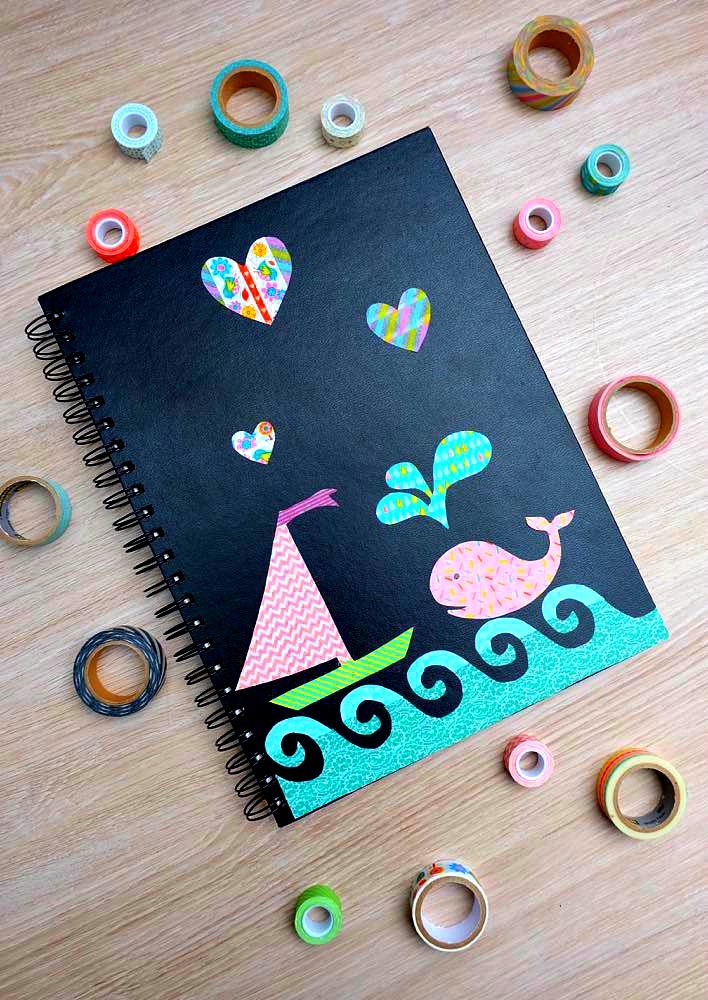
DIY Washi Tape Stickers Decorated Notebook Think Ahead Handmade Gift Ideas Series Hello
1. Tape You can find so many tape varieties now. Here are a few products you can try: Decorative Duck Tape. You can find options that are metallic and shiny, or covered with prints. Patterned Washi Tape. Washi tape comes in thick and thin widths, making it easy to add patterns and textures to your cover. 0:00 / 2:18 SCHOOL NOTES IDEAS 💖 HOW TO DECORATE A NOTEBOOK PAGE WITH PAPER 💖 HOW TO TAKE AWESOME NOTES Crafty Nica 259K subscribers Subscribe 29K views 1 year ago #notetaking #CraftyNica.
10 Ways to Decorate School Notebooks 1. Chalkboard Perfect for the doodler who might need to change the design on a regular basis! They can wipe it clean and start over again. | A Little Craft In Your Day 2. Embroidery The detail orientied person will love to embroider their favorite design on the front of their notebook. | Knits & Brew 3. Spread a medium layer of Mod Podge onto the front of the notebook. Adhere the die cut paper, using cling wrap to press the overlay onto the notebook to adhere it. Remove the cling wrap, and then apply another layer of Mod Podge. Let dry. Cut off the excess paper around the edges with the scissors. Add a final layer of Mod Podge to the front of.
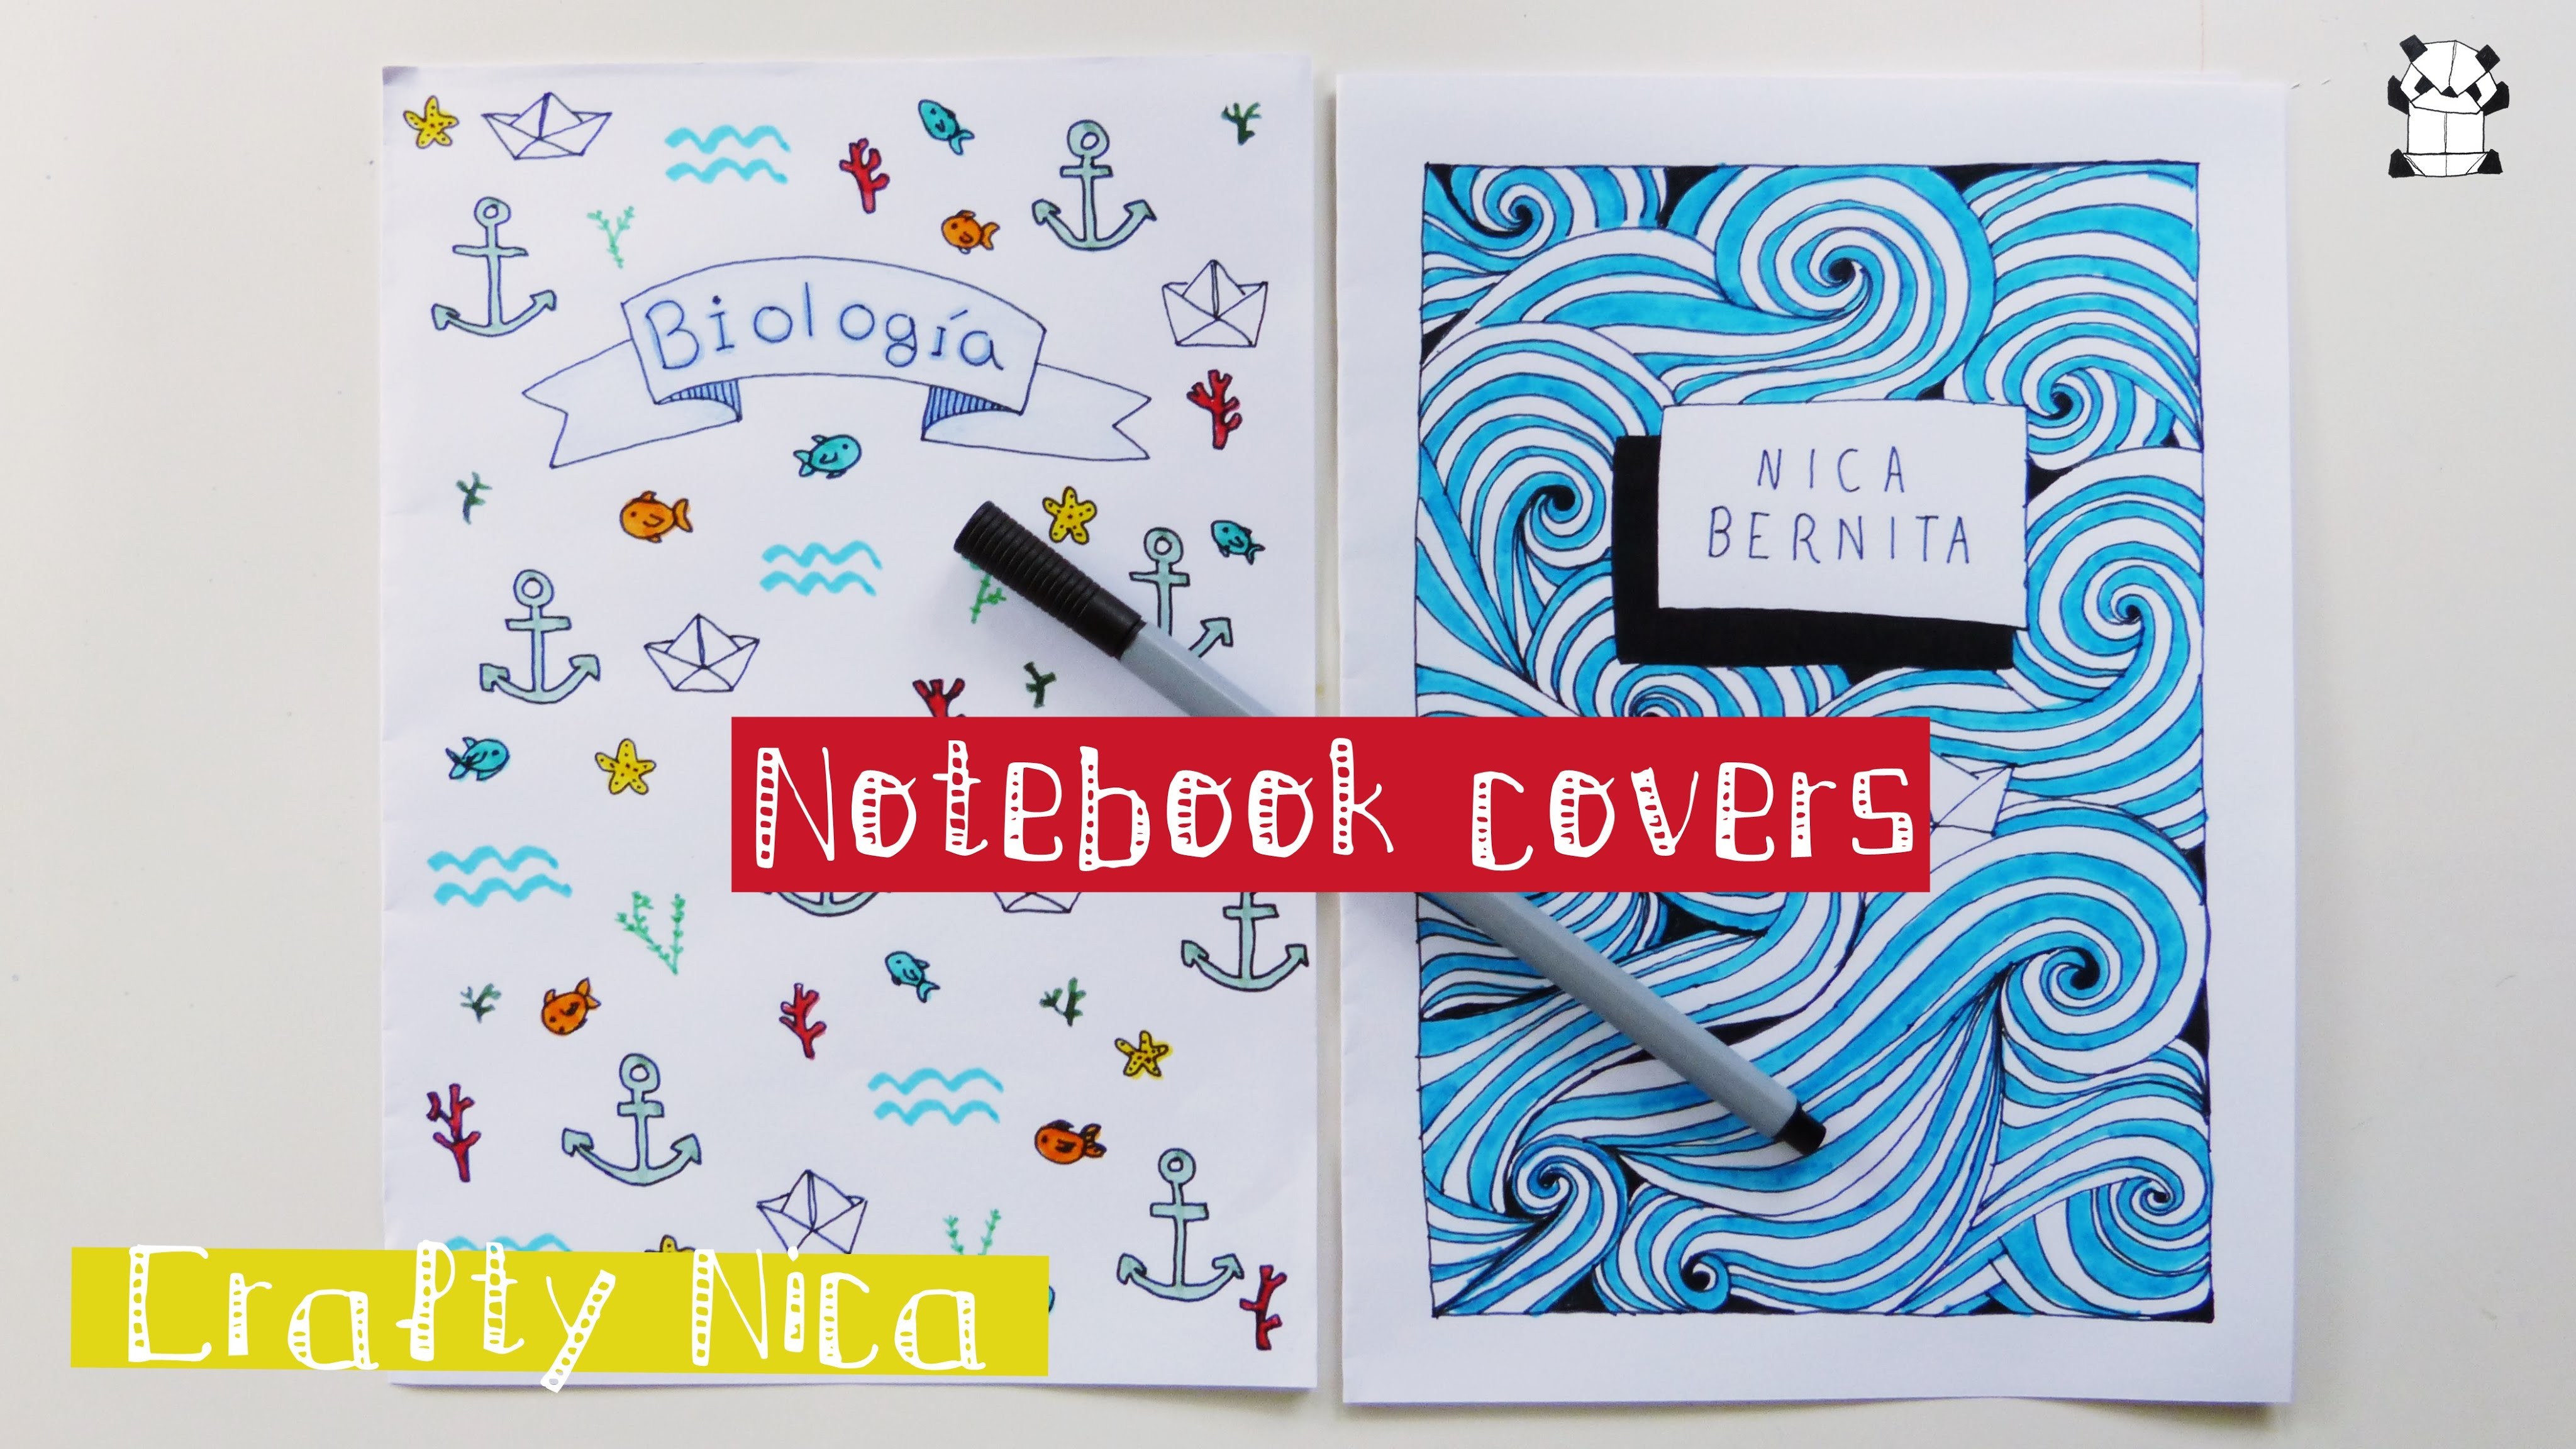
How to DECORATE NOTEBOOKS. DIY Notebook cover ideas Seainspired drawings
Fold the top and bottom parts of the contact paper over onto the front cover of the writer's notebook. Repeat these steps for the back cover. Once you have completed covering the notebook with contact paper, your notebook is ready to use! Have a great time collecting the stories and developing ideas to share with your readers. Cut the image and move the stencil to the notebook. Use a foam brush and lightly tap the paint onto the stencil. You don't want to use brushing motions and push the paint under the stencil line. Remove the stencil when the paint has dried a bit. And there you have it.
