All you need is to use your imagination and original ideas. With these simple tips, you will be able to experiment and show your creativity. In this article, I'd like to cover the topic of how to take pictures of the sun in detail. Tip 1. Get to Know What Sun Photography Is Step 1: Make Global Adjustments: Tone, Presence, and Sharpening Let's start with this unedited photo of Bryce Canyon at sunrise ( note these same techniques can be used for editing an image taken at sunset ): Go ahead and access Lightroom's Develop Module. I set Highlights to -100.
Sun Editing Sun edit
Step 1.Luminosity A lot can be done by moving the highlight and shadow sliders to recover the details in the darks and light areas. Step 2. Blue Skies Go to the HSL section Choose Luminance and darken the blues to make the skies colorful. Step 3. Color Fringing Editing Photos Taken in Direct Sunlight using Lightroom. 1. Apply your basic presets. I use my poppresets on all my photos to add contrast and vibrancy to my images and make basic corrections. 2. Next, you'll adjust for exposure and white balance. Once those are set, play with the highlight slider to bring back some of your highlights. HOW TO SHOOT IN BRIGHT LIGHT: https://www.youtube.com/watch?v=xwkNxhvRId0&t=SUBSCRIBE: https://goo.gl/PJcQs4MY LIGHTROOM PRESETS: https://goo.gl/xoVJ2MMY MUS. Astrophotography Sun astrophotography is a captivating genre that captures the radiant beauty of the sun and its intricate features. This specialized astrophotography branch details solar phenomena, including sunspots, prominences, and solar eclipses.
Sun Editing Sun edit
Change Color Profile To make a good edit you must first have a good foundation on which to work on. After nailing focus and sharpness in-camera, it's time to start making adjustments to the image. To fill your viewfinder, you will likely need to go well past a 300mm focal-length lens. This is the size of the sun through a filtered 300mm lens on an APS-C camera (35mm-equivalent of 450mm). So, any lens can get you an image of the sun. How close you want to get will determine your focal length. Of course, if you are shooting with a camera that uses an optical viewfinder, remember to never look directly into the sun with it, especially if you are using longer focal lengths, as you can. With a few Lightroom sunrise photo editing tips, you can take a boring, bland sunrise and turn it into a work of art. To get a good finished photo you need a solid starting point. That means your initial sunrise photo needs to meet a few basic parameters: It must be shot in RAW.

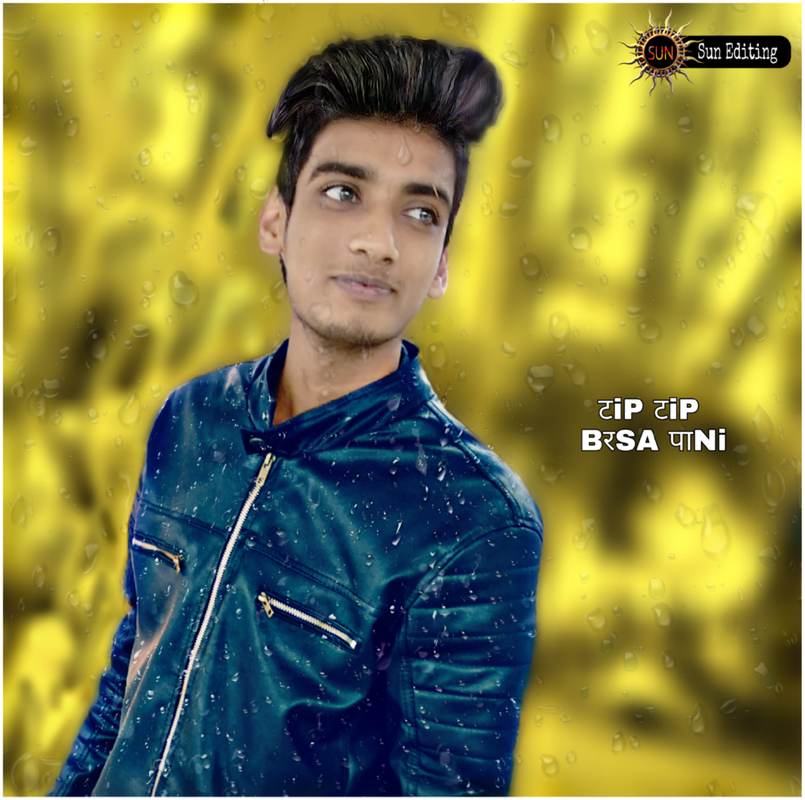
CB EDITING FOR SUN LIGHT PNG DOWNLOAD ALL CB EDITING COLOR LIGHT PNG DOWNLOAD CB EDIT
First, take a test shot, and check the result on your LCD. Decide whether you want to brighten the scene or darken it. Then simply activate exposure compensation, and add +1 EV to brighten the shot, or -1 EV to darken the shot. Take another test image. How to fix photos that were shot in harsh sunlight in Lightroom and Photoshop CAMERA RAW. Learn how to use the sliders in Lightroom and Camera raw to bring o.
1) Filter the sun Position the sun right on the edge of another object so that only some of its strength comes through. I love shooting the sun through trees, forests, and when it sets right on the horizon line for this reason. Step 2: Choose a Lens Flare Effect. Once your photo is uploaded, choose your favorite Lens Flare effect. After making your selection, targets will appear on your photo, allowing you to click and drag to adjust the position of the lens flare. Once your flare is in place, use the settings options to edit the intensity of the effect.

Sun (Edit) YouTube
Firsly, click the button "Add a Light Flare Effect" to get started. Upload the image you want to edit. Find "Effects" in the tool dashboard on the left, then select "Lens Flare", and choose one lens flare to apply to your image. Adjust the lens flare size and intensity. When you are satisfied, click the Download button in the upper right corner. Top 5 Expert Tips on How to Edit Sun Glare in Photoshop for Beginners. As a beginner in photo editing, dealing with sun glare can be quite intimidating. It's a common problem that we all face while clicking pictures when the sun is in its full glory. Sun glare can easily overpower your entire image and make it look washed out or overexposed.
