Google engineers and officials from Hyderabad, India, discuss traffic light settings as part of the company's project to use data from its Maps app to cut frustration and vehicle emissions. Project description Code for the Arduino Traffic Light Start by defining variables so that you can address the lights by name rather than a number. Start a new Arduino project, and begin with these lines: int red = 10; Next, let's add the setup function, where you'll configure the red, yellow and green LEDs to be outputs.
Crossing With Traffic Lights for Kids 9 Steps (with Pictures) Instructables
Seattle is the first city in the U.S. to try Project Green Light, but the program is being tested out at 70 intersections in 13 cities around the world, impacting 30 million car trips per month. The Arduino traffic light is a fun little project that you can build in under an hour. Here's how to build your own using an Arduino, and how to change the circuit for an advanced variation. If you'd rather watch this as tutorial as a video, we have you covered: What You Need to Build an Arduino Traffic Light Controller pinMode(PIN_RED, OUTPUT); pinMode(PIN_YELLOW, OUTPUT); pinMode(PIN_GREEN, OUTPUT); Program to turn ON red light by using digitalWrite () function: digitalWrite(PIN_RED, HIGH); // turn on RED digitalWrite(PIN_YELLOW, LOW); // digitalWrite(PIN_GREEN, LOW); delay(RED_TIME); // keep red led on during a period of time Arduino Code The Arduino traffic light controller is a simple project. Nowadays, everyone desires to drive their own car. As a result, the number of cars on the road is constantly rising, resulting in traffic bottlenecks. A traffic light controller assists in traffic management and traffic control.

Pin em SAIRAM CREATIVE WORK
The patterns of traffic lights could soon be improved in parts of Seattle, as it is now the first city in North America to use new Google technology called Project Green Light. Project Green Light. A Seattle traffic engineer told CBS that in one case they simply moved four seconds from a north-south street to an east-west street for a particular time of day to reduce stop-and-go traffic. Hao. The light sequence in sec = 1 will be active whether the system is on 1.20 seconds or 1.99 seconds of operation. This concept spreads throughout the entire table. The entire cycle time is 26 seconds, which means this is when both streets have had a turn to send traffic drive through their light. Due to these reasons, traffic congestion needs to be controlled and reduced. The traffic light is the most widely adopted method to control traffic, however, most traffic lights in use are designed based on the predefined interval, which cannot cope with traffic volume change very well. Therefore, Internet of Things (IoT) based traffic lights.

School Traffic Light Timer and Noise Detector
Overview. In this project, you'll learn how to create a Density Based 4 way Traffic Light Controller project using an ESP32 microcontroller and ultrasonic sensors, with integration into the Blynk IoT platform for real-time monitoring and control. Earlier we made Simple Traffic Light Controller using Raspberry Pi Pico.. The primary goal of this project is to create a smart traffic management. Traffic Safety Pulse News. Project Yellow Light is for high school juniors and seniors between the ages of 14 and 20; or full-time undergraduate college students between the ages of 15 and 25 (for students under 18, a parent or legal guardian must sign an eligibility form). To compete, students must create a video ad, radio spot, or design for.
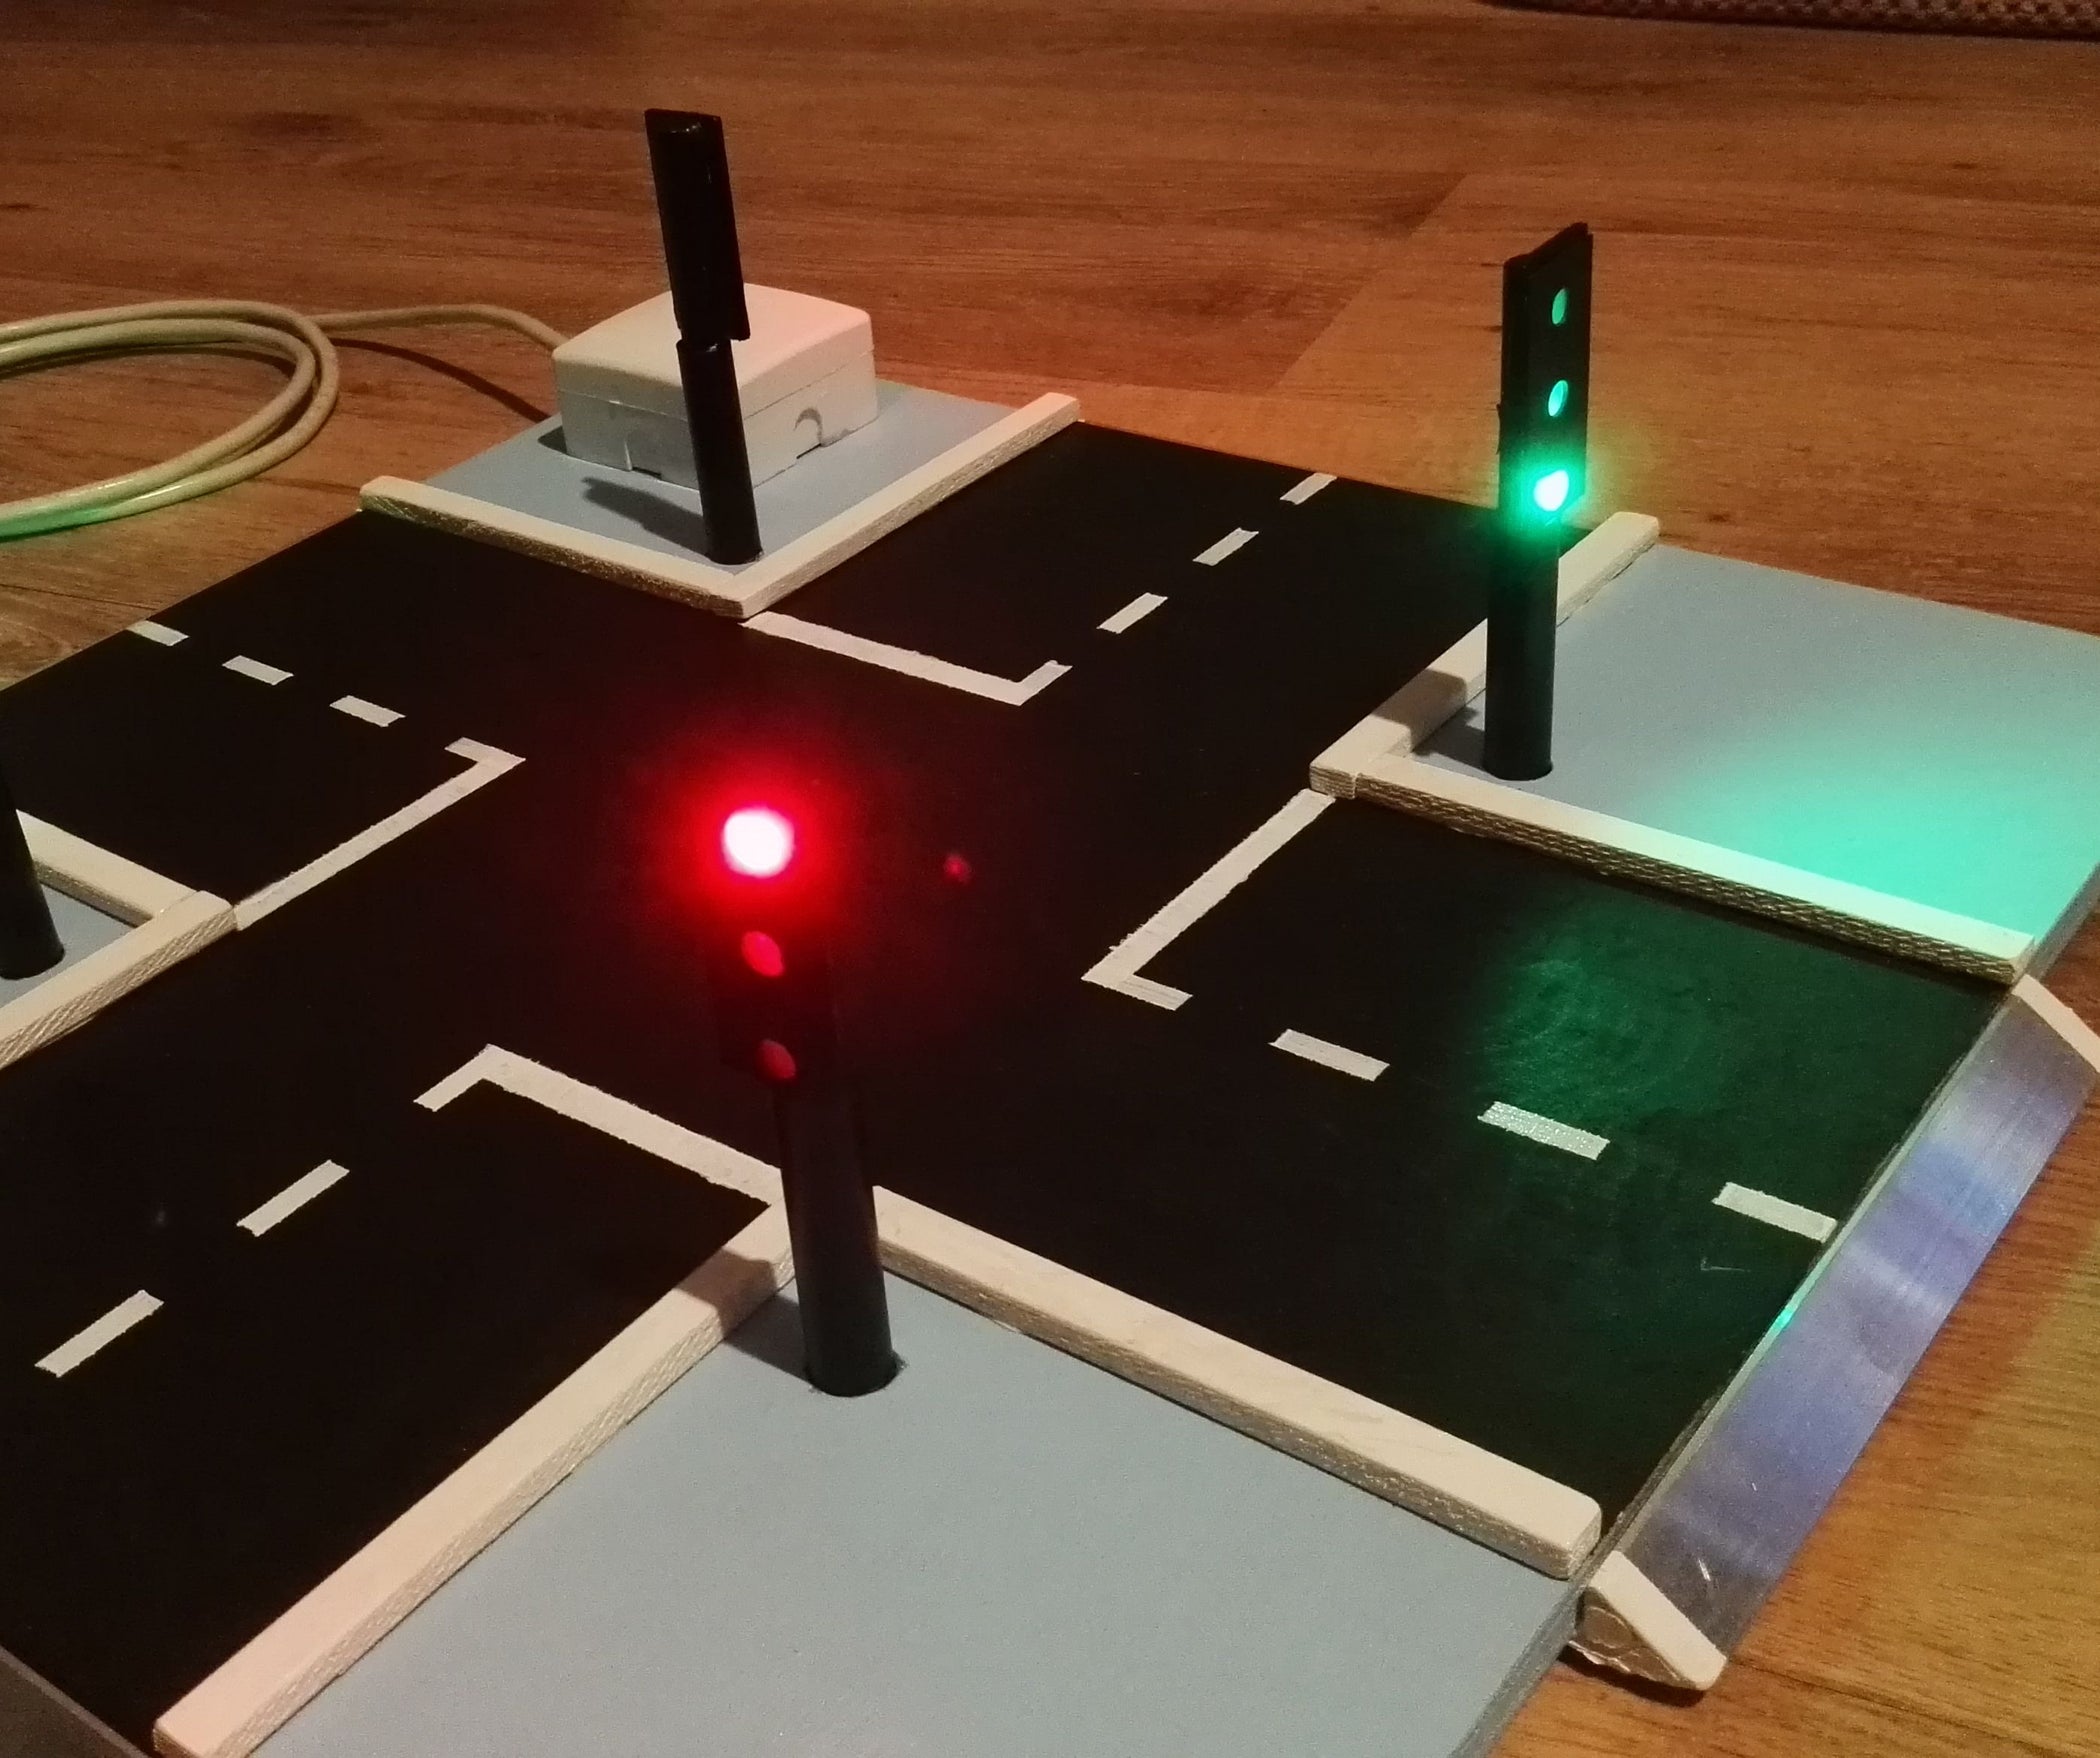
Due to dynamical traffic flow changes in urban areas, traffic congestion occurs on many intersections over a certain period of time. Today there are still many traffic light controllers with fixed signal programs used on signalized intersections, which causes aggravation of the overall state of traffic. To solve this problem, some solutions have been presented within the field of Intelligent. Step 1: Schematics Connect the LEDs to the Arduino using the following connections: Red LED: Pin 2 Yellow LED: Pin 3 Green LED: Pin 4 If you use 5mm LED Connect a 220-ohm resistor to the longer (anode) leg of each LED and the other end of the resistor to the ground (GND) on the Arduino. Step 2: Write the Arduino Code int red = 2; int yellow = 3;

How To Make Automatic Traffic Signal Light School Project YouTube Traffic signal
One of the very first projects almost all people do when they get an Arduino is to make the traffic light project. It's an incredibly simple project but it teaches you some of the most relevant fundamentals of the Arduino. Project Planning: In the planning phase, the Traffic Light Method can be used to identify potential risks or bottlenecks that might arise later. Project Monitoring: During project execution, the Traffic Light Method helps in continuously monitoring the status of individual activities and detecting any potential issues early on.
