Discover The Latest Outdoor Collection Now. . Free Next Day Delivery Over £70. Specialist Outdoor Retailer For Over 40yrs. See why 400,000+ trainers use ABC Trainerize to power their coaching and member experience. Level up your coaching with the app that helps your clients create and crush their goals

Exercise Library L SitUps YouTube
A. If using two boxes, benches, or parallettes, set them up so that they are a little narrower than shoulder-width apart. Stand between them and place palms on each side, under shoulders. B. Straighten arms, lock elbows at sides, pull shoulder blades down and away from ears, and engage lats. Then, pushing down into palms, engage core and lift. The single-leg L-sit is a great progression from the tuck L-sit because it still provides more support than a standard L-sit but does require more core strength and stability. To perform, set up. To perform this regression, grab onto parallel bars with both hands and squeeze your core to push up through your shoulders and lift your body up into a support hold. Once in position, tuck your knees toward your chest and hold for time. Work up to holding this position for 3 rounds of 30 seconds. With this and every other L-sit progression. To do an L Sit you need to start in a piked (legs straight out in front of you) seated position on the floor. Place your hands on the floor by your hips and straighten your arms - It's important to keep them locked out. Keeping your arms locked, lift your bum off the floor with your shoulders by driving your hands into the floor.
Sit up ou relevé de buste description et conseils pour cet exercice d
Body Part Abs, Legs and Shoulders. Sit with your legs bent and your palms flat on the floor or holding two dumbbells or parallettes slightly in front of your hips. Keeping your elbows locked at your sides, straighten your arms and tuck your knees to your chest, then lift your body off the ground. Hold, then lower to return to start. Front Scale. • This unique movement simulates the quad and hip flexor positioning of the L-Sit in a standing position. • Perform holds of 5-10 seconds on each leg for 3-5 sets. Hanging Knee Raises. • Using a pull-up bar or dip bars, lift both knees up to your chest and hold for 5 seconds. • Do 10-12 reps for 3-5 sets. L-Sit Pull-Up on Rings. Since you can pull your head between the rings, this exercise is a little easier than the L-sit pull-up on a pull-up bar, where you must pull your body at an angle. However, performing it on the rings requires more core stability. Steps: Jump and grab the gymnastic rings with a neutral (palms facing each other) grip. The l-sit pull-up is a variation of the strict pull-up, however it requires more body control and movement integrity due to the fact the lifter cannot overly extend their lumbar spine or change.

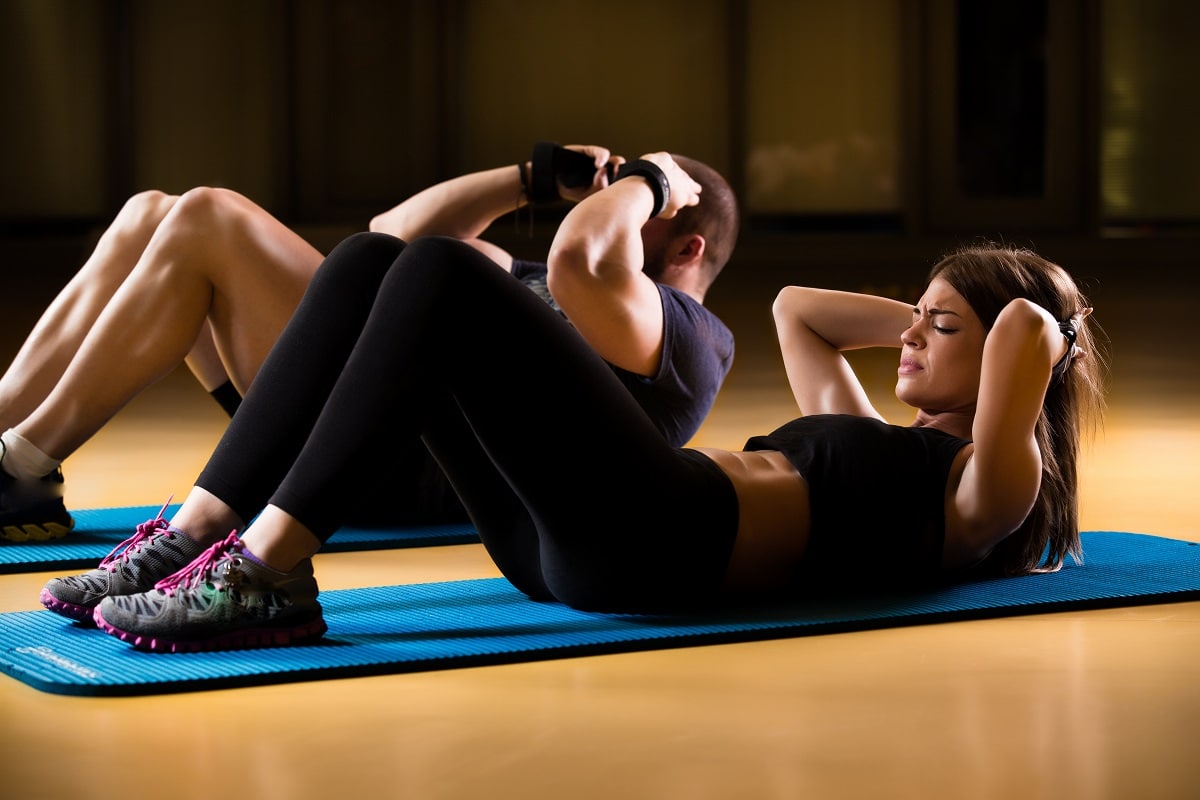
12 Benefits Of Sit Ups
About Press Copyright Contact us Creators Advertise Developers Terms Privacy Policy & Safety How YouTube works Test new features NFL Sunday Ticket Press Copyright. The L-sit movement alone is a powerful core exercise that demands midline stability and strength from your abdominals and obliques. When combined with a strong pulling movement like the pull-up.
The L-sit is one of the most important basic bodyweight exercises one should master. It's also very elusive in the beginning. But not to worry! You'll get it. Also, you'll look like an absolute stud in the gym. The L-sit is a very efficient exercise too, because holding it for just 10 seconds deliver big benefits. It's one of the best abs exercises. It's one of the best core exercises. It's one of the best exercises - period. How To Do The L-Sit. Sit with your palms on the floor by your sides.
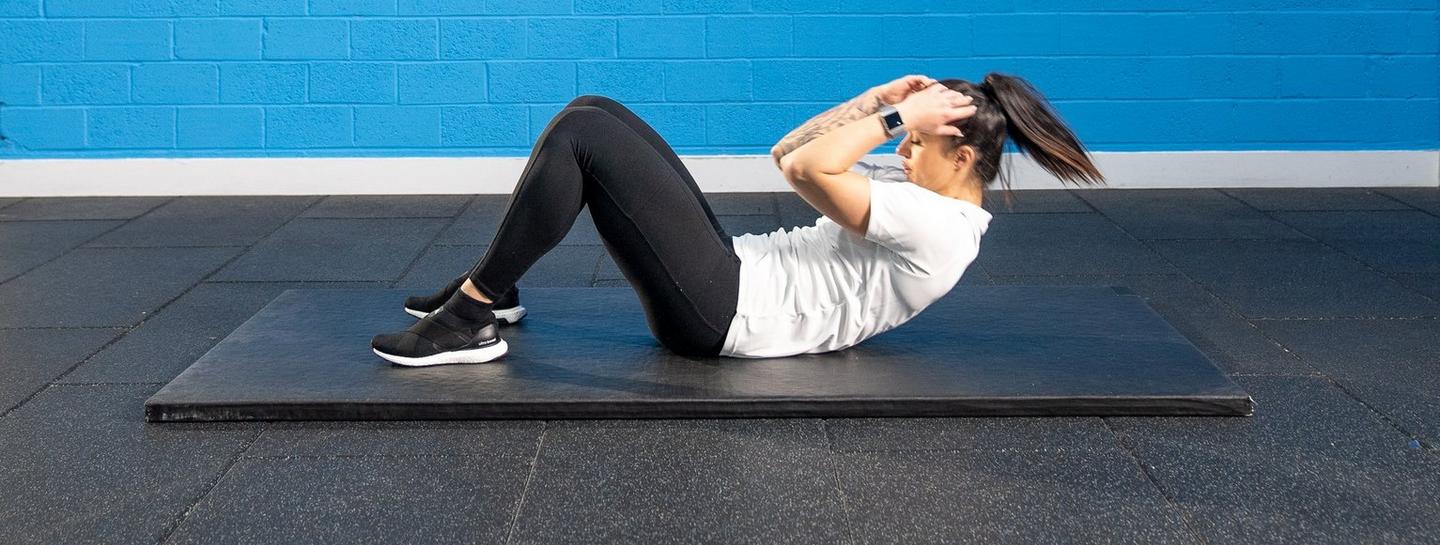
How to Do a Sit Up Correctly Abs and Core Exercises The Gym Group
🆓 Try a Free Strength & Agility Workout: 👉 https://get.gmb.io/reboot/See our full L-Sit guide for help with nailing this challenging and useful skill: http. STEP TWO. The next stage in mastering the L Sit is to take the position you have just been doing (above) but move onto doing it on just one foot at a time. Alternate your feet so that you build strength on both sides. At this stage, your knees should still be bent, your back straight, and your thighs close to your chest.
