In this tutorial I show you quickly how to make a before and after in Photoshop.Follow me on Instagram @NickSmythPhotographyhttp://www.instagram.com/nicksmyt. Open Photoshop. Navigate to "File" > "Open" in the top menu bar. Choose the "before" photo from your files, select it, and then click "Open.". Repeat the process to open the "after" photo. Navigate to "File" > "Open," locate your "after" photo, select it, and click "Open.". Now, both images should be open in.

18 Shocking Photos Of Celebrities Before And After
My Effects Shop: https://justinodisho.com/shopAdobe Software Download: https://prf.hn/l/dlXjya5Support the Channel: https://www.youtube.com/channel/UCy7DyWXJ. Creating before and after images in Photoshop is a skill that takes regular practice for proficiency. With these steps outlined above, anyone who has basic knowledge of Photoshop will be able to produce stunning before and after images in no time! Top 5 Facts About Before and After in Photoshop You Need to Know Common FAQ's About Creating Before and After Images in Photoshop. Creating before and after images is an essential part of many professions, including photography, home renovation, and medical procedures. Photoshop is a powerful tool that can be used to create stunning before and after images with ease. The before and after tool allows users to compare their original image with the edited one in real-time. In this blog post, we'll explore the top five things you need to know about this feature, so let's dive in: 1. Before and After view modes. Photoshop offers two different ways to view your images- side by side or split view mode.
20+ Amazing Images Before And After
Learn to create beautiful before and after animated GIFs to show off your editing work. Based on the animated GIFs you've probably have seen on this channel'. In this tutorial I show you quickly how to make a before and after in Photoshop.Follow me on Instagram - https://www.instagram.com/marcus.pobee/Subscribe for. This is the easiest way to make a before after comparison in Photoshop.Please visit my Instagram: https://bit.ly/2ZGLwv3You need stock photo or video? What a. Go to "Window - Timeline" to open the animation Timeline and click on "Create New Frame Animation". Use the "New Frame" icon to make Frames from the "Before" and "After" layers. Choose the Frame duration and how many times the Animation will repeat. In this example, we choose "3 Seconds" and "Forever". Be sure to.
50 Before and After Pictures LP Club
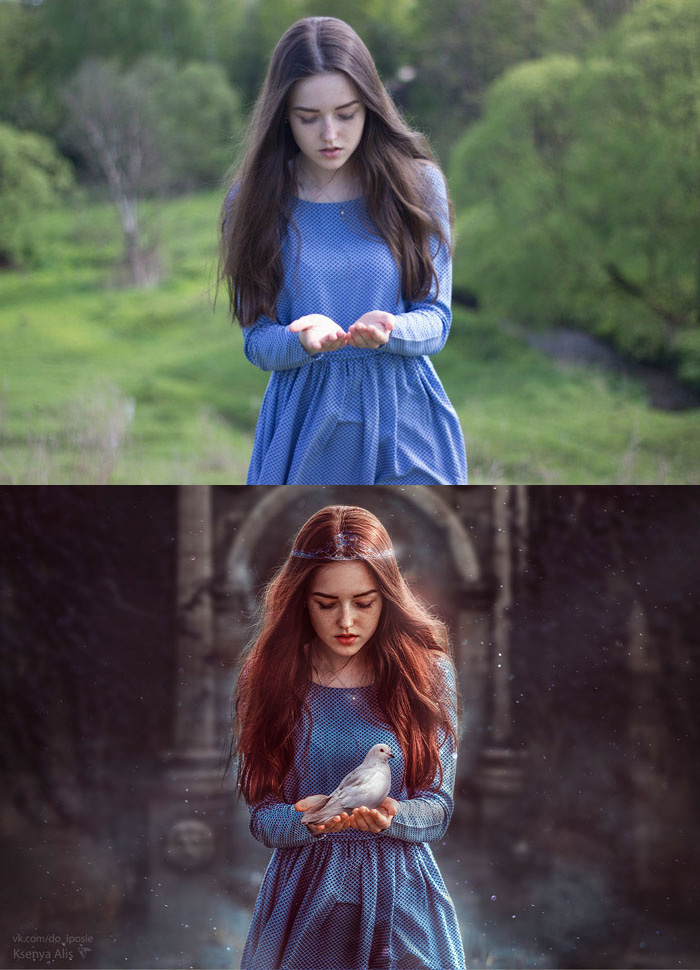
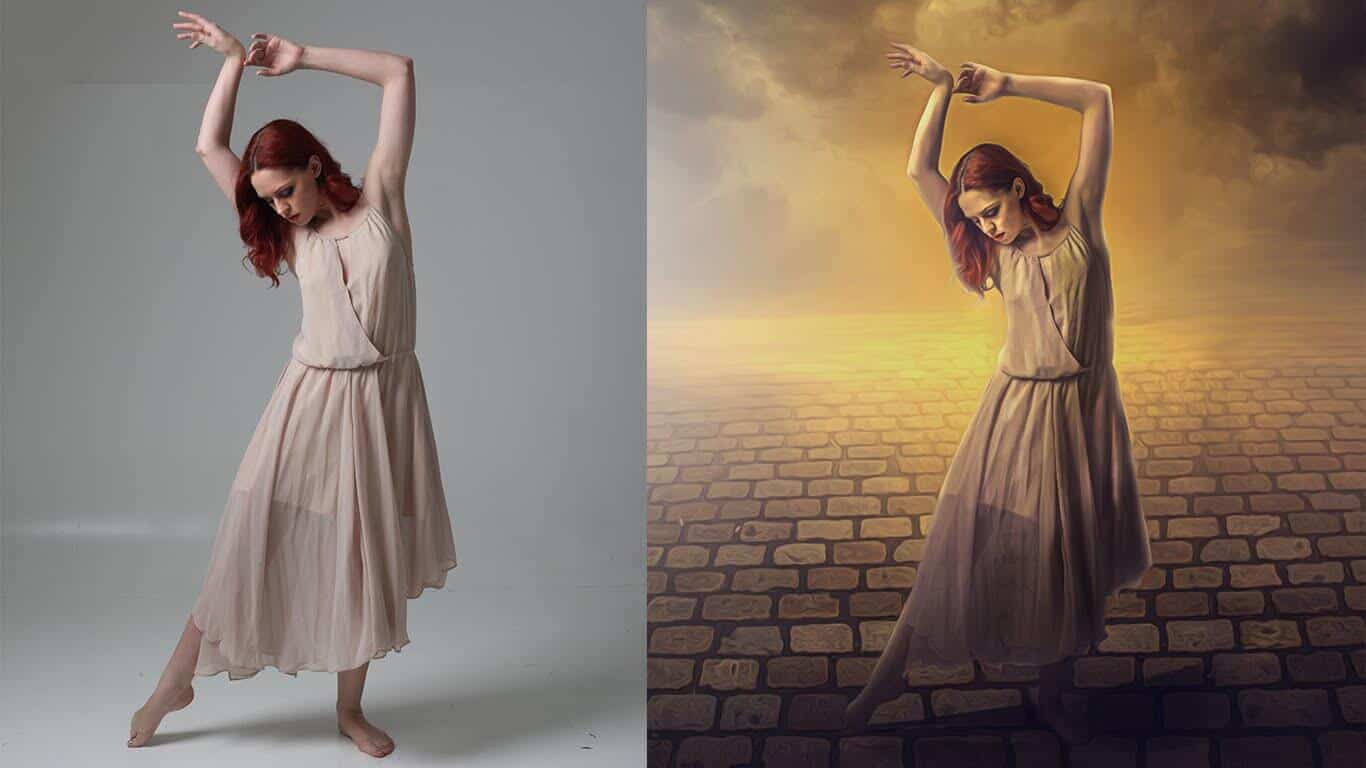
Step by Step Tutorial: How to Use the Before and After Photoshop Shortcut. If you're looking to up your Photoshop game, then mastering shortcuts is a crucial step. One of the most useful shortcuts in the arsenal of any designer, photographer or digital artist is the 'before and after' shortcut. Adobe Photoshop was released on 19 February 1990 and it changed the creative business forever with its powerful features and ease of use. Today's post is a compilation of before-and-after images that show how Photoshop helps designers and photographers transform their images and elevate them to the next level. Check them out below.
The Benefits of Examining Images before and after Using Photoshop Adobe Photoshop is a powerful and versatile tool that has revolutionized the world of digital photo editing. With its extensive range of features and capabilities, this software has become an indispensable part of the creative industry worldwide. It's always handy to see a before and after of your image while editing in Photoshop to check your progress. Matt shows you a quick way to do just that.
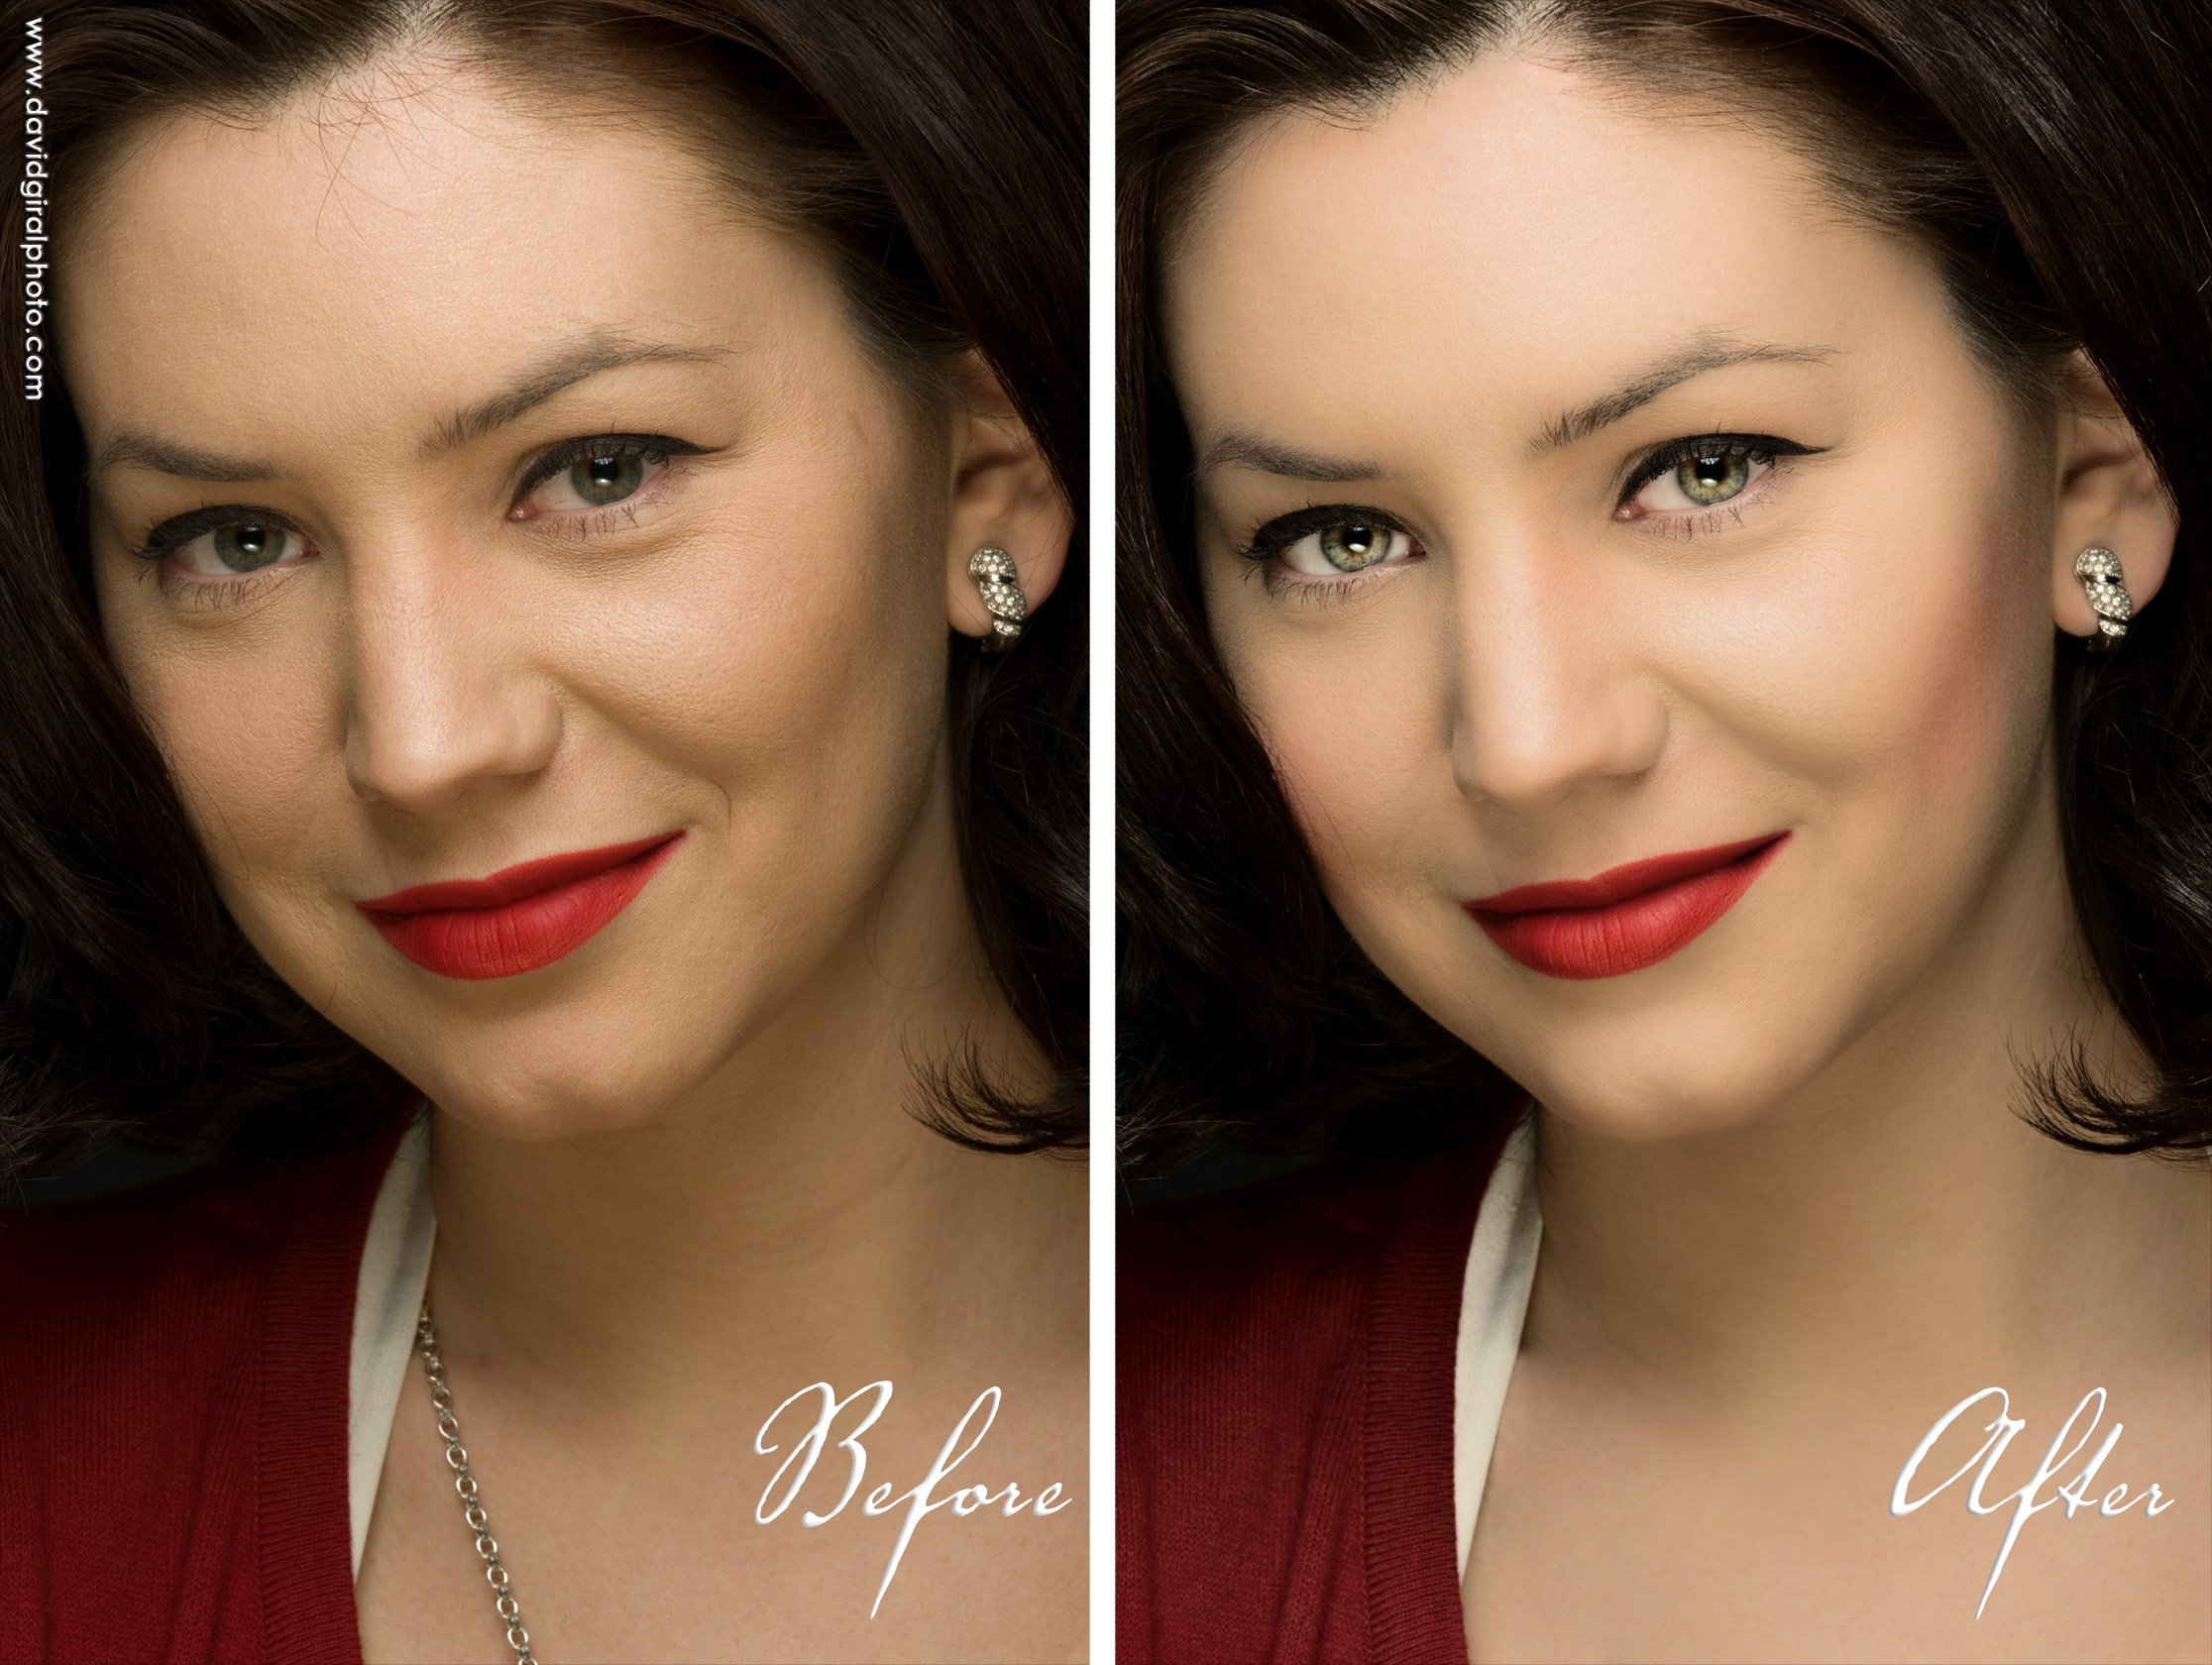
Makeover Fashionista514′s Headshot David Giral Photography Blog
Nov 06, 2017. I'm using PS a lot more these days but was wondering if there is some keystroke that allows you to toggle from a before view of the image to the image after you have made changes---side by side. In Lightroom, I make my changes and you merely hit the Y key and you get a before view on the left pane and an after view on the right pane. Step 4: Viewing Before and After. To see a side-by-side comparison of your original and edited versions, go to the top menu and select Window, then choose Arrange, and finally click on New Window for [filename]. This will open a new window with the same image. In the new window, select one of the images and navigate to Window > Arrange, then.
