Step 1: Draw a Basic Outline. To begin your flower line drawing, draw a vertical curved line with a horizontal line across the top. This doesn't have to be straight—after all, no two flowers look exactly the same! Take your pencil or pen down from the horizontal line until it meets the end of the vertical line. Rose Sketches (Black and White) If you are feeling a bit more adventurous, you can start drawing the following rose models. Roses can be harder to draw, and these sketches below will take more time. But, with a little bit of patience, you should be able to draw beautiful rosebuds in a few minutes.

Flower sketch Ink Flower sketches, Pencil drawings of flowers, Ink sketch
3,765 Free images of Flower Drawing. Browse flower drawing images and find your perfect picture. Free HD download. Royalty-free images. 1-100 of 3,765 images. Next page. / 38. Find images of Flower Drawing Royalty-free No attribution required High quality images. 4. Add some simple color. When it comes to adding color, give yourself a limited palette to begin with. Choose a few main colors for your petals and leaves, and select one or two shades lighter and darker to use for shadows and highlights. Next, block in the main colors. Step 2: Sketch in the Stem and Basic Flower Shape. Start by creating a rough outline of the rose. The flower holds a bud- or bell-like shape, so make sure to capture the form of your flower just right. Add your stem and then place a small circle at the top of the flower to center the budding petals. Take your flower doodles to the next level with these detailed little floral drawings. Draw with me as we go step-by-step through each flower. Subscribe to m.

Beautiful flower drawings, Realistic flower drawing, Color pencil art
paper. pencil. eraser. pen / marker. watercolors. paint brushes. jar of water. Going beyond your basic supplies, you will also need to have a flat surface with enough space to set up your laptop, tablet, or smart phone to follow your instructions from Park. Scroll down to learn how to draw flowers and check out more of Park's work on Instagram. Step-by-Step Instructions for How to Draw a Rose, Plus 5 Unique Flowers. From there, you'll find six specialized flower drawing chapters, one for each popular flower that you will discover sketching techniques in this eBook. Azaleas, Gerbera daisies, hydrangeas, water lilies, magnolia blossoms, and how to sketch a rose. Want to draw more florals? Today I'm sharing step-by-step instructions for TWELVE different flowers! So grab a pen and let's draw together! Subscribe to my c. How To Draw a Flower step by step In 6 Minutes!After uploading my previous Rose video with real time i was thinking that i should continue this so i made ano.
How To Draw a Flower? 45 Easy Flower Drawings For Beginners
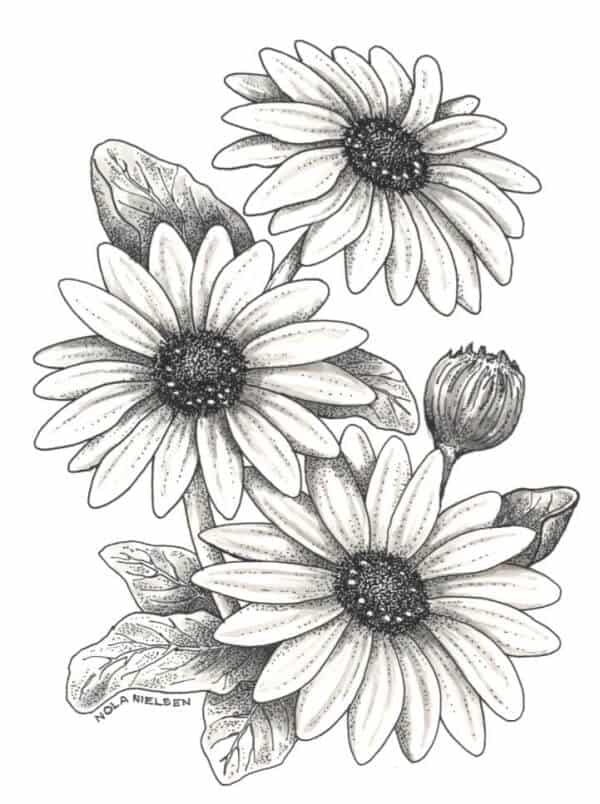
Start the outline by sketching a small circle. 2. Draw a bigger circle. Make it look like a disc so you could remember the basic outline of a daisy flower whenever you draw one. 3. Start drawing the actual lines by the small circle at the middle. 4. Begin drawing the petals with two line strokes, up and down directions. How to draw flowers in a vase. You can really make a flower pop by drawing it alone in a simple vase. Step 1. Draw a simple, tall vase. Step 2. Draw a long flower and let it hang a bit to the side of the vase. Step 3. To give it more dimension, add lines for the water and the bottom of the vase.
How to draw a Flower easy and step by step. Draw this Flower by following this drawing lesson. Learn how to draw a beautiful lotus flower! Remember, it's ok if your drawings look different then ours. Have fun and practice! 👩🎨 JOIN OUR ART HUB MEMBER.

√ Drawing Beautiful Flowers
Learn how to draw a flower bouquet!Become an Art Club member https://www.artforkidshub.com/join-art-club/ Learn more about the art supplies we love to use ht. Begin by drawing a tiny heart shape to create the center of the rose.; Next, we'll start layering the petals.Draw the petals in a wide rounded shape and keep first layer relatively close to the center. As we expand the flower, make the petals slightly larger and open. The last layer of flowers should be noticeable bigger than the rest, and lay fairly flat.
