Learn to draw a MotorcycleSTORE: https://teespring.com/stores/guuhstoreSUBSCRIBE: https://goo.gl/QnNBj6INSTAGRAM: https://www.instagram.com/guuhdesenhosFACEB. 4.8K Share 798K views 3 years ago #motorcycle #art #ArtTutorial Do you want to learn how to draw a motorcycle (motorbike) easy for kids and beginners. It's super easy art tutorial, only.
Learn How to Draw a Motorcycle for Kids (Two Wheelers) Step by Step Drawing Tutorials
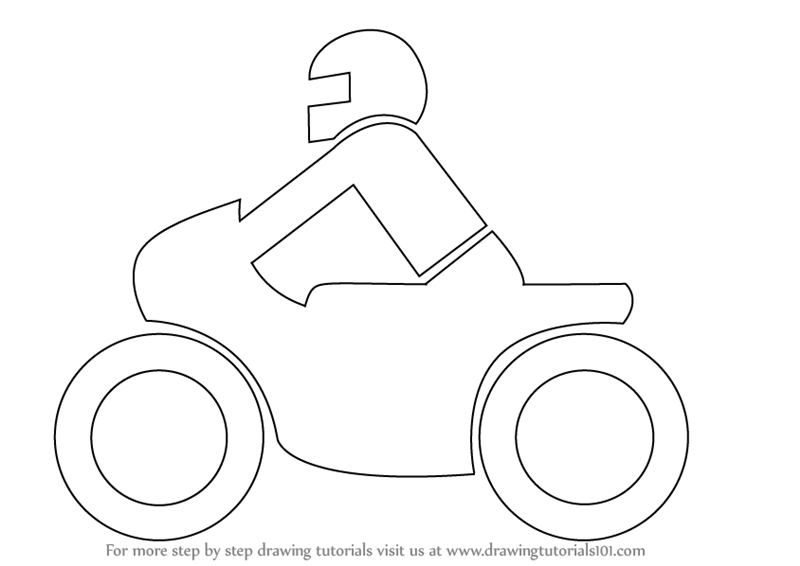
Follow along and learn how to draw a dirt bike! 🎨 ART SUPPLIES we love https://www.artforkidshub.com/art-supplies/📺 SUBSCRIBE to our channel here http:. 1 Draw a pentagon or a shape with 5 sides. This is the guideline for the body. 2 Add 2 circles beneath the pentagon. This will serve as the guide for the wheels. 3 Using the guideline, sketch out the body of the motorcycle (depending on what design you want) by dividing the shape into the front, the seat, the rear, etc. 4 1. Begin by drawing two circles. Then, draw a smaller circle within each. These form the motorcycle's wheels. Easy Motorcycle Drawing - Step 2 2. Draw another small circle inside each of the existing circles. These form the motorcycle's hubcaps. Then, draw pairs of lines between the two inner circles, forming a five-pointed star pattern. Step 1 Draw two circles with another smaller circle inside right below the middle of your paper. This forms the front and the rear wheel of the motorcycle. Make sure that the wheels will be drawn in the correct spot by creating reference lines. Draw an intersecting horizontal and vertical line across your paper.
Motorcycle Outline Drawing Free download on ClipArtMag
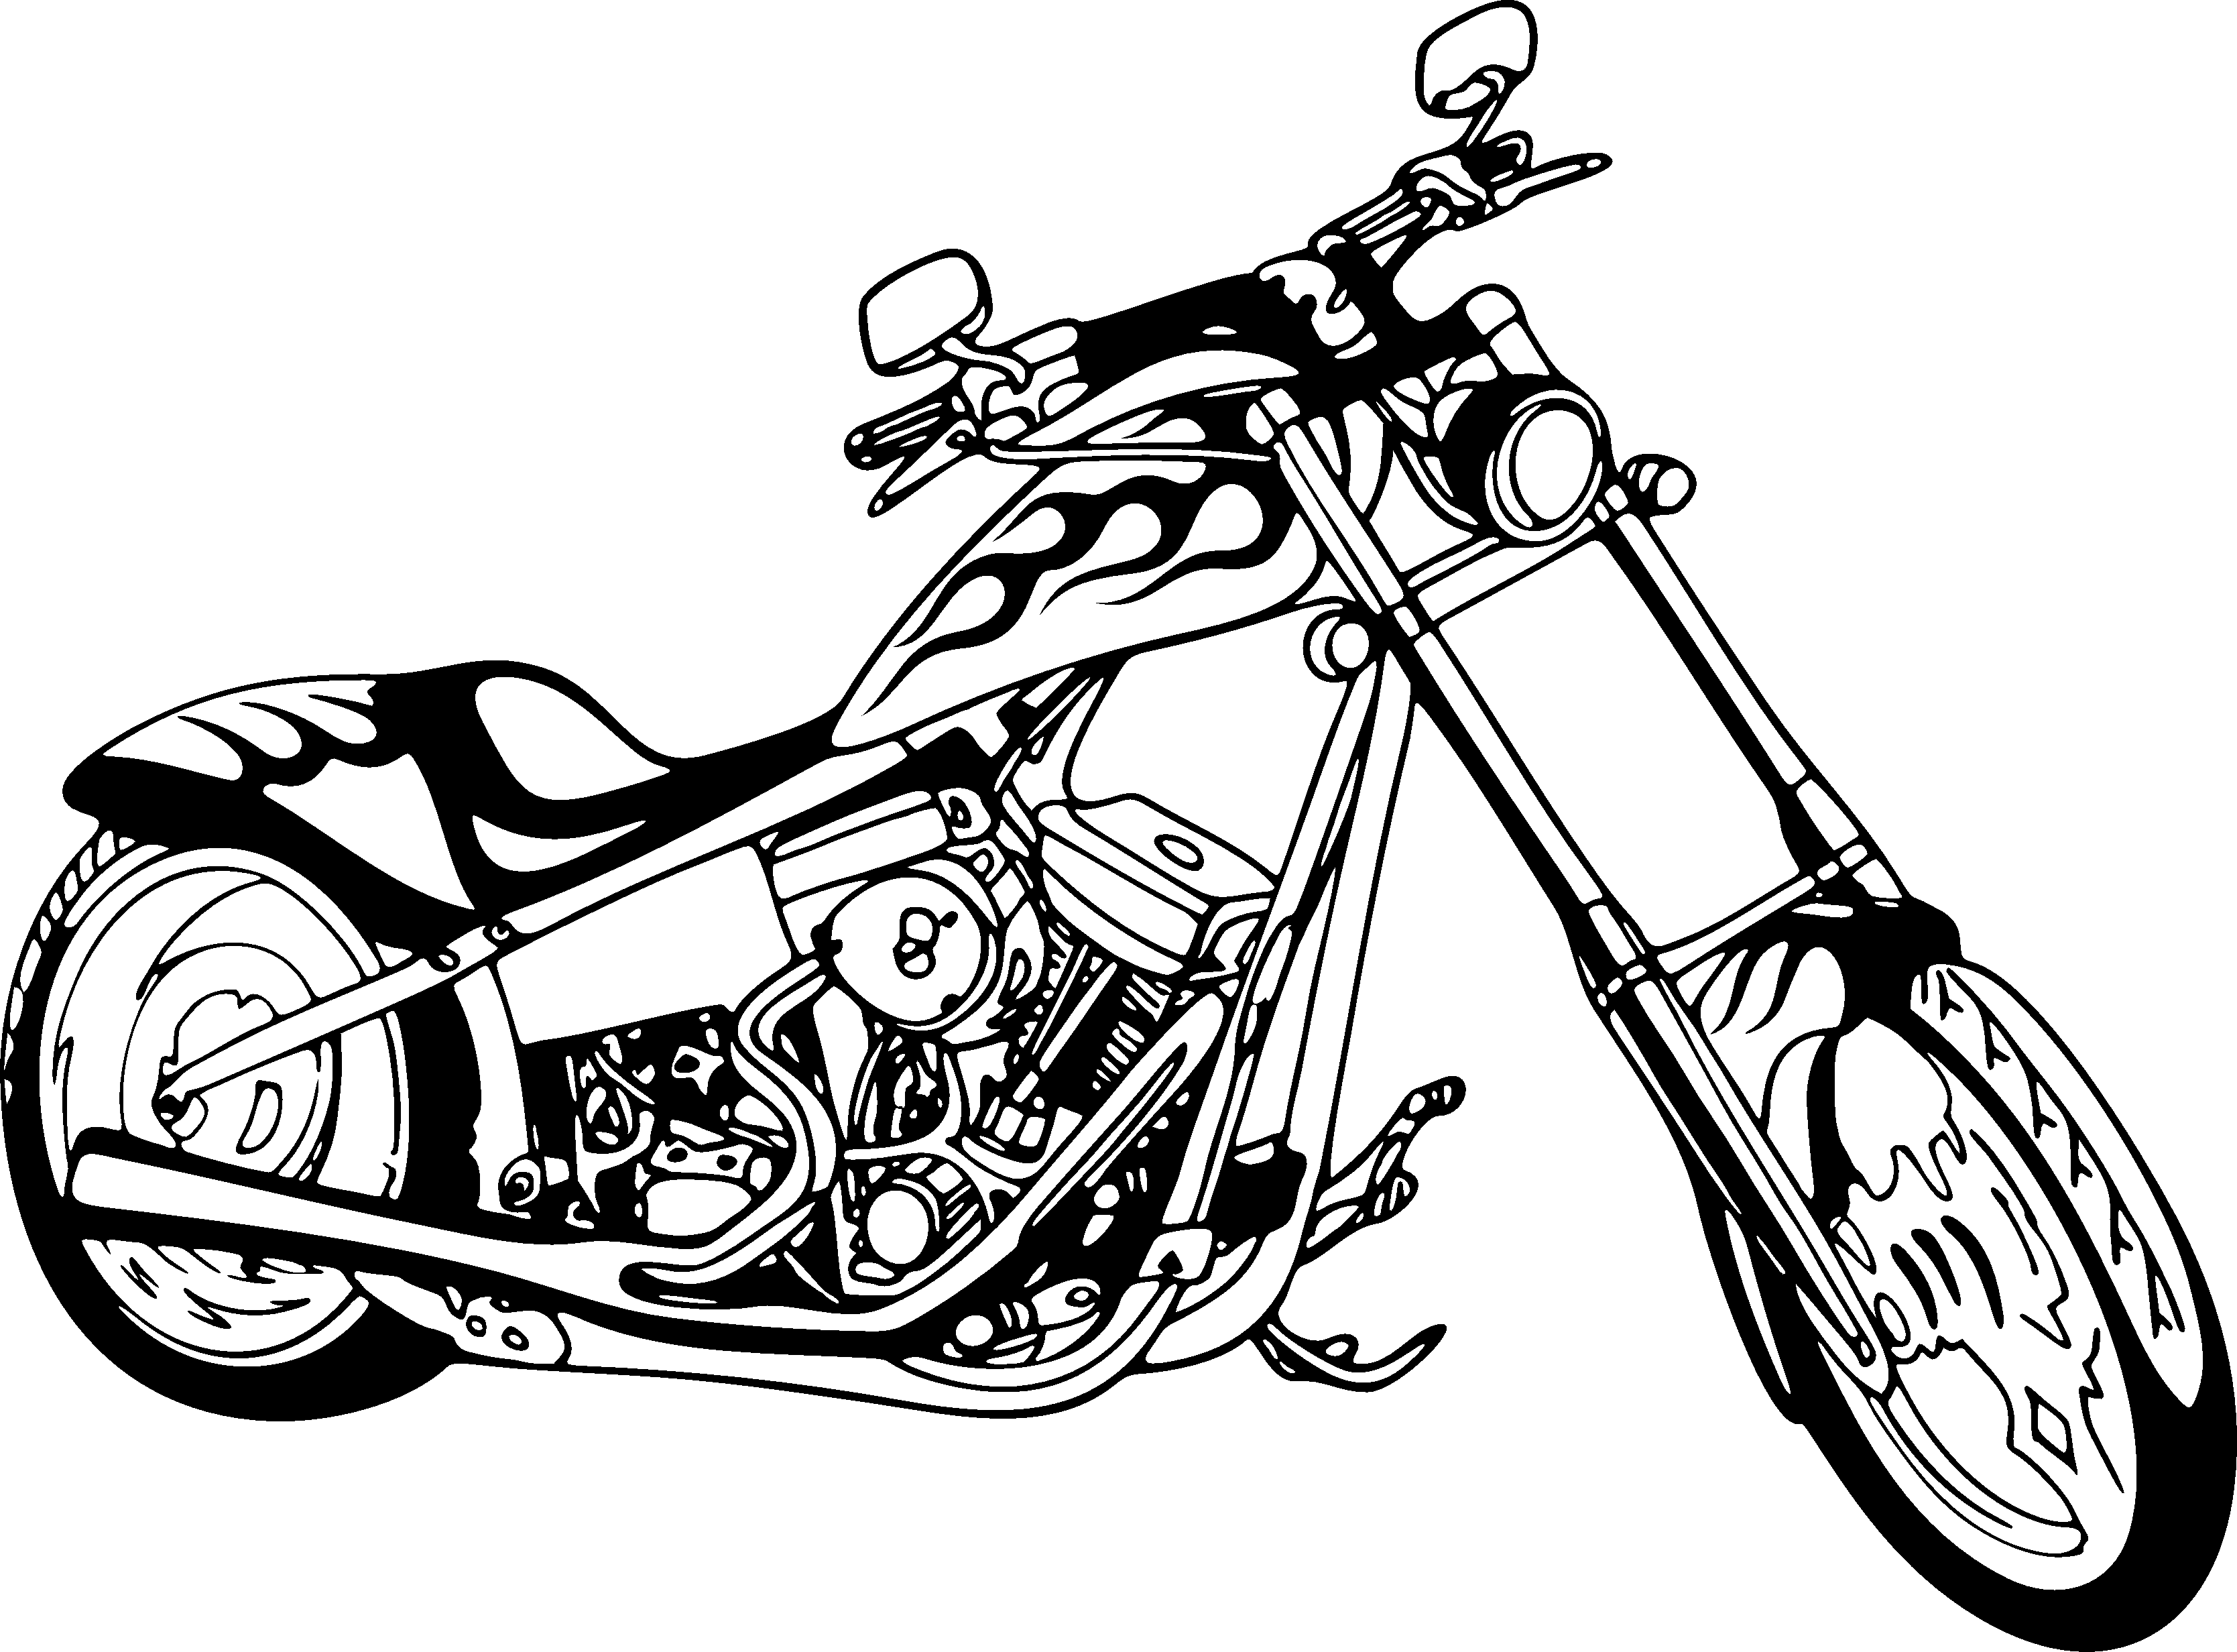
How to Draw an Easy Motorcycle Learn the art of drawing an easy motorcycle with this step-by-step guide. Unleash your creativity and create your own masterpiece on paper. by Arthur Lovell 11 minute read A simple Drawing a motorcycle may seem like a daunting task, especially if you're new to art. STEP 1 motorcycle drawing Create the motorcycle wheels by drawing two circles, one at the front and one at the back of the motorcycle. STEP 2 motorcycle drawing Add the wheel rims by sketching smaller circles inside the previously drawn wheels. STEP 3 motorcycle drawing add more detail like a picture STEP 4 motorcycle drawing Step 1: Draw the Wheels of the Motorcycle Illustration Begin by splitting your drawing area into half. On each half of the page, draw a large circle to represent each wheel of the motorcycle. The left wheel should be drawn slightly larger than the right, to represent the rear end of the motorcycle sketch. In this step, use straight and curved lines. Depict the back of the motorcycle and the front fork. The rear of the motorcycle has a triangular shape. In front, add the thin tube. Sketch out the wheels. Draw two identical circles. Add the inside of the wheels. Depict two small circles in the center of each wheel.

Pin on Drawing tutorial
Step 1: Create a shaft directly attached to the front wheel and somewhat diagonal. Include a larger line figure at the shaft's base, midpoint, and tip. It generates the motorcycle's covers as well as its handles. Then, draw a half-circle on the right side in the center of the shaft we just made. Varooom.Learn how to draw a motorcycle, by following along with us! SUBSCRIBE for regular drawing and art lessons:http://bit.ly/afksubscribeVisit AFK websi.
All you'll need is something to draw with, we love using Sharpies, and some paper. Regular printer paper will work fine. You'll also want something to color your motorcycle with after you're done drawing it. We use oil pastels from Pentel. We can't say enough good things about them. They're super bright and they blend super well. We. Step 9: Draw a few spike-like structures on the motorcycle's wheels for the wheel rim. Also, draw a square-shaped structure behind the motorcycle's engine for the radiator. Then, draw a few horizontal lines on the engine and airbox with the filter for the pattern.

Ideen fur Motor Bike Easy To Draw
Step 1: Draw A Curved line with a C-shaped Curve Facing the right side Turn your paper long ways, called landscape orientation. This offers the best orientation for long items. Close to the bottom of the page, about two inches from the bottom of the sheet, draw a straight line about one and a half inches in width. Step 1: Draw the Head The first thing we are going to draw is the head of the motorcycle. This is the part of the motorcycle that holds the windshield, speedometer, headlights, and start switch. To draw the head, start by drawing a small vertical oval shape close to the left margins of your drawing paper.
