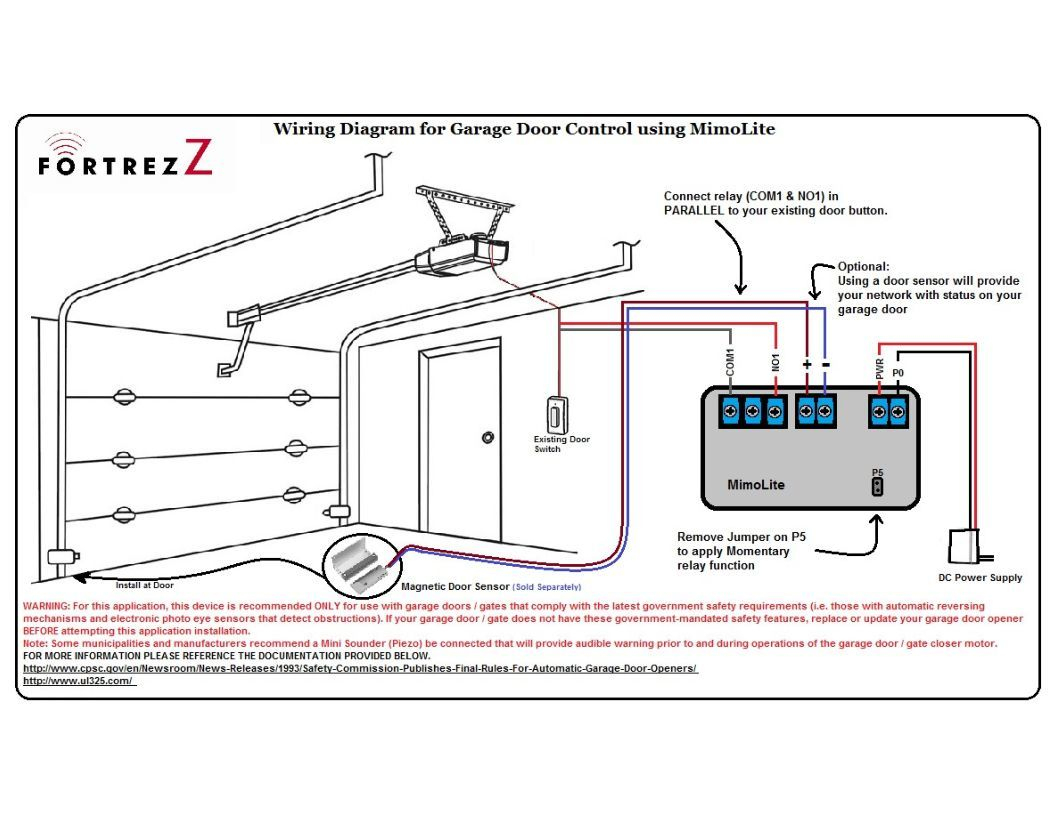
Patrick Nelson Connect the safety sensor wiring by running the bell wires from both of the sensors. Craftsman 1/2-horsepower garage door openers are shipped with a fixed cord that can be plugged directly into an available grounded household outlet. A wiring diagram for Craftsman Garage Door Opener contains all the essential connections that are needed to make the opener work correctly. The diagram will show the components that need to be connected and labeled appropriately. It will also provide any additional wiring needed and suggested connections between them.

chamberlain garage door wiring
Showing 1 to 115 of 115 entries Vital information you'll find inside Craftsman garage door opener manual You have probably heard a thousand times before how important the owner's manual is. Manufacturers always recommend you read their manual before you use the product. Most garage door openers come with two types: an electrical wiring diagram and a mechanical wiring diagram. The electrical wiring diagram is used to connect the electrical components, such as the motor, the safety sensors and the wall switch. Kris The Specialist 14.3K subscribers Subscribe Subscribed Like Share 299K views 2 years ago Craftsman Garage Door Opener Assembly. The old Craftsman broke after 18 years of service. I show you. More about Craftsman 1 2 Hp Garage Door, see our website: https://mydiagram.online/craftsman-1-2-hp-garage-door-wiring-diagram/Craftsman 1 2 Hp Garage Door W.
Door Sensor Wiring Diagram Sharps wiring
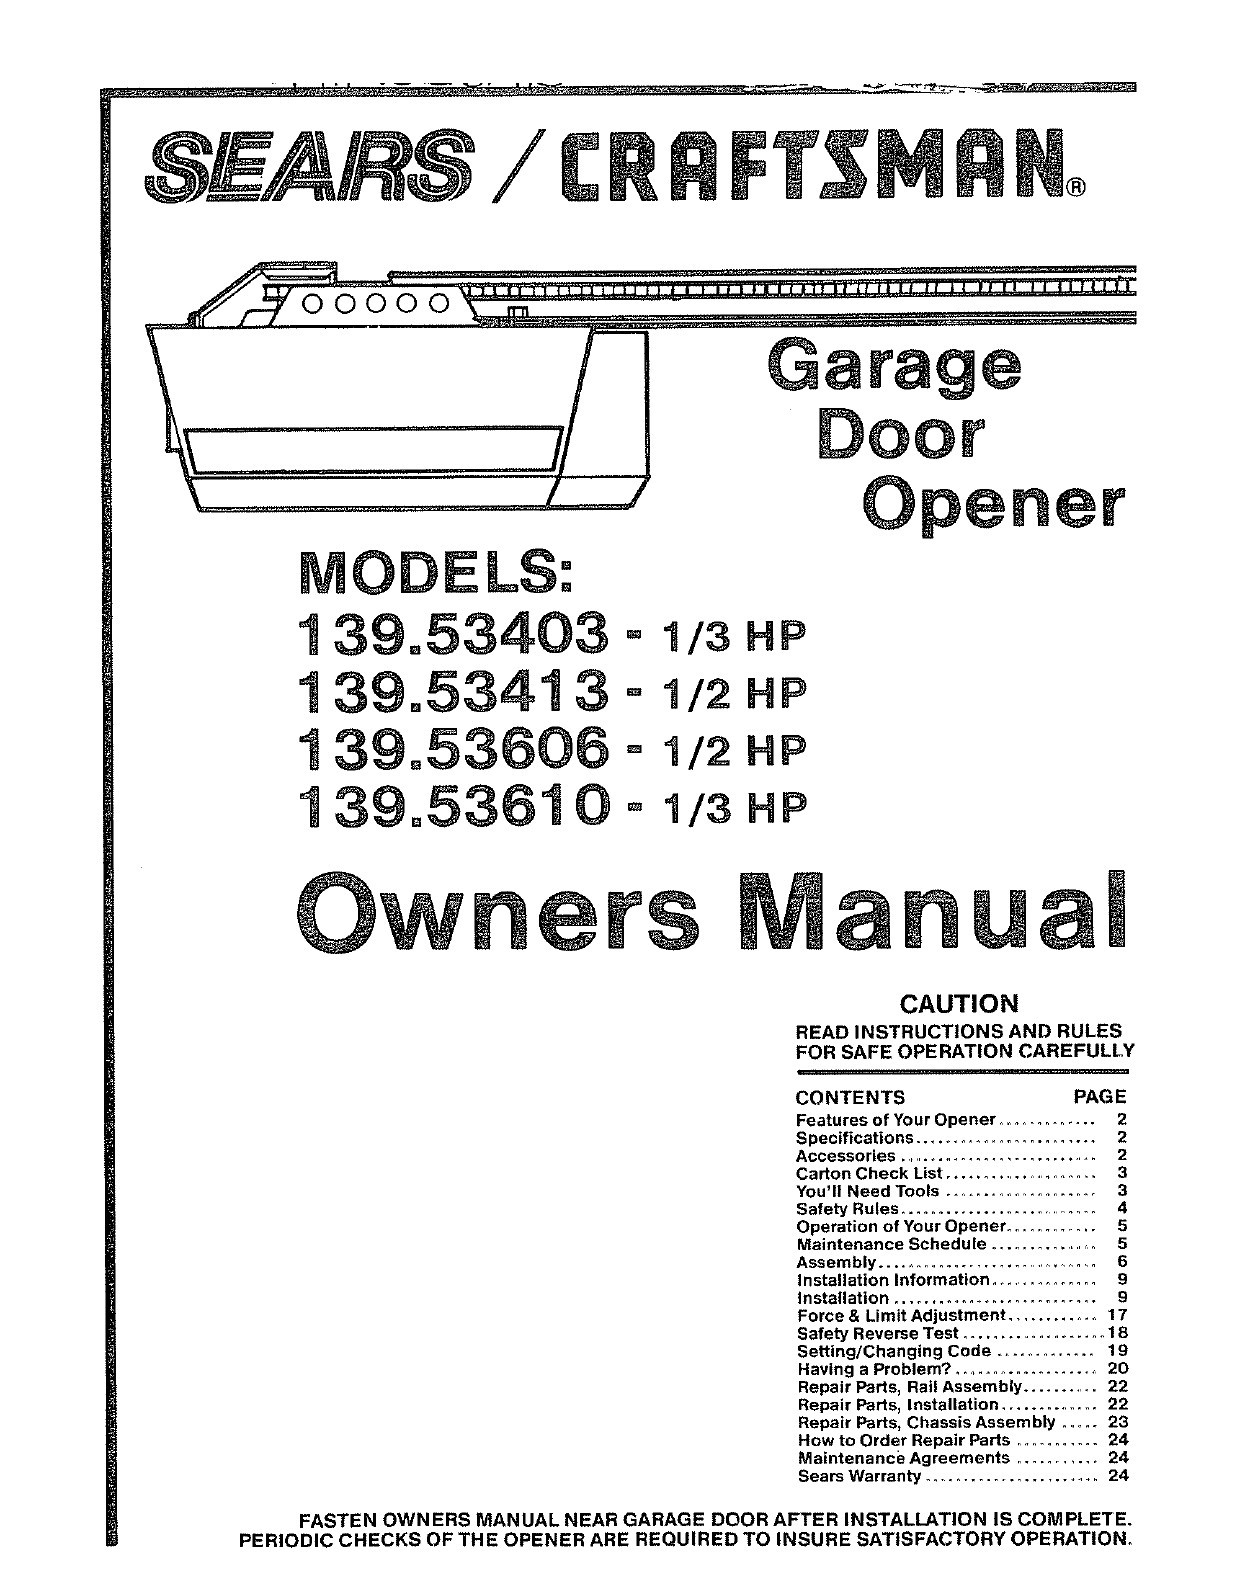
Model/Modelos • 139.5364812 Sears, Roebuck and Co., Hoffman Estates, IL 60179 U.S.A www.sears.com/craftsman TABLE OF CONTENTS Introduction Safety symbol and signal word review Preparing your garage door Tools needed Planning Carton inventory Hardware inventory Assembly Assemble the rail and attach the pulley bracket Install the trolley View and Download Craftsman 139.5399 owner's manual online. 3/4 HP. 139.5399 garage door opener pdf manual download. Also for: 139.53990. Sign In Upload.. Page 23 MOUNTING AND WIRING THE SAFETY SENSORS • Slide a 1/4"-20x1/2" carriage bolt head into the slot on each sensor. Use wing nuts to fasten sensors to brackets, with lenses pointing. View and Download Craftsman 139.53910D owner's manual online. 1/2 HP 315MHz Garage Door Opener. 139.53910D garage door opener pdf manual download. View and Download Craftsman 139.53985DM owner's manual online. 1/2 HP 315MHz Garage Door Opener for Residential Use Only. 139.53985DM garage door opener pdf manual download.

Craftsman Garage Door Opener Wiring Diagram Garage Doors
View and Download Craftsman 139.53930D owner's manual online. 1/2 HP 315MHz. 139.53930D garage door opener pdf manual download. Sign In Upload.. Page 22 MOUNTING AND WIRING THE SAFETY REVERSING SENSORS • Slide a 1/4"-20xl/2" carriage bolt head into the slot on each sensor. Use wing nuts to fasten sensors to brackets, with lenses pointing. View and Download Craftsman Garage Door Opener owner's manual online. 1/2 HP 315MHz GARAGE DOOR OPENER For Residential Use Only. Garage Door Opener garage door opener pdf manual download. Also for: 139.53985dm.
When installing a Craftsman 1/2 horsepower garage door opener, the wiring diagram from the owner's manual will provide some much needed guidance throughout the project. It is possible to follow the instructions without the wiring diagram, but having it can make the process much more efficient. The wiring diagram provided by Craftsman. View and Download Craftsman 139.53990D owner's manual online. 3/4 HP 315 MHz. 139.53990D garage door opener pdf manual download.
Liftmaster Professional 1 2 Hp Garage Door Opener Luxury Liftmaster
1. Understanding the Basics To begin your garage door opener wiring project, it's essential to grasp the fundamental components involved. Inside your garage, you'll find a wall button that plays a pivotal role in opening and closing your garage door. Step 1: Assembling the Opener Start by assembling the garage door opener according to the instructions provided in the manual. Carefully follow each step, ensuring all components are securely attached. Take note of any specific guidelines or warnings mentioned in the manual to guarantee proper assembly. Step 2: Mounting the Opener to the Ceiling
