Happy St. Patrick's Day! We're learning how to draw a four-leaf clover!SUBSCRIBE for regular drawing and art lessons:http://bit.ly/afksubscribeVisit AFK webs. How to draw a four leaf cloverSUBSCRIBE: http://bit.ly/2Tx1ViGINSTAGRAM: https://www.instagram.com/guuhdesenhosFACEBOOK: https://www.facebook.com/guuhdesenho.

Four Leaf Clover Drawing Free Stock Photo Public Domain Pictures
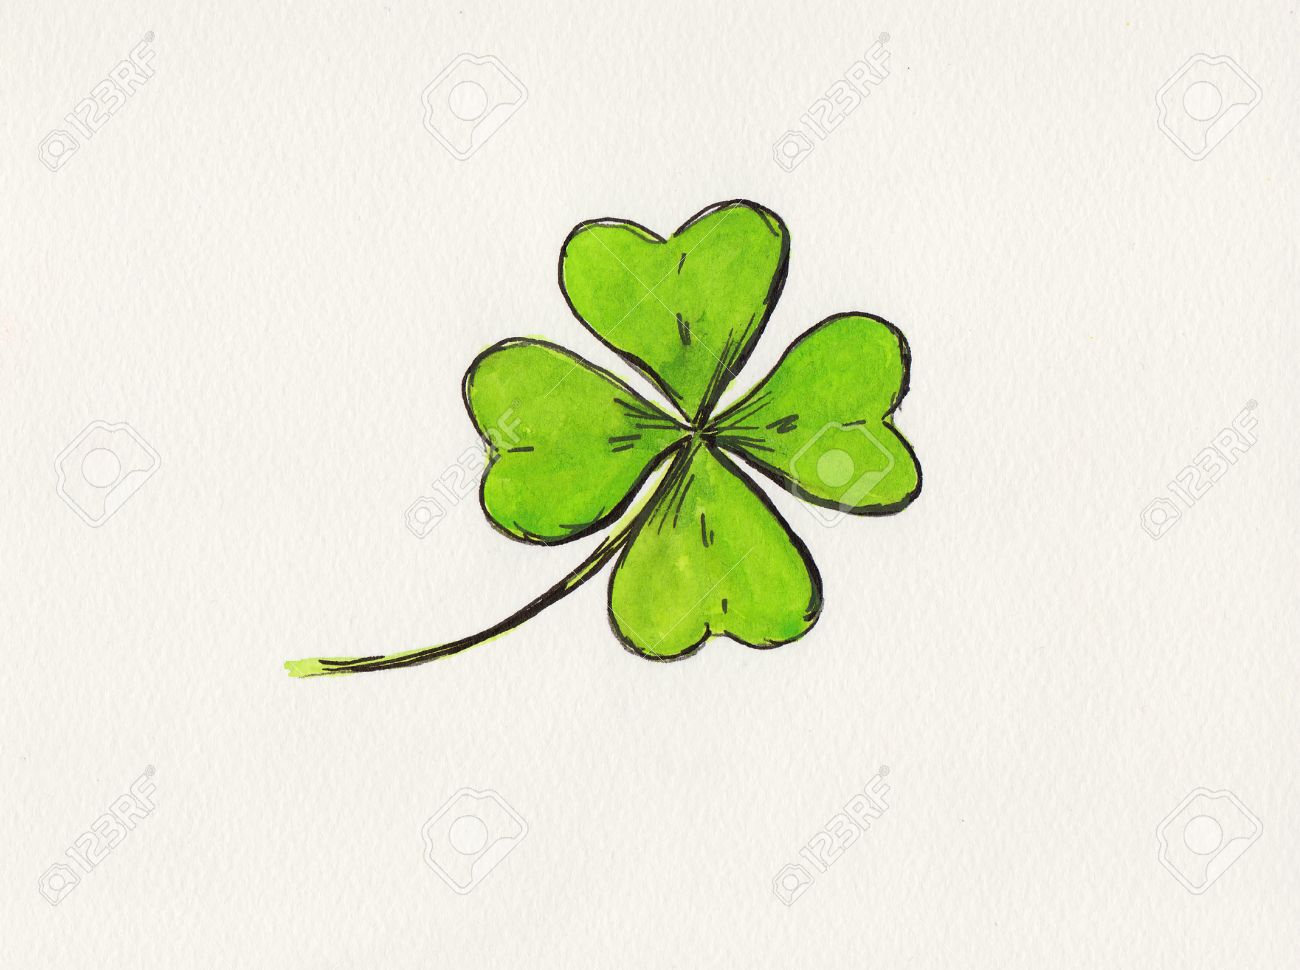
Step 1: Let's draw one of the leaves. Draw a small heart shape that tilts slightly to the left. Step 2 Step 2: Next draw in the other 3 leaflet shapes, joining the points in the middle. Step 3 Step 3: Now you'll sketch in center vein marks on each petal starting from the center. Notice how they taper on the end and have a slight curve. Draw The Stem Lastly add a stem to this four leaf clover drawing. Complete Your Drawing Grab your green crayons or colored pencils and start coloring your four leafed clover. How to Draw a Four Leaf Clover PDF Download Click the link below to view or download this drawing lesson. Learn how to draw a four-leaf clover in this simple, step by step drawing tutorial. Step 1 Set the object limits on the sheet of paper. Draw a circle that will serve as your clover base and draw a line to show the direction of the stalk. Step 2 Using straight lines, intersecting at the straight angle, show the clove leaf veins growth direction. Draw a stalk also. Step 3
4 Leaf Clover Drawing at GetDrawings Free download
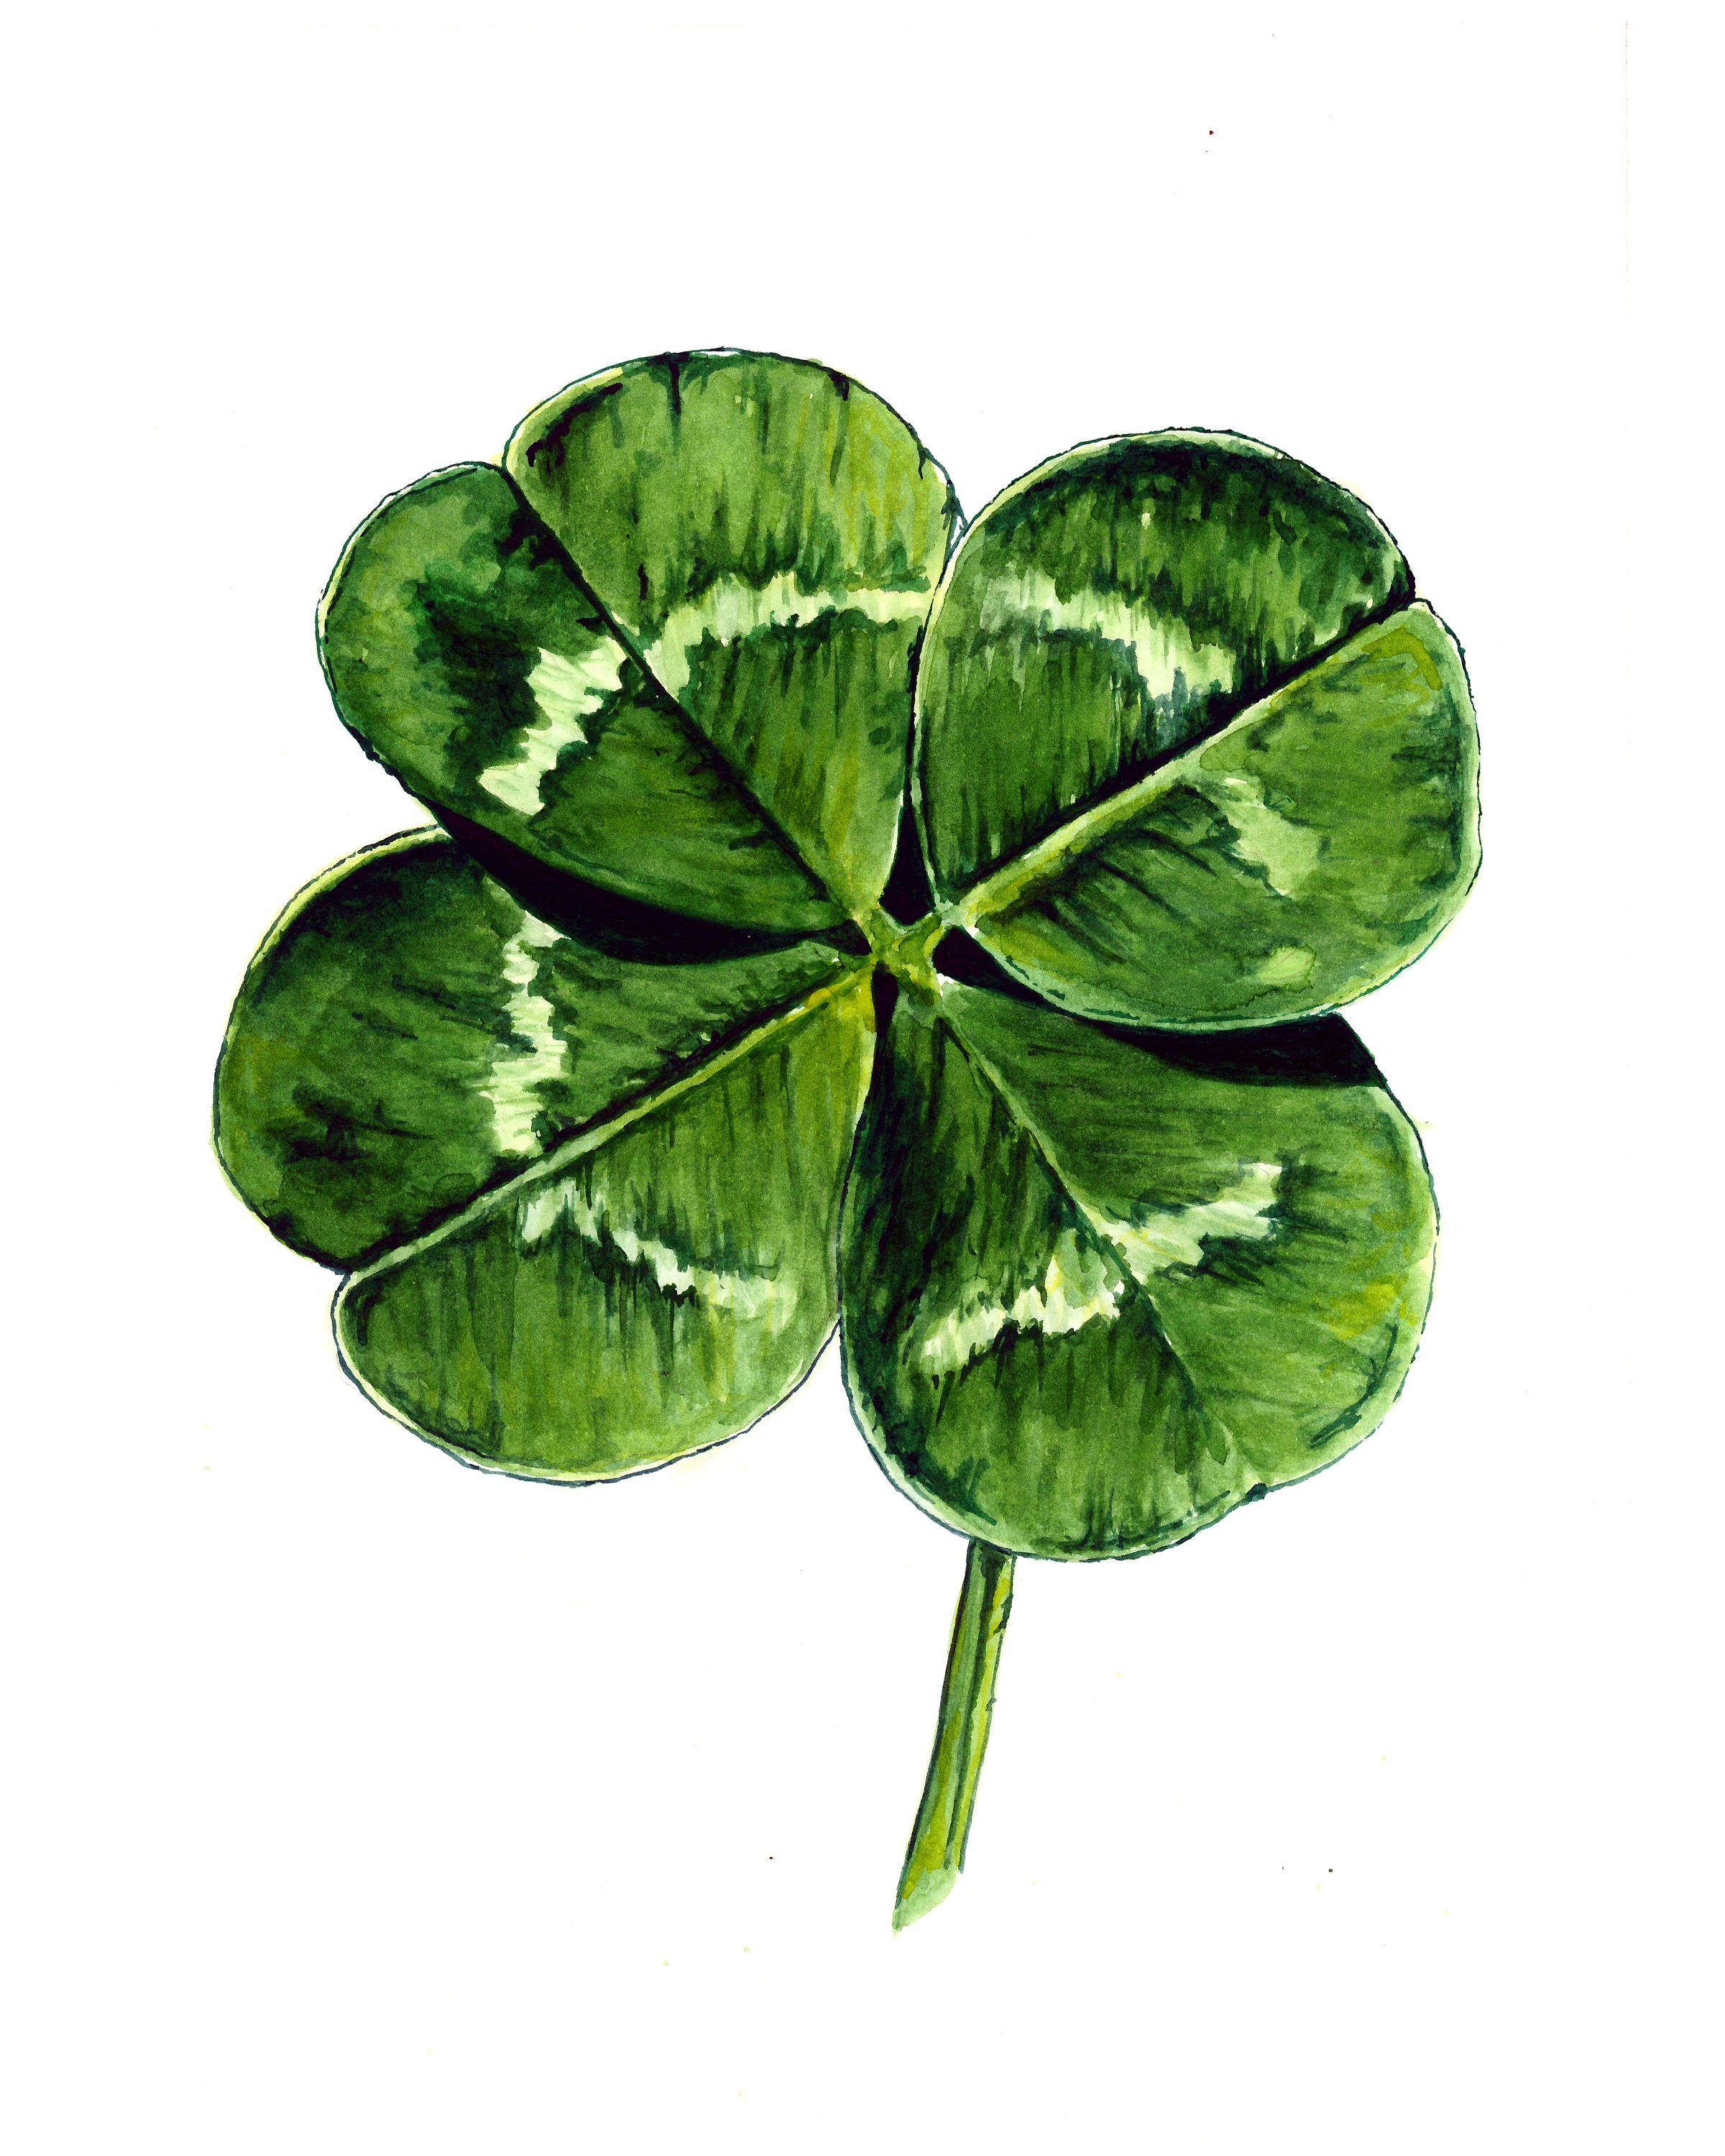
Step 1: Draw a Heart Shape The very first step when drawing a shamrock or four-leaf-clover is of course the leaves! Obviously, as the name suggests, there are four. When you look at a clover, you will notice that each leaf is heart-shaped. Each heart's point meets in the middle. This four-leaf clover drawing tutorial takes you step-by-step through the process of creating a detailed and colorful clover drawing. Follow along with us as we learn how to draw a shamrock in 12 easy steps! Table of Contents [ Show] Step-by-Step Clover Drawing Tutorial This how to draw a four leaf clover lesson is especially for young artists. We used green and blue construction paper, a black marker, oil pastels, scissors, and glue. After they complete their clover cutout, let your young artists finish their drawing any way they want. You may notice that most of our activities don't include drawing the. Sharpen your pencils and switch to sketching mode. Four Leaf Clover Drawing Steps Step 1: Draw a circle How to Draw a Four Leaf Clover Step 1 Step 2: Divide it into four parts by drawing intersecting lines. How to Draw a Four Leaf Clover Step 2 Step 3: Make a heart shape. How to Draw a Four Leaf Clover Step 3
3 Leaf Clover Drawing at GetDrawings Free download
With this easy four leaf clover drawing ideas, you can learn how to draw a four leaf clover easily. I made this cool step-by-step drawing tutorial as a guide for a beginner to. In this video we decided to make a, " How to Draw a Four-Leaf Clover" tutorial! So far this month we have drawn a Leprechaun Step by Step and now a Four-Leaf Clover! Both of these.
Step 1 - Roughly Sketch your Four-Leaf Clover For the first step, we will use a sketching or light-colored medium to roughly sketch the shape of our leaves. To make each of the four heart-shaped leaves, we need to draw them with the bottom of the heart shape touching the center of our drawing area. Create the Four Clover Leaves Time needed: 25 minutes How to Draw a Four-Leaf Clover Draw the first leaf. So, first draw the first clover petal. We don't create the basic shapes or layouts first, but draw the individual parts of the clover. Draw a second leaf. Repeat the previous step and draw another clover petal.
Four Leaf Clover Drawing ClipArt Best
How do you draw a four leaf clover? Anyone can draw four leaf clovers. With some practices and learn the basics of drawing you could even learn how to draw like a pro! Even if you. Step 1 As we start this guide on how to draw a four-leaf clover, we shall begin with something in the name: the leaf! As you might imagine, there will be four of these that look identical, but we will tackle them separately as each is at a separate angle, potentially making it more difficult.
