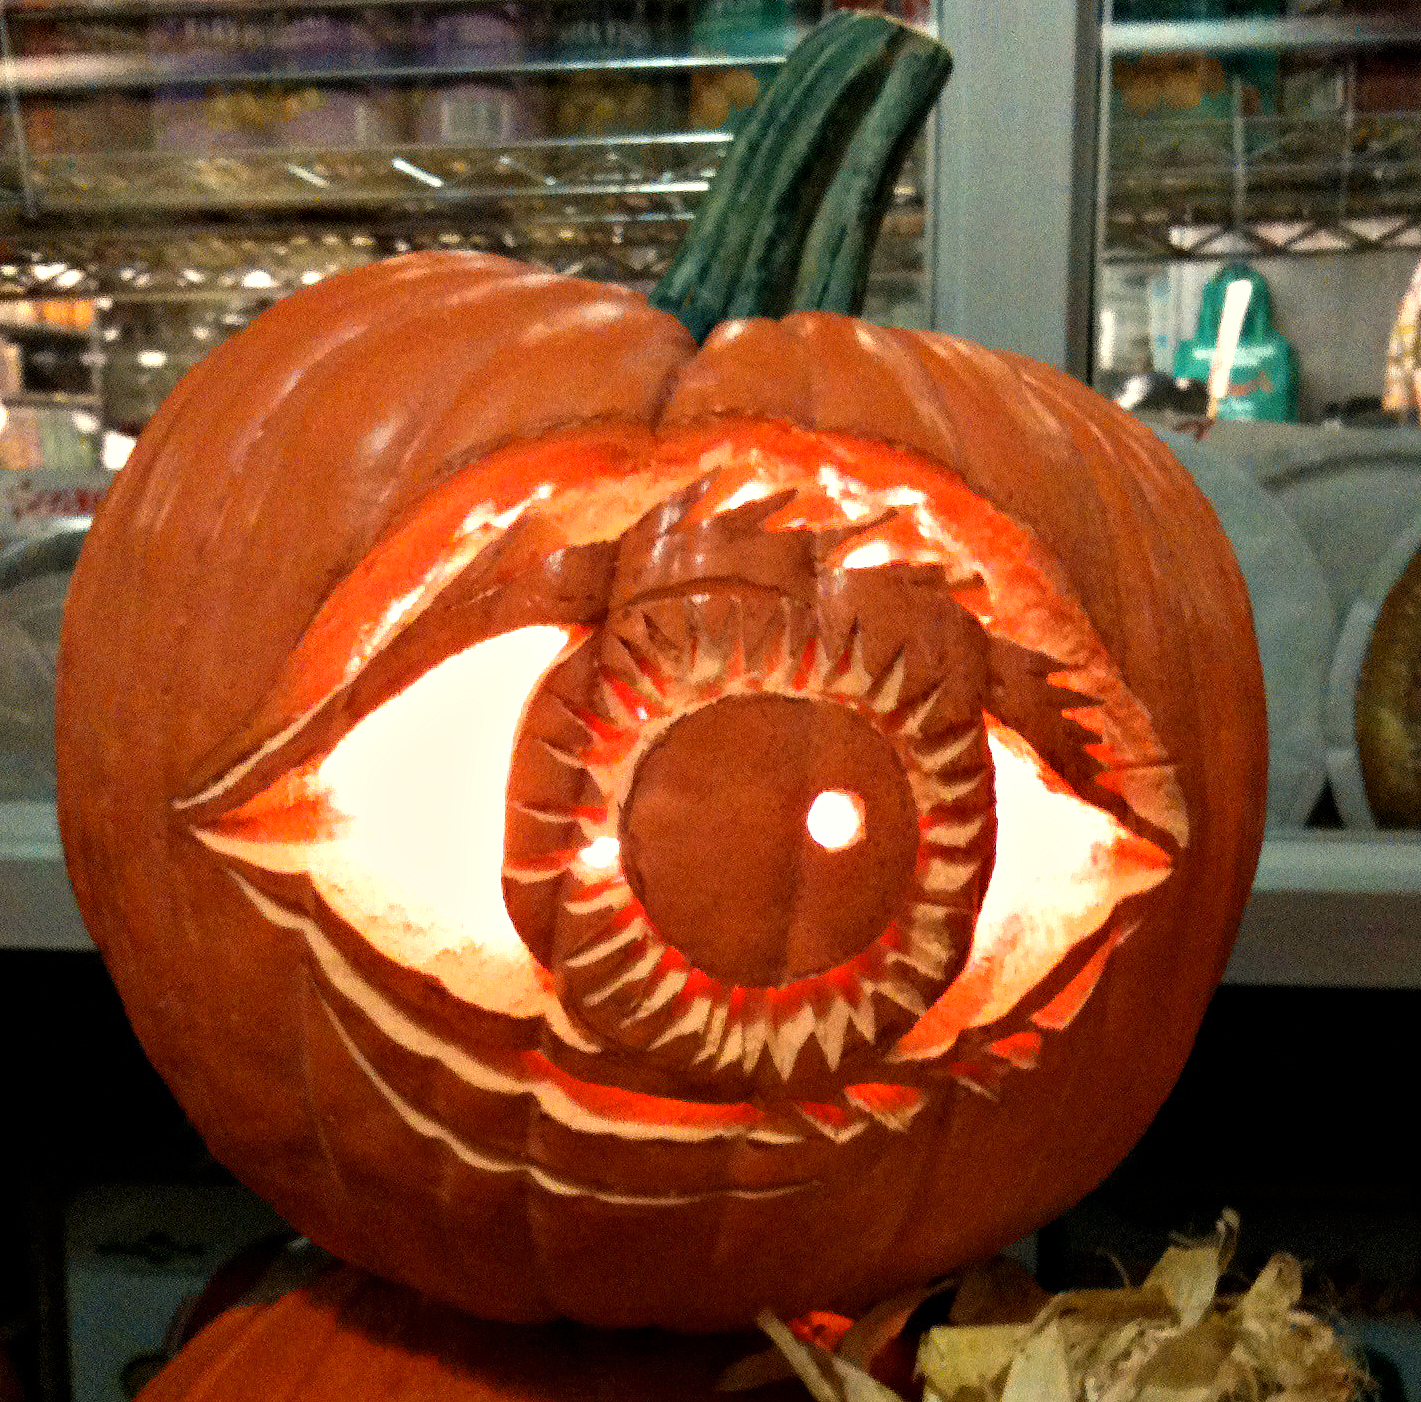
Start with two white pumpkins (stems removed) and two slightly larger orange pumpkins. Cut hole in back of each orange pumpkin big enough for white pumpkin to fit into. Hollow out orange pumpkins. DIY Carved Eyeball Pumpkins. Carve a hole on the backside of the orange pumpkin, large enough so the white pumpkin can fit inside. Remove the stem from the white pumpkin first. Remove all the seeds and insides of the orange pumpkin. Carve an eye shape on the front of the orange pumpkin, making sure the size is slightly smaller than the white.
Pumpkins and JackO'Lanterns Facts and Legends Good to Know Eat Out
Step 4: Cut Out the Eye. Measure the little pumpkin while it's on its side, then mark that width on the front of the big pumpkin. Draw a large eye shape on the pumpkin, using the endpoints you just drew as the corners of the eye. Make sure this eye outline is not bigger than the little white pumpkin. First, paint an eye on a smaller pumpkin, adding red veins for a creepy touch. Then, cut a large opening on the top of your second pumpkin, as well as a window on the side in the shape of an eye. Place the smaller pumpkin inside. Add a carved eyebrow above your eye for extra expression. Use craft glue or iron-on fusible tape to glue straight edges together. Fill hat with batting to help it stand upright; set on pumpkin. Attach a small wood craft bead to a small pumpkin with hot-glue to create a nose. Attach strands of yarn with hot glue around nose to create beard; trim as necessary. 5. Today, I will show you how to make an eyeball pumpkin for your halloween decorations!Supplies:1.large pumpkin2. smaller white pumpkin (to fit into larger one.
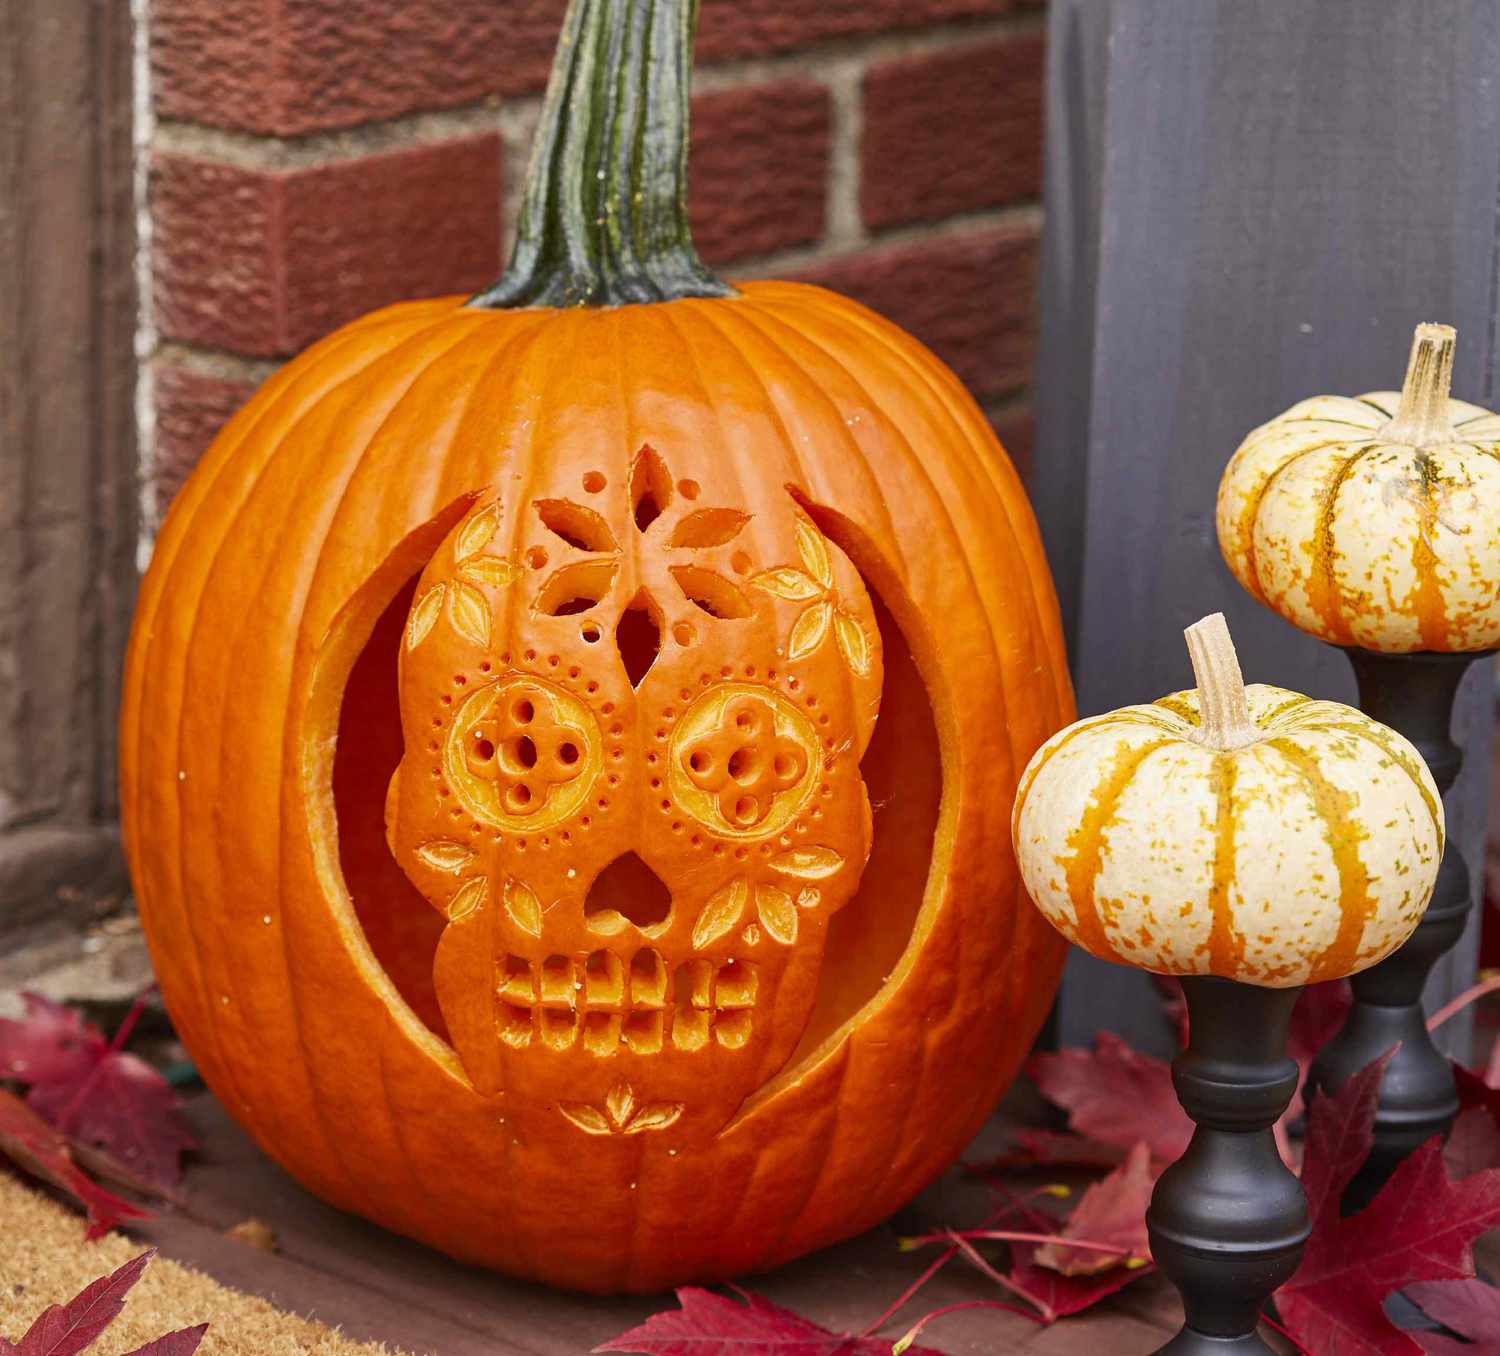
22 Free Face Stencils for Fun Halloween Pumpkin Carving Better Homes
Rent the complete video here: [https://youtu.be/nFLArQ3i068] MUST BE ON COMPUTER TO RENT.If you would like to purchase complete video, send email request h. All you need to do is carve out a bunch of triangles to make feathers and a beak, a couple of curves either side for wings, and two eyes. Add an outdoor LED candle and position on a fence post or wall for an eye-catching and eerie scene. 10. Give your pumpkin toothpicks for teeth. The only important thing about your pumpkin carving is that the eye hole must not be too high, or the servo links will be obstructed by the 'ceiling' of the pumpkin. When making the eyehole, gradually make the eyehole larger until the eye can pop out by just the right amount. You should chamfer the inside of this hole, so the diameter of the. Take your toothpick and start poking holes around the edges of the shapes on your template. When you pull the paper off, you should see a bunch of holes in the pumpkin that are the shape of your template. Take your X-acto knife and start cutting out the shapes by connecting all the dots. Make sure you do this by making smaller poking motions.

Dragon's Eye Pumpkin Carving Halloween 2014 pumpkincarving dragonseye
A simple way to carve a pumpkin for Halloween with wandering eyeballs. No motors or technical stuff involved. You'll be surprised how easy it is to carve a. Carve 2 large round eyes, 2 smaller circles for nostrils, and a squiggly mouth into a blue-green pumpkin (optional: place LED lights into the eye sockets to make them glow).
(TO RENT THIS VIDEO, WATCH IT ON YOUR COMPUTER.)In this tutorial you will learn step by step how to carve eyes in great detail on a 3D pumpkin! This 3D pump. How to Carve Eyes into a Pumpkin. Part of the series: How to Carve a Pumpkin for Halloween. Carving eyes on a pumpkin for Halloween is a time honored traditi.

+ big eye inside the mouth Diy halloween decorations, Scary pumpkin
Step 5: Transfer the Pattern to the Pumpkin. To transfer the pattern I employ a deceptively simple technique. I simply use a ballpoint pen and trace over every line of the pattern. Once finished I remove the pattern and the indentations of the pen can be seen relatively clearly on the surface of the pumpkin. Optional, Glue: Craft glue or other adhesive that works on a variety of surfaces will be needed if you are using googly eyes that don't have adhesive backing. The instructions are so minimal they hardly need to be stated. Stick (or glue) the googly eyes all over the pumpkin as you wish. That's it.
