Choose From a Wide Selection Of Informative and Comprehensive Books For You. Prime Members Can Enjoy Unlimited Free Shipping, Early Access To Lightning Deals and More. Follow along with us and learn how to draw Hello Kitty. Also be sure to visit the official Hello Kitty website and draw the other characters! https://www.san.

2 Easy Ways to Draw Hello Kitty StepbyStep wikiHow
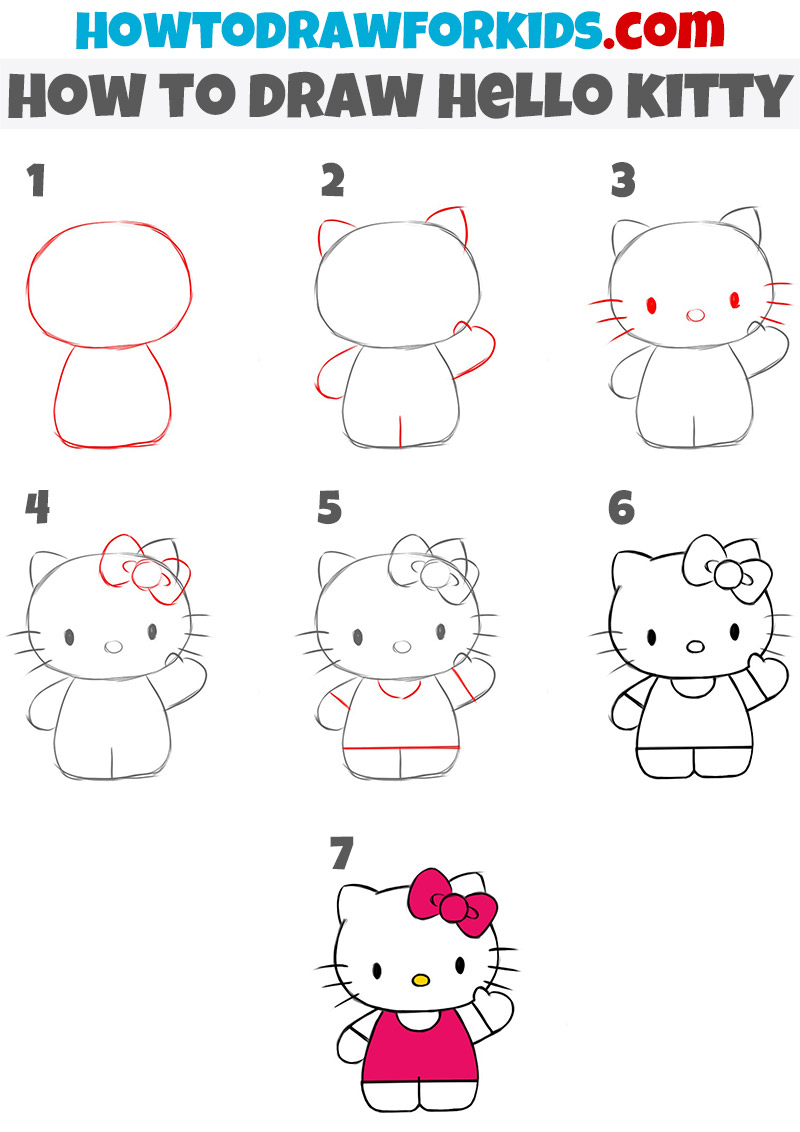
How to draw hello kittySUBSCRIBE: http://bit.ly/2Tx1ViGINSTAGRAM: https://www.instagram.com/guuhdesenhosFACEBOOK: https://www.facebook.com/guuhdesenhosBLOG:. How to draw Hello Kitty easy and step by step. Draw Hello Kitty by following this drawing lesson. Hello Kitty drawing tutorial. Get The Markers HERE = https:. Draw an oblong which matches the big head of Hello Kitty. 2. Draw a purse-shape below the oblong. Draw a vertical line at the middle of the two shapes. 3. Draw the hands or arms using curve lines. Draw small circles in each arm. 4. Draw lines in the body for the clothes. Drawing Tips for Drawing Hello Kitty. The cat's head is oval, and her body is in the shape of a gumdrop (squished on the bottom). Simply put, the ears are made up of two triangles. Our Hello Kitty has a slight leftward tilt in her head. To demonstrate the slant, draw a horizontal line across the cat's head.
How to draw Hello Kitty stepbystep with simple and easy drawing tutorial
Easy Hello Kitty Drawing - Step 3. 3. Draw the bow. First, draw a circle for the center of the bow, Then, use curved lines to enclose the rounded shapes of the lobes of the bow. Next, draw smaller round shapes inside the larger ones. Draw a large circle for the head. Add two smaller circles inside the head for the eyes. Draw a small triangle for the nose. Add two curved lines underneath the nose for the mouth. Draw two small circles above the eyes for the ears. Add a bow or hair accessory to the top of the head. Draw a small body with stubby arms and legs. Draw the nose and ears of Hallo Kitty. Add a line to define the place for her pelvis. Step 3. Draw the body and feet of the girl. Add a circle for the flower on her head. Step 4. Add the arms, flower petals and collar of the T-shirt. Step 5. Sketch the sleeves of the T-shirt, thumbs, eyes and whiskers of Hello Kitty. The ears are just 2 triangles. The head of our Hello Kitty is slightly tilted to the left. That's why I included a horizontal guide line that goes across the kitty's head to show the angle. Keep everything on that line (the eyes, nose, whiskers) so it looks consistent and natural. Experiment with different colors.

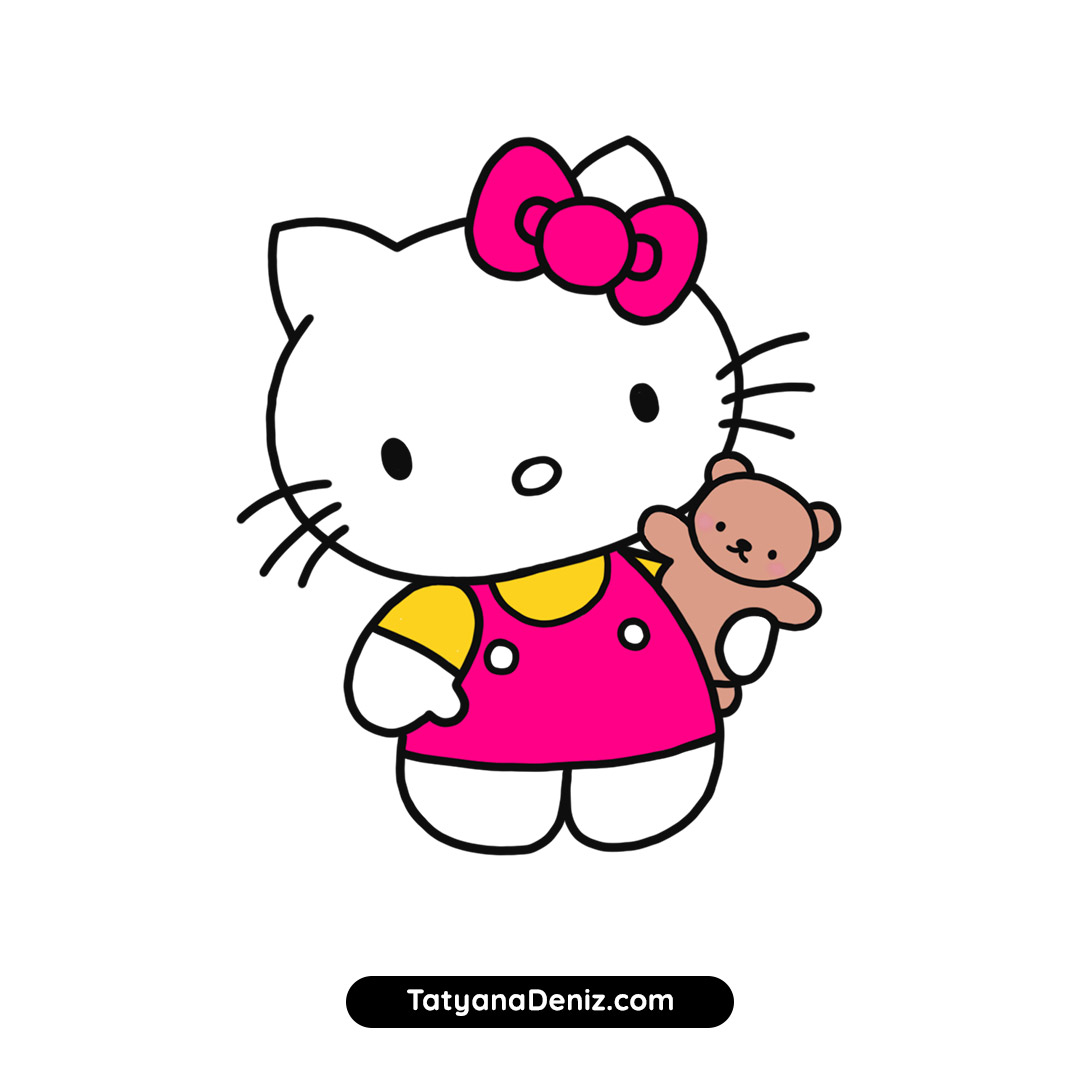
HELLO KITTY COLORING PAGES
Coloring supplies. Time needed: 30 minutes. How to Draw Hello Kitty. Sketch the head and torsi. With smooth lines, draw the head and torso of Hello Kitty. Sketch out the ears. At the top of the head, outline the character's ears. Then outline the arms as in my example. Add the eyes, nose and whiskers. Step 1 - Draw the bow. Hello Kitty wears a cute bow on the top of her head. Let's start with this accessory. First, draw a circle on the top-right quadrant of the page. Draw two small semi-circles coming out from the other side of the first circle. Add two rounded triangular shapes on the sides to complete the shape of the bow.
Draw the circle head. Add noses, eyes, ears, whiskers. Draw a single bow. Erase the lines inside the bow. Draw the dress with a bow. Add the legs below. Draw two arms with sleeves. Add a simple background. Trace with a marker and color. Use light, smooth strokes for sketching. Step 1: To draw Hello Kitty, start by drawing a sideways oval on the top half of the paper. This will be the basic shape of Hello Kitty's head. Just beneath this shape, draw a square with rounded corners. Draw the square slightly smaller than the head shape.
How to Draw Hello Kitty Easy Drawing Tutorial For kids
How to draw Hello Kitty.Explore the easy and enchanting step-by-step process of how to draw Hello Kitty! In this comprehensive tutorial, we'll guide you thro. Step 3: Add Hello Kitty's Bow. Next, you're going to add Hello Kitty's bow. Draw a small circle just above and to the left of the center of the oval. This will be the knot of the bow. Then, draw two bigger, rounded triangles - one on each side of the circle - to create the bow's loops. Lastly, add two smaller, elongated shapes below.
