1. Draw the basic structure. Start out with a few leading lines to indicate the general shape and guide the direction of the tree branches. For this tree, Nugent chose to start with a graphite pencil in Adobe Fresco for a pencil drawing style. Step 1: Outline the Shape of Your Tree Branch We begin this tutorial by creating an elementary tree branch outline. Use a light pencil, or a separate layer on your tablet, to create the outline of your main branch. In our example below, we begin the branch in the lower right corner of the drawing area and extend it up to the upper left side.
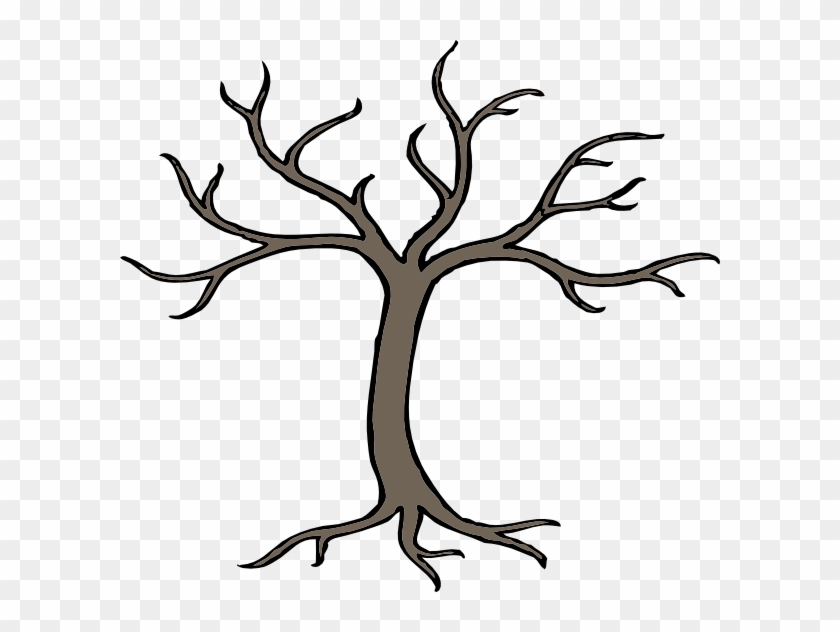
Tree With Branches Drawing Free Transparent PNG Clipart Images Download
1 Create the trunk for your tree. Try to have an idea of the overall shape you'd like your tree to be. [1] If you're going to make a large oak tree, for instance, begin drawing a wide trunk that reaches high into the sky. To make a smaller birch, for example, draw a much narrower trunk. [2] My New Pen & Ink Drawing Workbook: https://amzn.to/2CZjLVp---------- My First Book:. In one of the previous videos I promised I'd be showing how to draw branches, so here it is.My tutorial on how to draw trees:https://www.youtube.com/watch?v=. How To Draw A Tree: Tree # 1 I start with a line and the general shape that I would like the crown to be. Then I add a few lines to indicate the main branches. Make the trunk thicker. It is thick towards the bottom and the roots, and narrows closer to a point toward the top. The same thing with the branches.

How to Draw a Tree Branch Really Easy Drawing Tutorial
1. Draw a wavy, curved line. This begins the outline of the branch of the tree. Easy Tree Branch Drawing - Step 2 2. Continue the wavy line, angling it downward. Draw another wavy line beneath it. Connect the lines at the end using a "V" shaped line. This forms the twigs diverging from the tree branch. Easy Tree Branch Drawing - Step 3 3. Drawing trees may be a great exercise in developing this skill! In this tutorial, I'll show you how you can draw an oak tree, a pine tree, and a weeping willow in a realistic, yet simple manner. What You Will Need Some sheets of paper Hard pencil (HB) Medium soft pencil (2B) Soft pencil (5B or lower) Pencil sharpener Step 1 - Draw the Branch Branch drawing Start by first drawing out the shape of the branch. Generally branches are thicker towards the base and thinner towards the ends. They also tend to have fairly irregular shapes with many bumps and small bends. Step 1 - Make a Basic Line Sketch Tree shape sketch To start the tree drawing you can simply make a few lines to indicate the general directions of it's trunk and some of it's larger branches. Step 2 - Draw the Trunk & Large Branches Tree trunk and large branches drawing Now draw out the actual shapes of the trunk and larger branches of the tree.

Tree Drawing With Branches Tree drawing with branches How to Draw
Updated: Jan, 6 2022 • 13 min read How to Draw a Realistic Tree Easy Guide Follow this step-by-step tutorial to learn how to draw a tree. This easy drawing lesson by an artist makes tree drawings simple. Trees are one of nature's most beautiful resources. Drawing and Texturing Tree Branches: Study tree shapes and branch structure whenever possible, especially when fully visible in winter. There is great diversity in shape, structure and size of different species of deciduous trees. I will explain the general steps in detail here which can be adopted to specific shape that you want to draw.
This drawing tutorial will teach you how to draw a Tree BranchFIND MY DRAWING BOOKS HERE: https://www.drawinghowtodraw.com/stepbystepdrawinglessons/kids-draw. Start drawing simple cylinder shapes freehand, using the the lines you just drew. Make sure the cylinders taper from thick to thin when making your way from the bottom, to the top of the entire tree branch. Remember: thicker cylinders at the bottom and thinner cylinders at the top. 5.
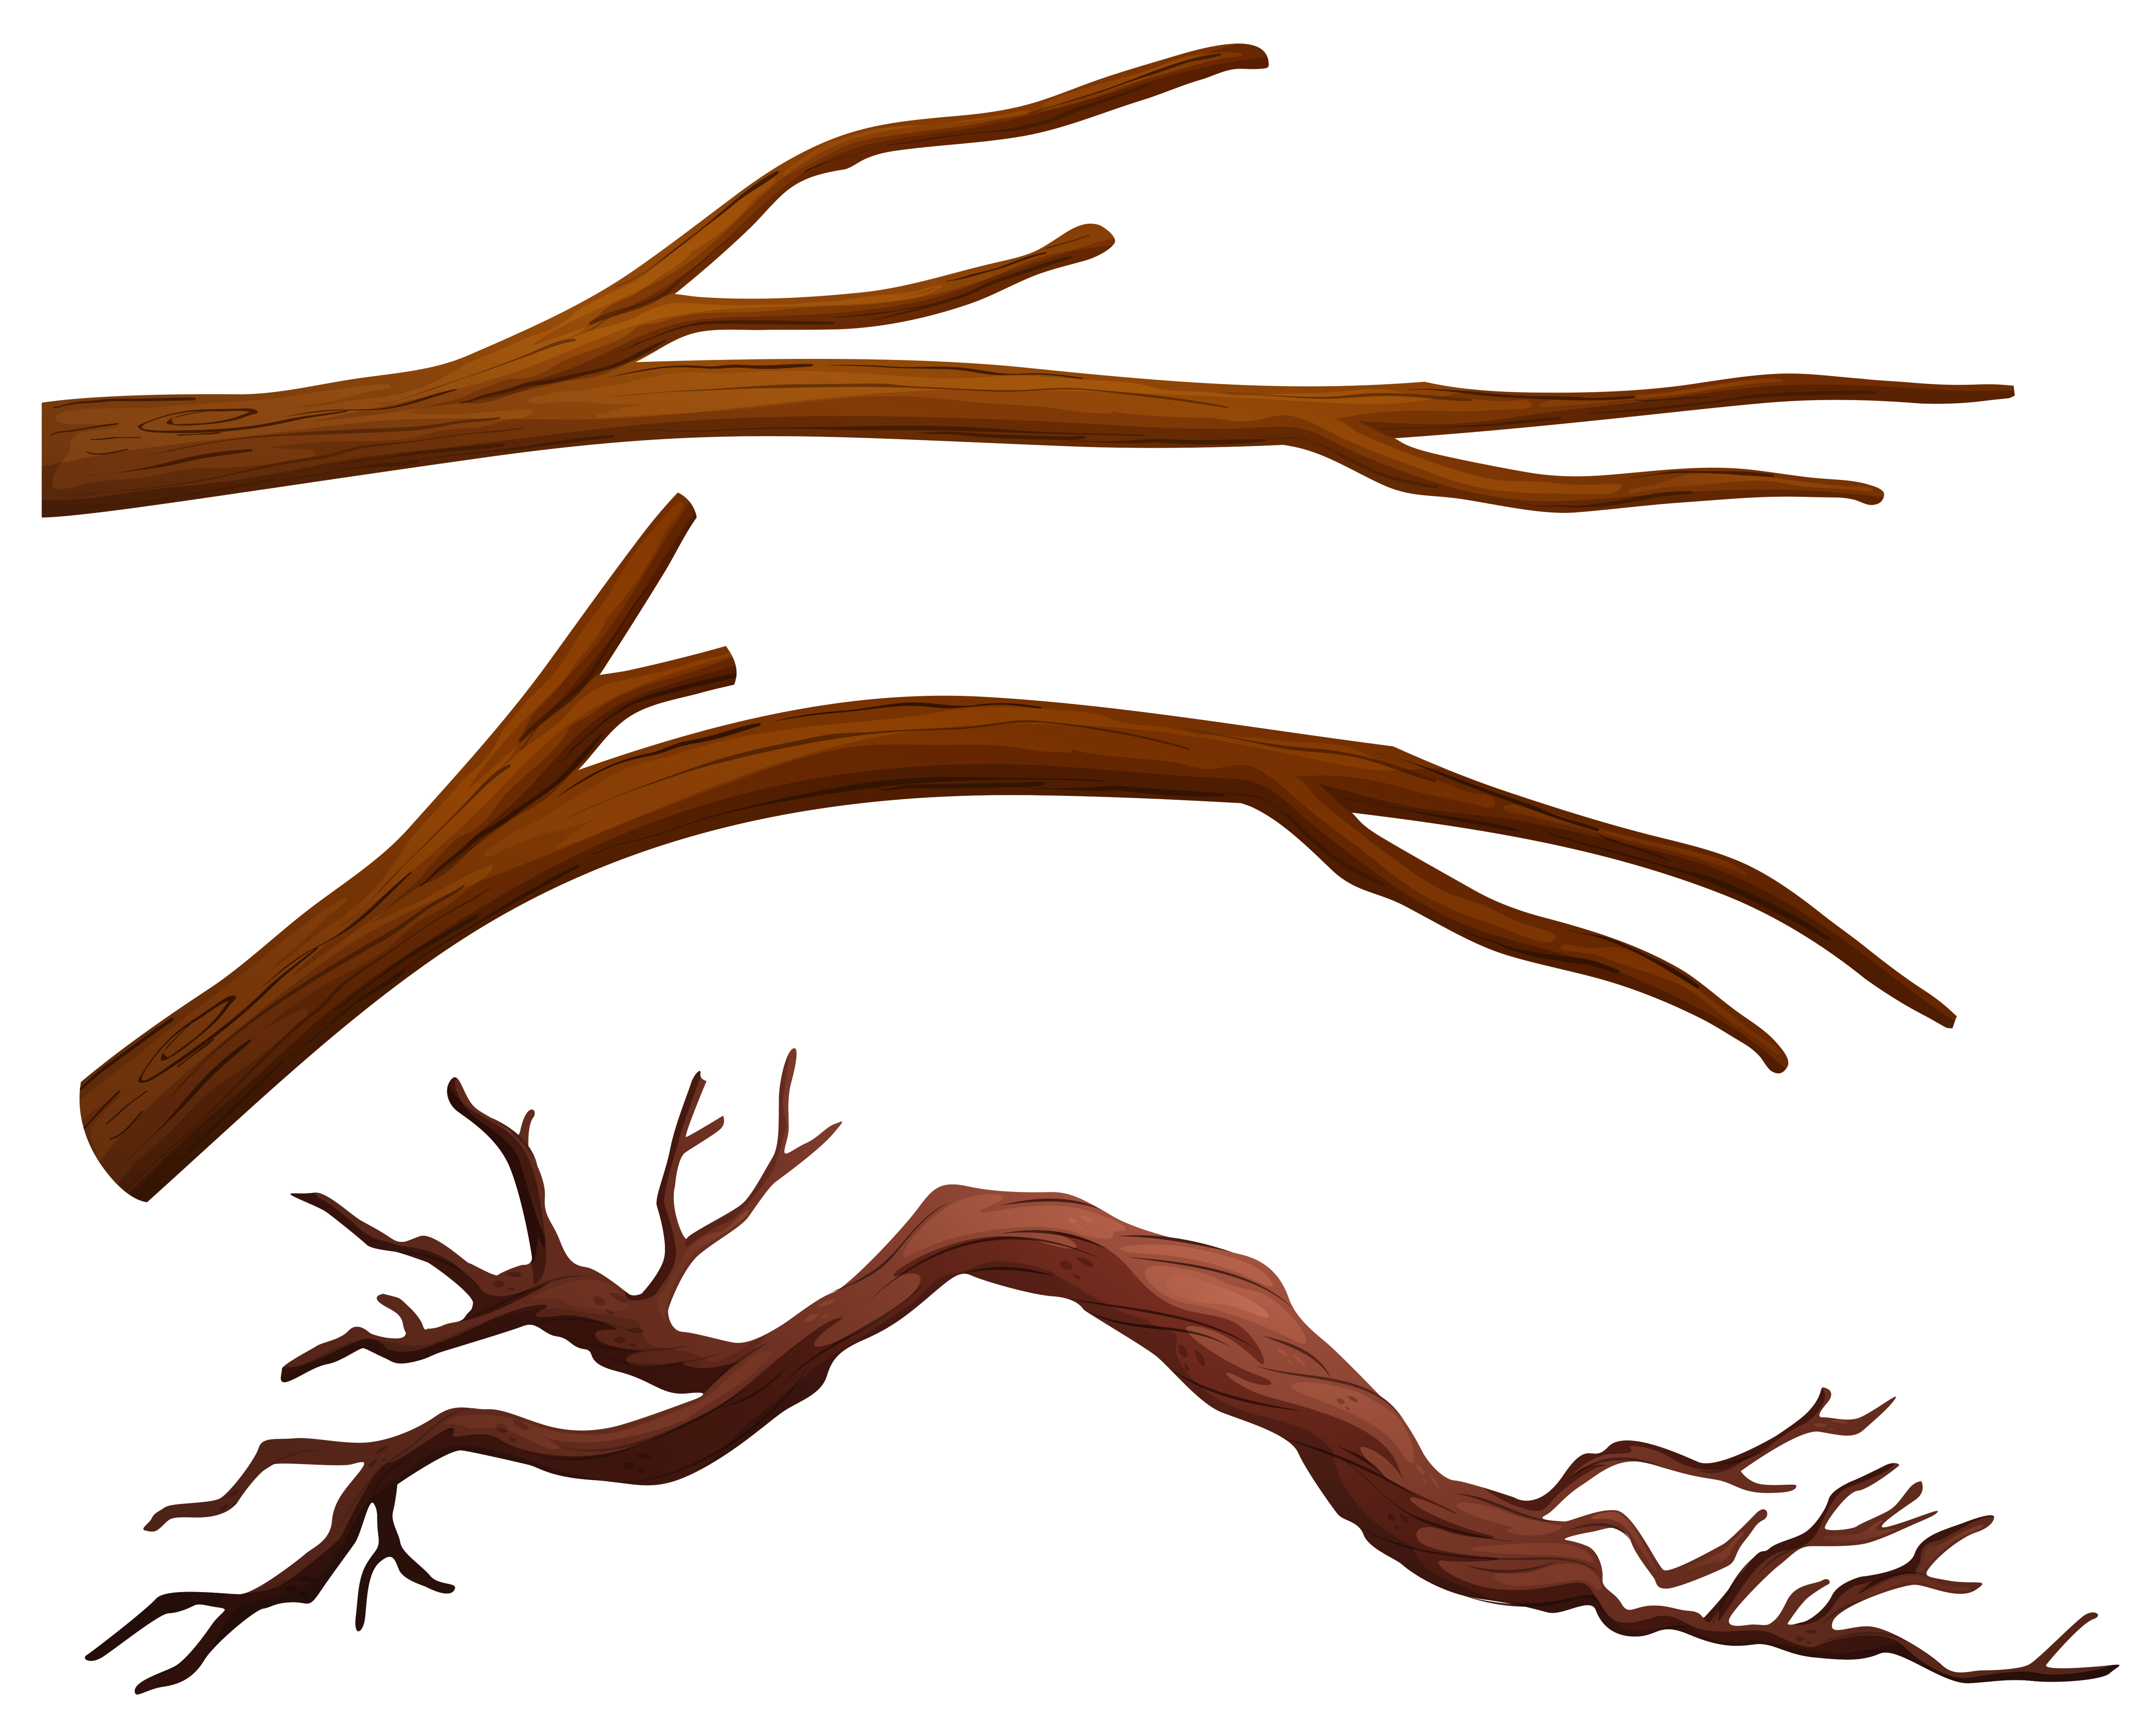
A set of tree branch 299682 Vector Art at Vecteezy
Step 1: Sketch the Basic Shape of the Tree Branch Draw an oblong shape to represent the main portion of the branch. From the oblong shape, draw a line to represent the main trunk. Draw a T shape on top of the oblong shape to represent the smaller branches. Step 2: Add Details to Your Branch Follow along as artist and illustrator Spencer Nugent shows you an easy and effective way to draw a deciduous tree, step by step. 1. Draw the basic structure. Start out with a few leading lines to indicate the general shape and guide the direction of the tree branches. For this tree, Nugent chose to start with a graphite pencil in Adobe Fresco.
