Part 1 Creating the Fascinator Base Download Article 1 Cut out a 3 to 5 in (7.6 to 12.7 cm) circle of felt. Go with a smaller-sized base if you want a dainty fascinator, or opt for a larger base for something more dramatic. Use a sharp pair of fabric scissors to cut out the circle. How to Make a Cute Fascinator Add charm and elegance to your hairstyle with a custom-made fascinator! This comprehensive tutorial offers a simple yet effective method to make your fascinator, perfect for photo shoots, weddings, and other special occasions. The choice to include feathers adds a whimsy, while millinery lace lends a vintage appeal.
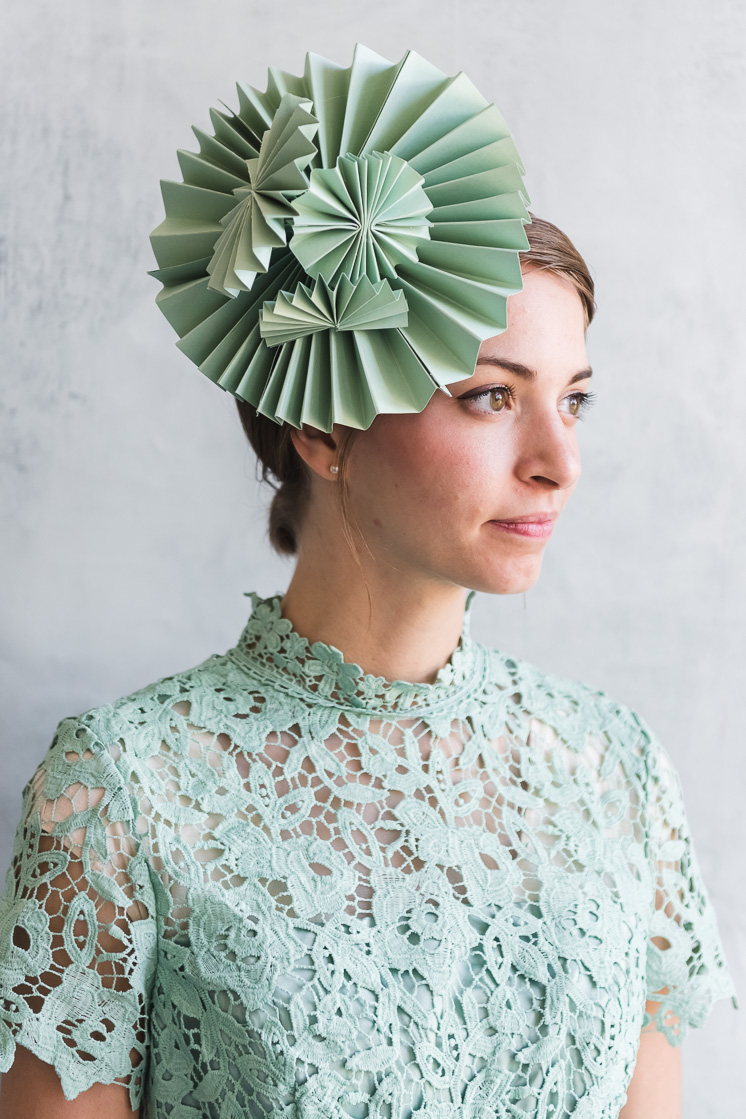
Three DIY Paper Fascinators The House That Lars Built
How To Make A Fascinator By Southern Living Editors Updated on March 10, 2017 Photo: Hector Sanchez These over-the-top headpieces are no longer reserved for royalty. This one is easy to make and even easier on your wallet. 01 of 09 The $25 Fascinator Hector Sanchez The secret to fascinator success? Sinamay, a stiff but malleable fabric. 299 Share 107K views 11 years ago This is a 2 minute and 12 second crafting tutorial video featuring Sara from JOANN Fabric and Craft Stores demonstrating how to make a hair fascinator for any. How to Make a Fascinator | Make your own headpiece this spring racing season. | DIY Tutorial House of Adorn 1.35K subscribers Subscribe 24K views 4 years ago #tutorial #springracing If you have. © 2023 Google LLC Buy the Southern Living Fascinator Kit: http://ow.ly/MkTXF These over-the-top headpieces are no longer reserved for royalty. This one is easy to make and eve.

How to Make a Sparkly Floral Fascinator A Practical Wedding
What to do Create the Hat Base Cut out the inner circle of your paper plate, then cut a slit from the outer edge of the disc into the center. You wear a fascinator towards the back of the head. If you want to wear your hat towards the front of your head, cut out an oblong piece of cardboard. Step 1: Start with the base disc A base disc is a circular piece of material that acts as the foundation for all the other bits and pieces you'll add to your fascinator later. You can make your own or buy one. Step 2: Add your fabric Cut an oval from the paper plate, put to slits in it and slide it onto the headband. Once you have it in place, put a few dots of hot glue to keep it in place. Once your base is ready it's time to put on your creativity hats and go wild. This was our supply haul from The Dollar Tree. Hot Glue Gun Wire Cutters Large Needle Heavy Duty Thread Flexible Horsehair Braid Fabric Bird Cage Netting Ribbons Sharp Scissors If you want to make a fascinator for kids to wear to a derby party, be sure to check out our paper plate or coffee filter hat tutorial. What to Use for the Base of Your DIY Fascinator

Three DIY Paper Fascinators The House That Lars Built
It also means the bunches can come undone if you make a mistake. Step 5. I tied some ribbon over the rubber band to hide them. It will also make the feathers easier to glue and attach onto the flower. I left a lot of ribbon free so it would actually form part of the fascinator and hang down from flower. Step 6. First I glued down the loop of wired ribbon on the back corner, making sure that the glue point was under the center where the flowers would hide it. Then I cut the stems off of 3 silk roses and glued them in place one by one to create the effect of a posey on the fascinator.
Follow along with Kathy to learn how to make your own fascinator! All supplies in the video can be found in our store in Louisville, KY!Shop designer hats an. Step 1. Draw an oval shape on the back of a cereal box, about 14cm in diameter, then draw the 7 lines as pictured below. Each line should be about. 2.5cm long. Step 2. Cut out the oval and cut the 7 lines turning them into slits. Step 3. Overlap each side of the slit and hot glue together.
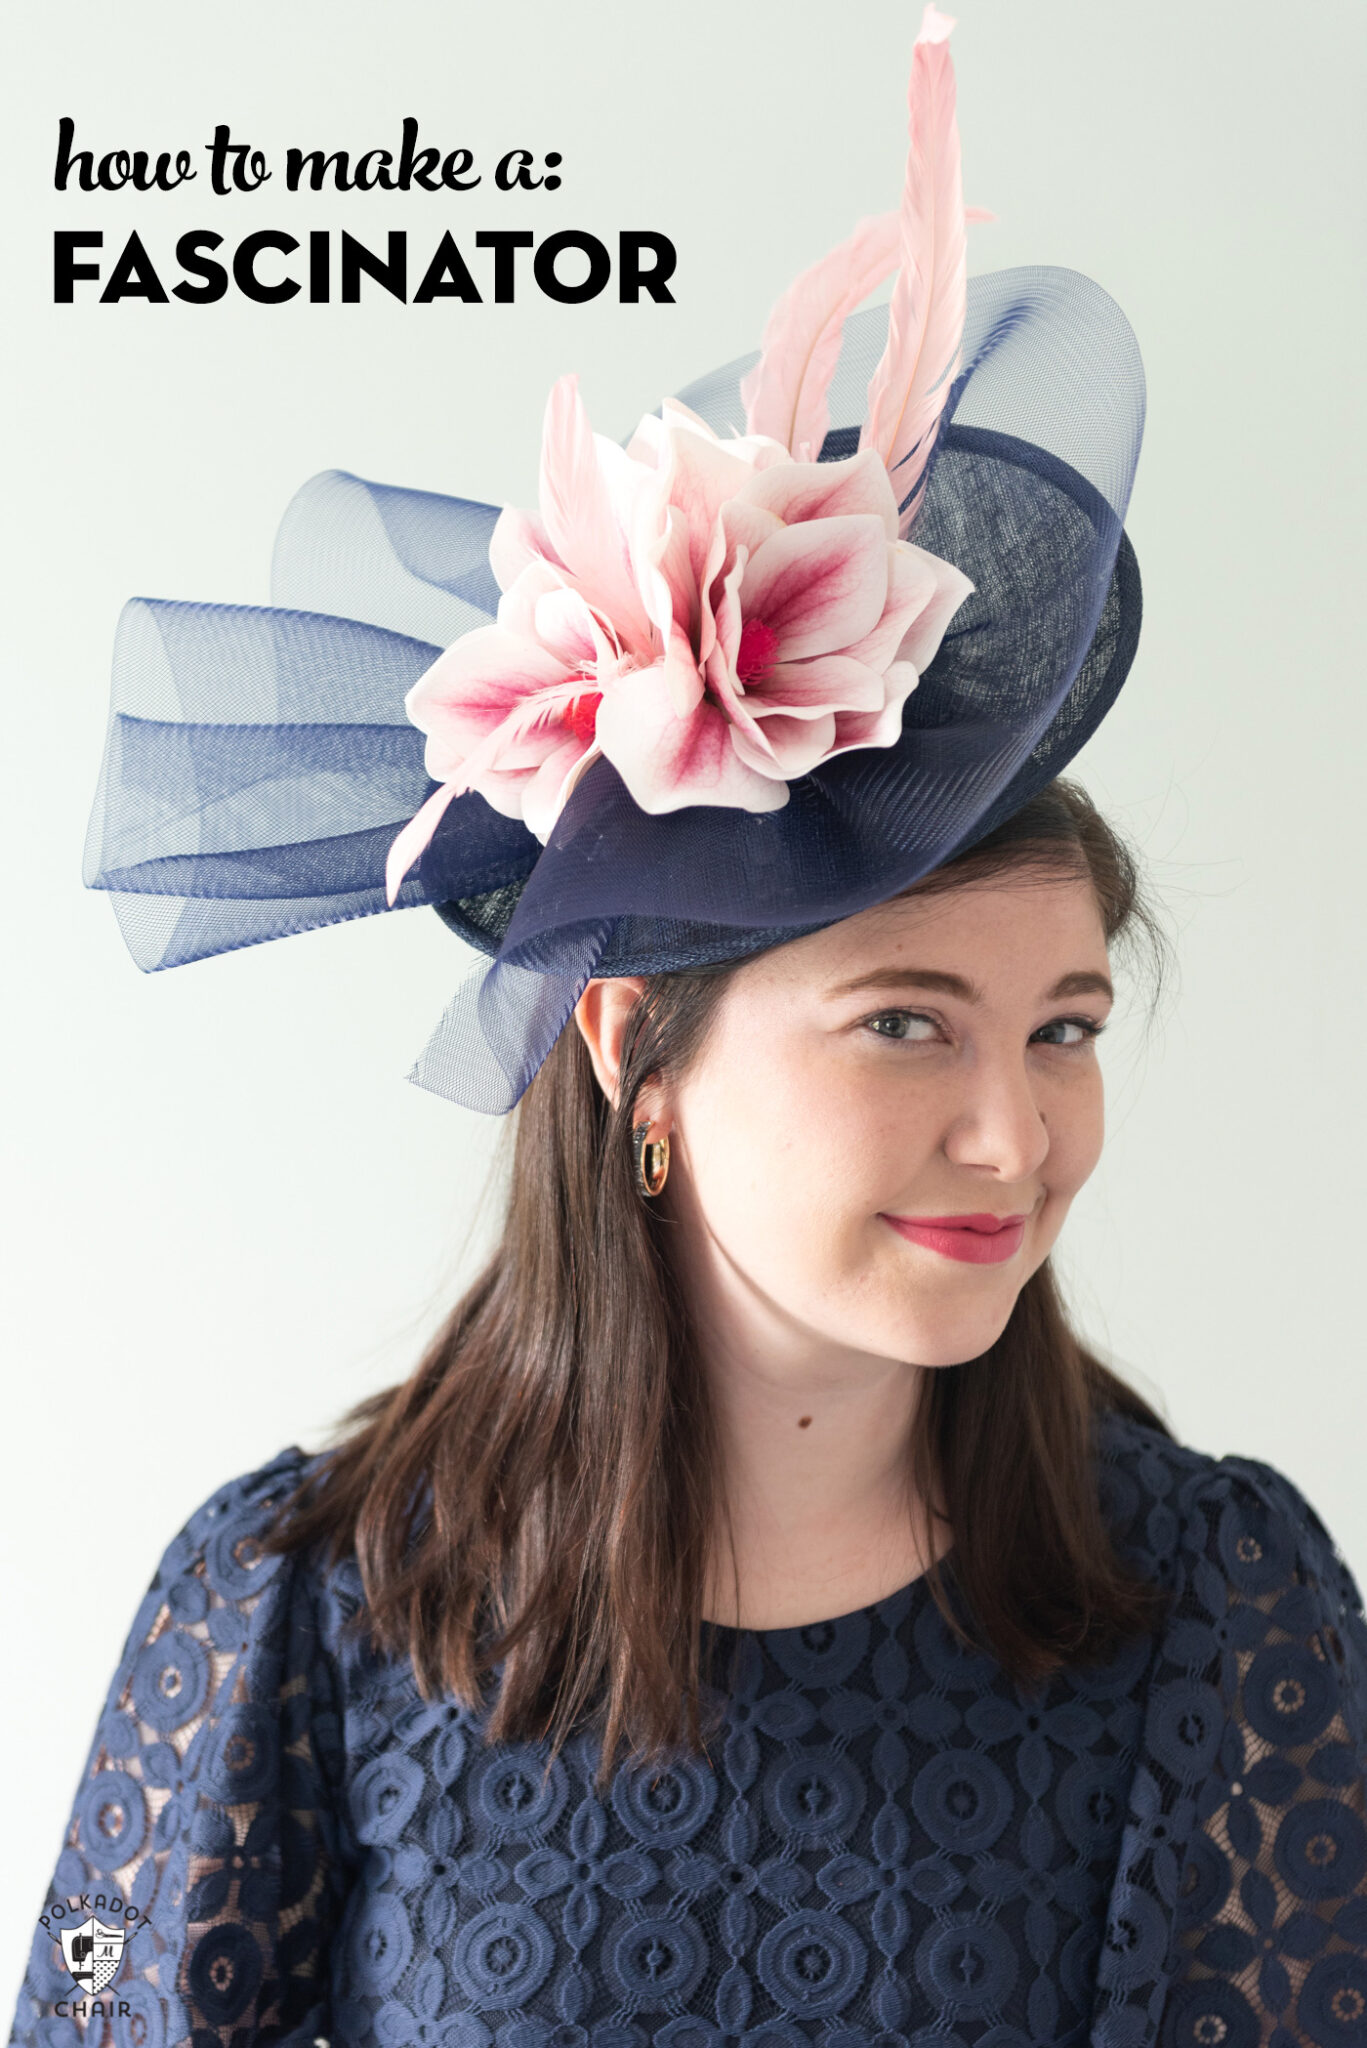
How to Make a Fascinator Perfect for the Derby! The Polka Dot Chair
How to make a fascinator - Gathered Get ready for wedding season with our DIY fascinator tutorial. Turn lace into a pretty headpiece that will wow your guest. Make yours today. Apply adhesive to the back of the eye feather. You won't have much shaft as a guide in this case. Apply a line of adhesive extending up a little less than half way into your eye area. Take care not to use too much adhesive, as you don't want it soaking through to the front. Press on to the front of your feather pad.
