Aprenda neste tutorial como resolver o Pyraminx pelo método de camadas👉 Siga a gente no Instagram : @adelfonsecaoficial👉 Conheça o meu curso COMPLETO de cu. En este video tutorial aprenderemos de una forma facilisima como armar el pyraminx paso a paso!!!😱😁🔷🔷🔷🔷🔷🔷🔷🔷🔷🔷🔷🔷🔷🔷🔷🔷🔷🔷🔷🔷🔷🔷.
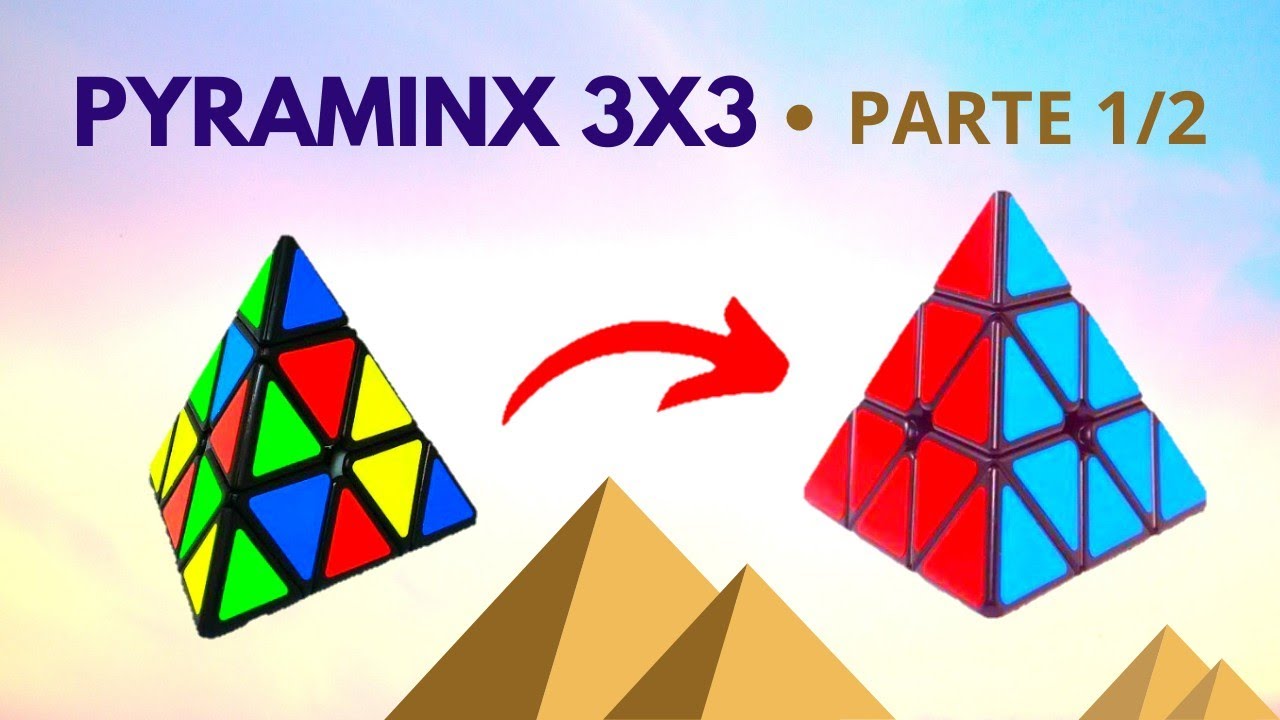
Como montar PYRAMINX de maneira FÁCIL CENTROS / parte 1/2 YouTube
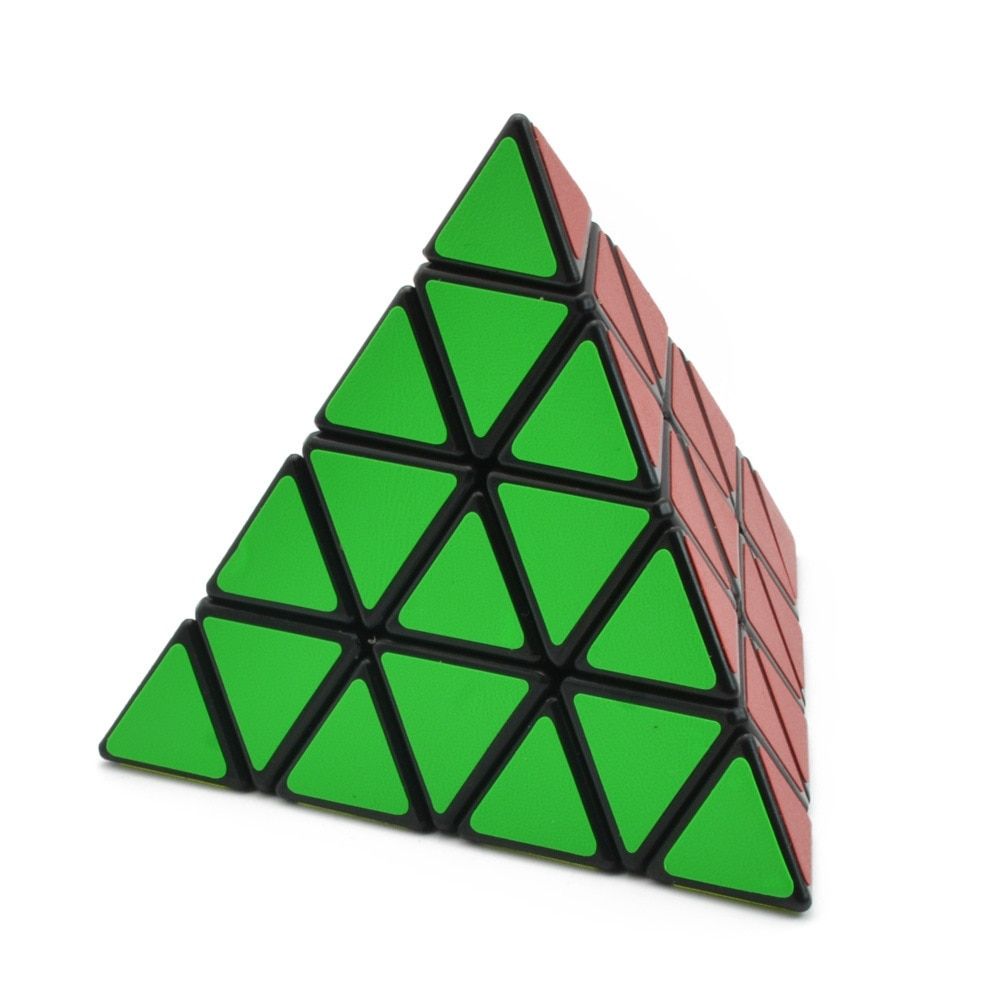
pyraminx Peças. Como mencionamos, este puzzle não é um cubo, mas um tetraedro e consiste nos seguintes peças:. Como montar o Pyraminx. Uma vez que conhecemos o peças do pyraminx e sabemos sua notação, é hora de aprender a resolvê-lo. Vamos dividir este tutorial em apenas 4 passos a seguir: Passo 1: Classificar vértices. #pyraminx #examplesolves #cubomagicoNeste vídeo você irá encontrar soluções comentadas para melhorar seus tempos no pyraminx. Não esquece de deixar a curtida. Aprenda com este tutorial básico a como resolver o Puzzle Pyraminx.Parte Final: https://youtu.be/9WD_0HRx2P8Instagram: @gabrielkuboo | @lojagcubosCompre este. Pyraminx (3x3x3) The Pyraminx is a regular tetrahedron shaped twisty puzzle. It was invented by Uwe Mèffert in 1970 however production of this toy only started in 1981. This puzzle has 4 axis around which moves can be preformed (comparing to 3 axis in a Rubik's Cube ), and it is comprised of 10 tetrahedral parts and 4 octahedral parts.

Como Montar O Pyraminx EDUCA
Pyraminx Simulator and Solver. Play with the Pyraminx twisty puzzle online or calculate its solution with this free simulator! The Pyraminx is the second best selling twisty puzzle in the World and its solution is undeniably easier than a Rubik's Cube method but still not so self-evident so you might need this tool. Não esqueça de se inscrever no Canal.Deixe seu Like + Favorito e peça outros Tutoriais.Como Montar o Pyraminx - Tutorial 2/2: http://youtu.be/KRtKaz9sZD0Tut. Não esqueça de se inscrever no Canal.Deixe seu Like + Favorito e peça outros Tutoriais. Como Montar o Pyraminx - Tutorial 1/2http://youtu.be/aw0ToyRwy0oTutor. 1. Place your Pyraminx on a table of flat surface with the blue side down. 2. The tips show which colour that face should be (if both tips facing you on the bottom layer are red, that is the red side and so on). 3. With one hand, spin your whole Pyraminx until you find the blue and red piece. 4.

Como Montar O Pyraminx EDUCA
como montar pyraminx metodo avançado,como montar pyraminx 2x2,como montar pyraminx 3x3 cubo vicio,como montar pyraminx 4x4,como montar o pyraminx rafael cino. Piezas del pyraminx. Como hemos mencionado, este puzzle no es un cubo, sino un tetraedro y consta de las siguientes piezas:. Cómo montar el Pyraminx. Una vez que conocemos las piezas del pyraminx y sabemos su notación, es hora de aprender a resolverlo. Vamos a dividir este tutorial en solo 4 pasos a seguir: Paso 1: Ordenar vértices.
Match the last tip colors with the other colored centers around it. 4. Solve the edges. At this point, your centers and tips must all be yellow. The only thing left to solve now is the yellow face's edge pieces. Turn the entire Pyraminx so that the yellow face is on the bottom side, now the base of the Pyraminx. O Pyraminx é um quebra-cabeça que segue a mesma ideia do cubo mágico, mas seu formato é de pirâmide.Ele foi inventado e patenteado por Uwe Meffert, e lançado pela Tomy Toys no Japão (a 3ª maior fabricante de brinquedos do mundo) em 1981. O atual recorde mundial para uma única solução do Pyraminx é de 1,61 segundos, alcançado por Bruno Bereczki, da Hungria, em um torneio esloveno.
Como montar o Pyraminx de 4 camadas CINOTO
Solve the edge pieces in the bottom layer. Find a yellow edge in the upper layer, turn the upper layer until the other side of the target edge is placed at the correct face, take this face as front. Then execute the correspondent algorithm accordingly to solve it. (Take the yellow/blue edge as an example) If the yellow edge to be solved is in. Passo 1 - Resolver os centros da camada de baixo. Para este passo não existem algoritmos pelo que, é aconselhável resolver intuitivamente. Uma vez que os centros estão fixos e não se movem, basta escolher uma cor (ou numa fase mais avançada, verificar qual a face mais fácil de criar) e rodar os centros por forma a que fiquem com a.
